

What we are going to learn
- How to create a launch file that launches several robots
- How to modify the robot state publisher to add a frame prefix
- How to pass a variable to a xacro file
List of resources used in this post
- Use the rosject: https://app.theconstructsim.com/l/50f92c5f/
- The Construct: https://app.theconstructsim.com/
- ROS2 Courses –▸
- ROS2 Basics in 5 Days (Python): https://app.theconstructsim.com/#/Course/73
- ROS2 Basics in 5 Days (C++): https://app.theconstructsim.com/#/Course/61
- ROS2 Navigation (Galactic): https://app.theconstructsim.com/Course/109
- ROS2 Navigation training: https://www.theconstruct.ai/ros2-navigation-training/
Overview
In this post, we will learn to make navigation in ROS 2 work with 2 identical robots using ROS Navigation 2.
This post answers the following question on ROS answers: https://answers.ros.org/question/405822/multi-robot-tf-with-namespaces-for-tf-or-with-frame_prefix-what-is-the-right-way-to-do-it-ros2/
ROS Inside!

ROS inside
Before anything else, in case you want to use the logo above on your own robot, feel free to download it for free and attach it to your robot. It is really free. Find it in the link below:
Opening the rosject
In order to have navigation in ROS2 working with two robots, we need to have ROS2 installed in our system, and ideally a ros2_ws (ROS2 Workspace). To make your life easier, we already prepared a rosject with a simulation for that: https://app.theconstructsim.com/l/50f92c5f/.
You can download the rosject on your own computer if you want to work locally, but just by copying the rosject (clicking the link), you will have a setup already prepared for you.
After the rosject has been successfully copied to your own area, you should see a Run button. Just click that button to launch the rosject (below you have a rosject example).

Learn ROS2 Topics vs Service vs Action – Run rosject (example of the RUN button)
After pressing the Run button, you should have the rosject loaded. Now, head to the next section to get some real practice.
Launching the simulation
We already have provided a simulation with two simulated robots. In order to run the simulation, let’s start by opening a terminal:
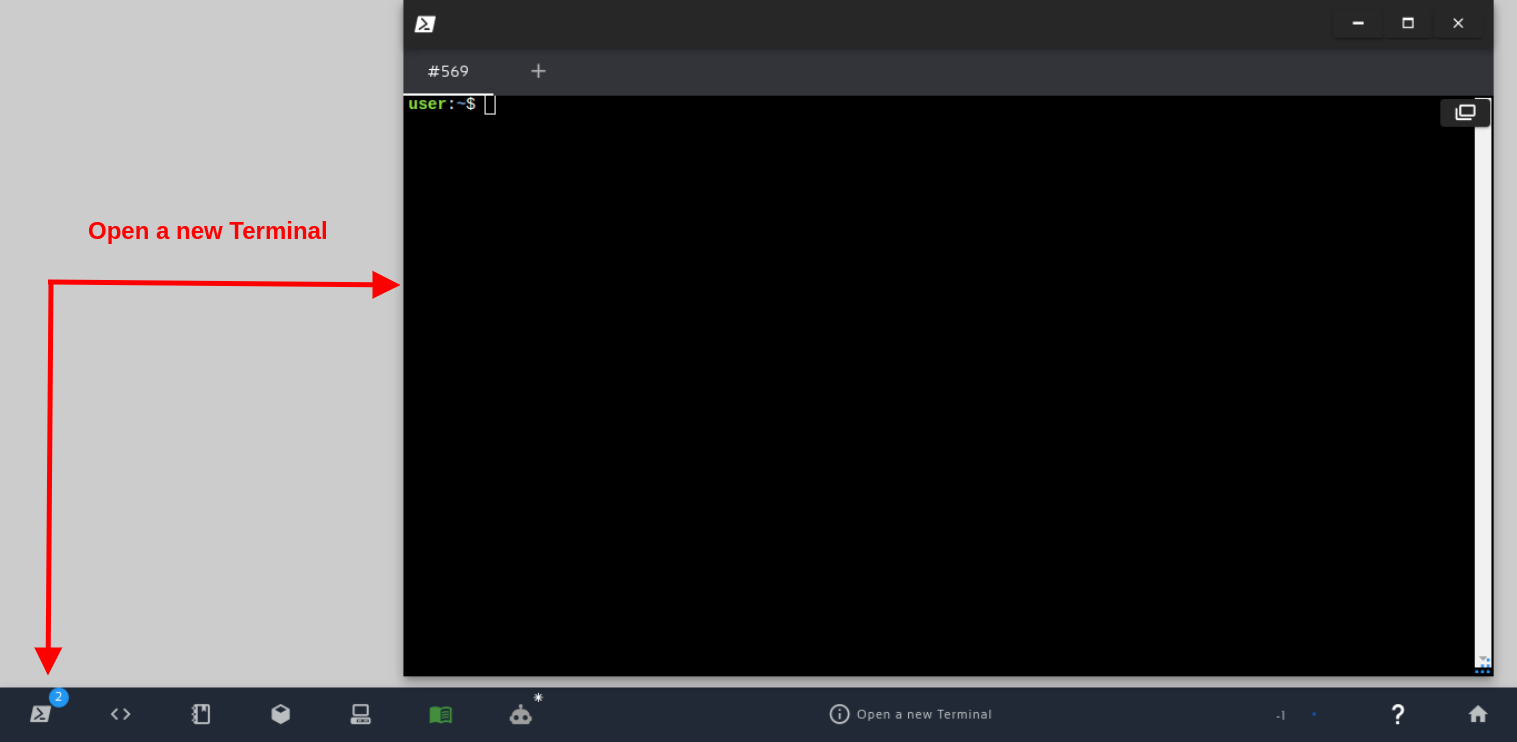
Open a new Terminal
Once the terminal is open, we can run the simulation with the following command:
ros2 launch barista_gazebo main_two_robots.launch.xml
You should have a pop-up with the simulation running. If the simulation fails to load for any reason, just run the same command again. You should have a simulation with two robots, something similar to the following:
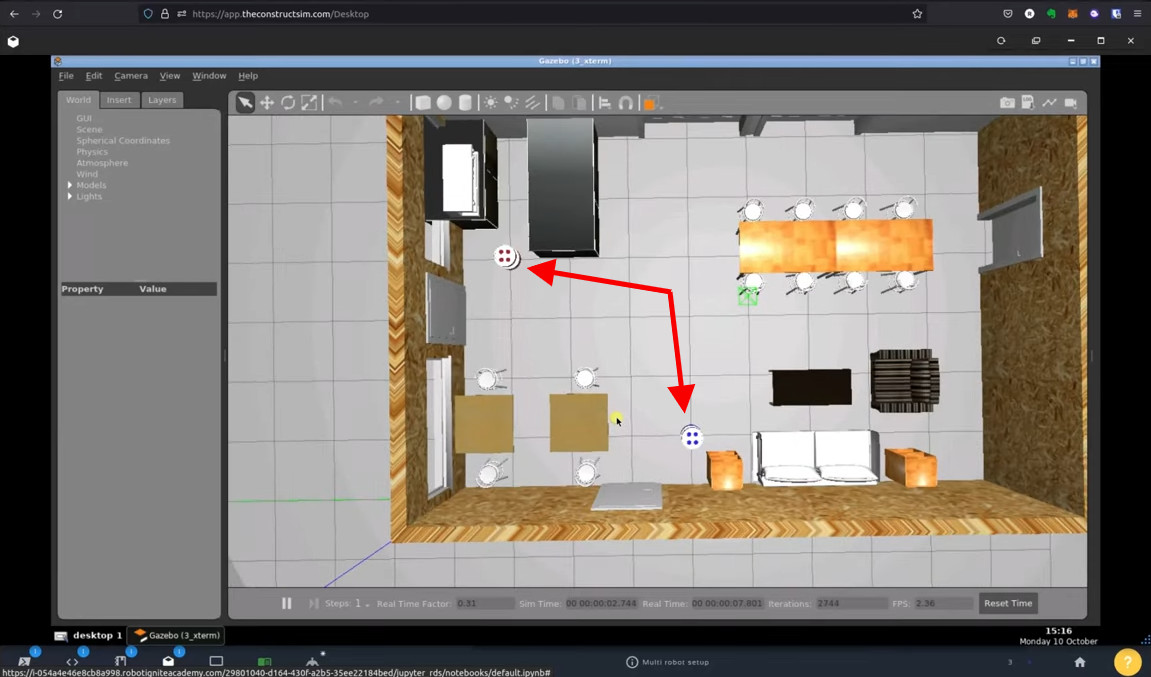
How to setup identical robots for multi-robot navigation – gazebo simulator
What we need in order to have multi-robot navigation is:
- First, have the cmd_vel and scan topics separated into different namespaces
- Second, have TF Tree separated.
After launching the simulation, we can go to a second terminal and list the topics with rostopic list. The list of topics should be like the following:
ros2 topic list

/barista_1/cmd_vel
/barista_1/joint_states
/barista_1/odom
/barista_1/robot_description
/barista_1/scan
/barista_2/cmd_vel
/barista_2/joint_states
/barista_2/odom
/barista_2/robot_description
/barista_2/scan
/clock
/parameter_events
/performance_metrics
/rosout
/tf
/tf_static
As we can see, we have two namespaces, named /barista_1/ and /barista_2/
Moving the robots independently
If we want to move the barista_1 robot, for example, we can run the command below:
ros2 run teleop_twist_keyboard teleop_twist_keyboard cmd_vel:=barista_1/cmd_vel
The command above launches the script that allows us to move the robot using the keyboard, mapping the cmd_vel topic to barista_1/cmd_vel. That is the topic used to move the robot around.
You can press the “k” key to stop the robot, and other keys to move the robot, as we can see in the instructions:
This node takes keypresses from the keyboard and publishes them
as Twist messages. It works best with a US keyboard layout.
---------------------------
Moving around:
   u    i    o
   j    k    l
   m    ,    .

For Holonomic mode (strafing), hold down the shift key:
---------------------------
   U    I    O
   J    K    L
   M    <    >

t : up (+z)
b : down (-z)

anything else : stop

q/z : increase/decrease max speeds by 10%
w/x : increase/decrease only linear speed by 10%
e/c : increase/decrease only angular speed by 10%

CTRL-C to quit
If instead of the red robot you want to move the blue one, you just run the same command but remapping the cmd_vel topic to barista_2/cmd_vel:
ros2 run teleop_twist_keyboard teleop_twist_keyboard cmd_vel:=barista_1/cmd_vel
Separated TF Trees
To see the separated TF Trees, we can run rqt_tf_tree. We can install it for ROS Galactic in a third terminal using the following commands:
sudo apt-get update

sudo apt-get install -y ros-galactic-rqt-tf-tree
Once it is installed, you can run it with the command below:
ros2 run rqt_tf_tree rqt_tf_tree
A Graphical Window should pop up. If not, you click the fifth icon on the bottom left menu to have it. As you can see below, we have two TF Trees, one for each robot:
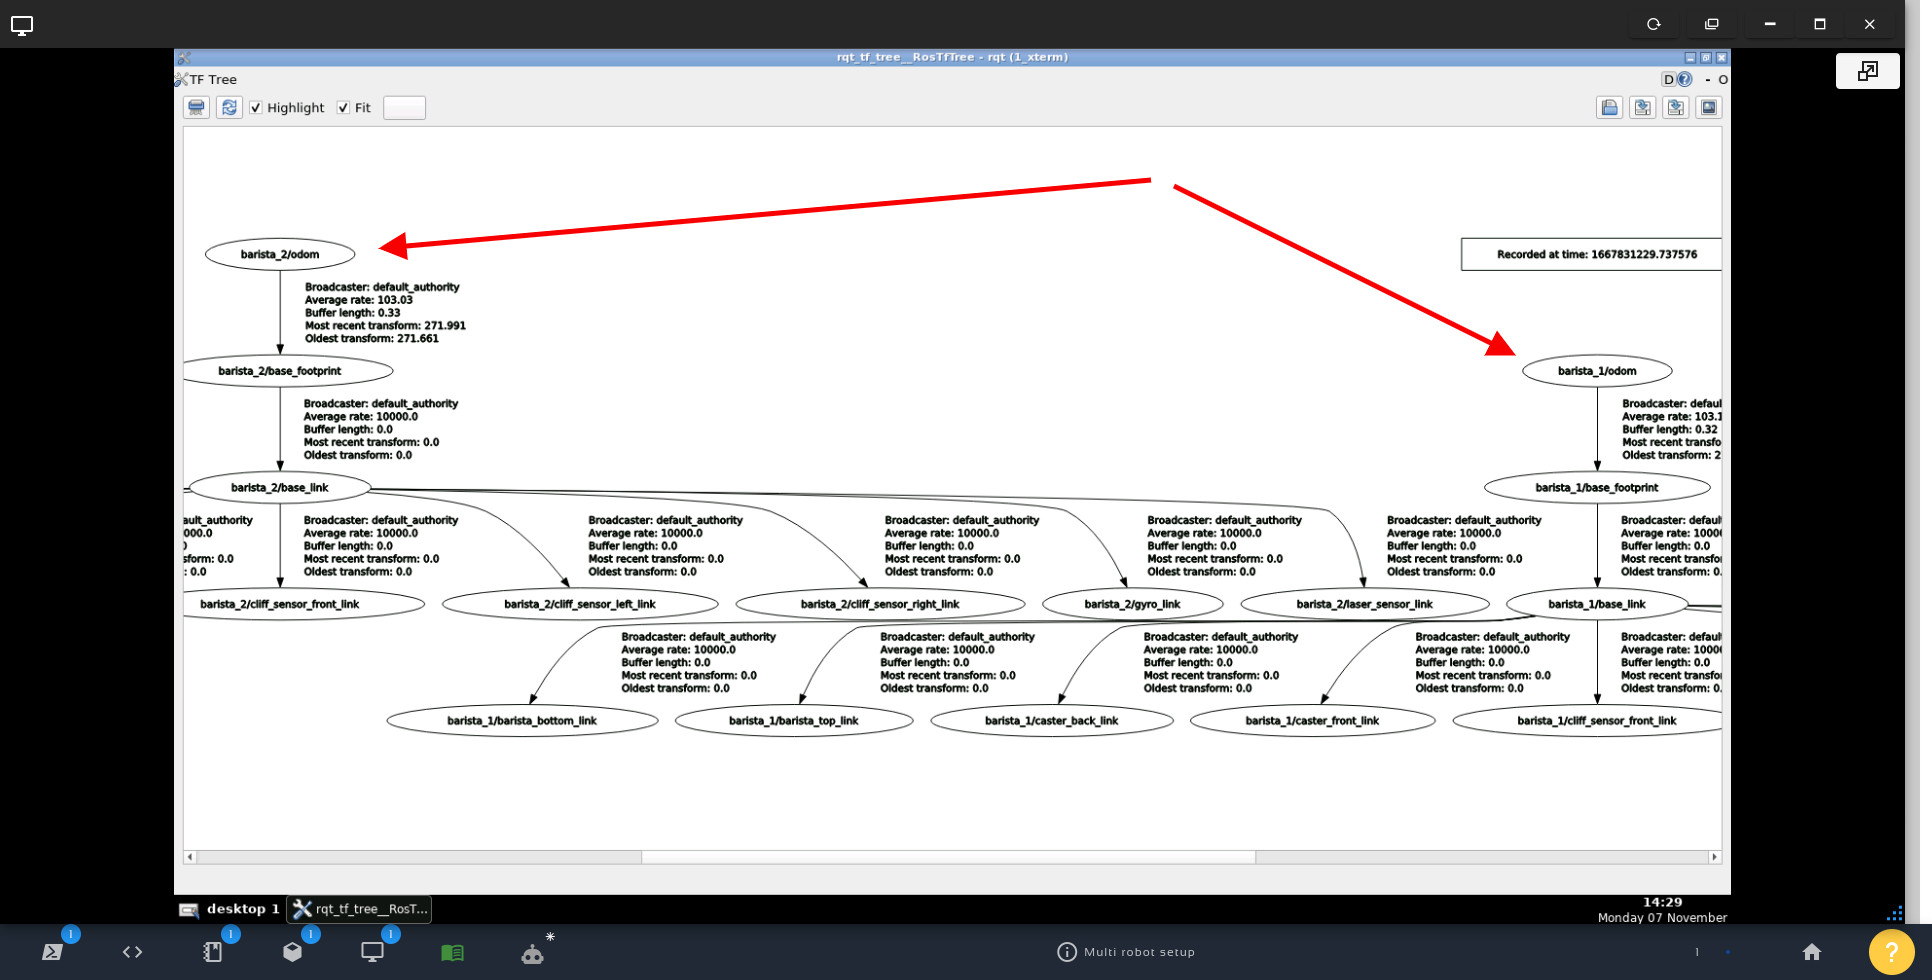
2 two TF Trees on The Construct – Multi-Robot navigation
How the simulation and the multi-robot navigation were prepared
To better understand the code, let’s open the Code Editor by clicking on the second link:
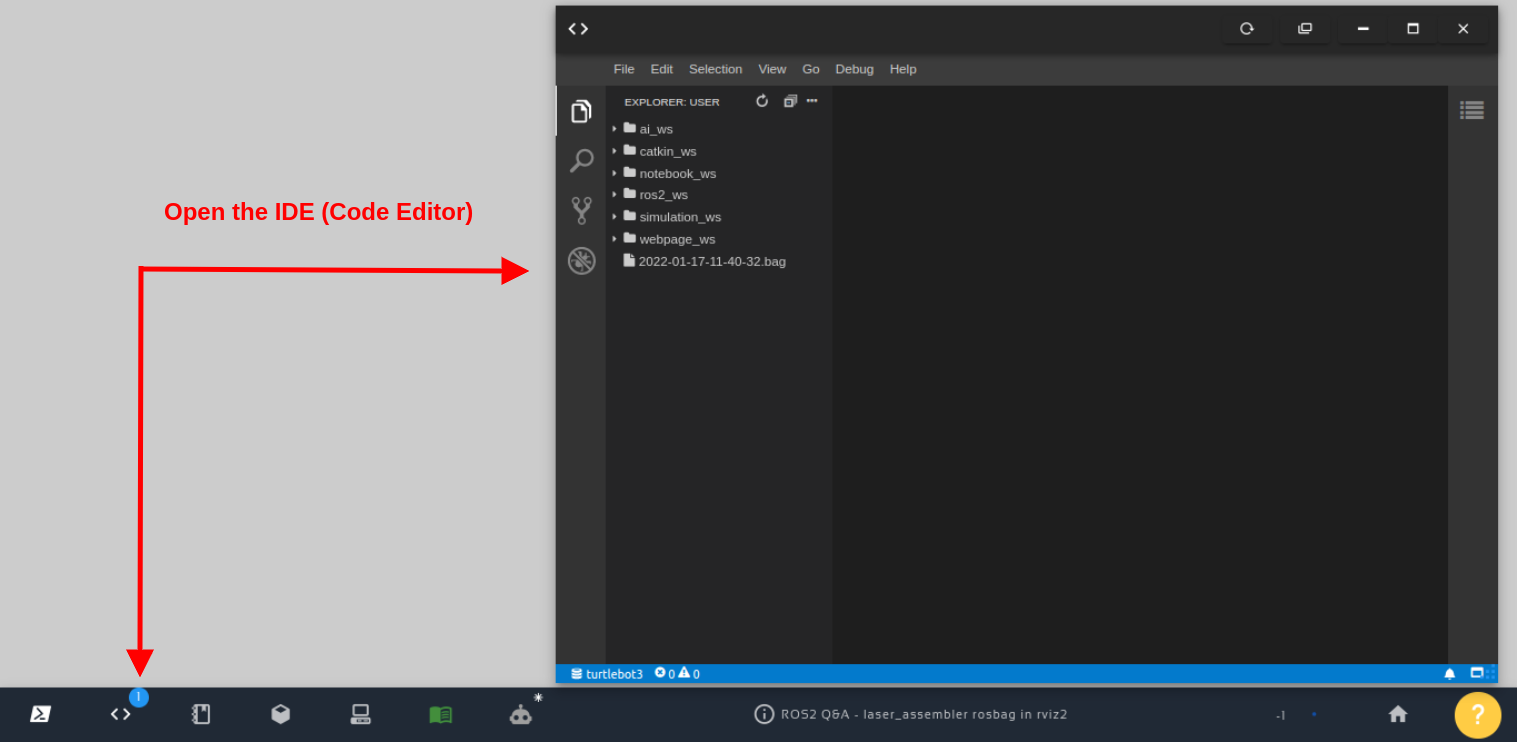
Open the IDE – Code Editor
You will see that inside the ros2_ws/src folder we have a package named barista_ros2. You can also navigate to that folder using the terminal if you want:
cd /home/user/ros2_ws/src

ls
You will find the following folders inside the barista_ros2 package.
barista_description barista_extra_models barista_gazebo blender_files
Inside the barista_gazebo package, we have the main_two_robots.launch.xml file used to spawn the two robots. We can check its content using the Code Editor, or using the terminal with the following command:
cat /home/user/ros2_ws/src/barista_ros2/barista_gazebo/launch/main_two_robots.launch.xml
which shows us its content:
<?xml version='1.0' ?>
<launch>
  <arg name="number_of_robots" default="2"/>

  <!-- Launches World now independently form spawning robot -->
  <include file="$(find-pkg-share barista_gazebo)/launch/start_world_standalone.launch.py"/>

  <!-- launches the basic turtlebot3 world with multiple basic baristas -->
  <include file="$(find-pkg-share barista_gazebo)/launch/barista_1.launch.py"/>
  <include file="$(find-pkg-share barista_gazebo)/launch/barista_2.launch.py"/>

</launch>
When we analyze its content we see that we first launch the world using the start_world_standalone.launch.py file, then we launch the two baristas.
You can also check the content of barista_1_launch.py with:
cat ~/ros2_ws/src/barista_ros2/barista_gazebo/launch/barista_1.launch.py
In that file we have a function named get_robot_info:
def gen_robot_info():

    pose_2 = [1.0, -4.0]

    robot_name = "barista_2"
    x_pos = pose_2[0]
    y_pos = pose_2[1]
    robot = {'name': robot_name, 'x_pose': x_pos,
                    'y_pose': y_pos, 'z_pose': 0.1, 'Y_pose': 0.0}

    return robot
That function essentially returns the robot_name, used as the namespace for the robot, and also returns its initial position.
In that barista_1.launch.py we can see that it also includes spawn.launch.py (available at ~/ros2_ws/src/barista_ros2/barista_description/launch/spawn.launch.py)
One of the important functions of spawn.launch.py is the launch_setup function, especially the definition of robot_state_publisher_node and joint_state_publisher_node, where we specify the frame_prefix and the robot_description.
Please, look carefully at that file to better understand it.
Youtube video
So this is the post for today. Remember that we have the live version of this post on YouTube. If you liked the content, please consider subscribing to our youtube channel. We are publishing new content ~every day.
Keep pushing your ROS Learning.
Related Courses & Training
If you want to learn more about ROS and ROS2, we recommend the following courses:
- ROS2 Basics in 5 Days (Python): https://app.theconstructsim.com/#/Course/73
- ROS2 Basics in 5 Days (C++): https://app.theconstructsim.com/#/Course/61
- ROS2 Navigation (Galactic): https://app.theconstructsim.com/Course/109
- ROS2 Navigation training: https://www.theconstruct.ai/ros2-navigation-training/


0 Comments