

What we are going to learn
- How to clone ROS2 Foxy’s ROBOTIS repositories
- How to set up ROS2 environment
- How to run ROS2 nodes downloaded from GitHub
List of resources used in this post
- ROS Development Studio (ROSDS) —▸ http://rosds.online
- Robot Ignite Academy –▸ https://www.robotigniteacademy.com
- The question that this post answers –▸ https://answers.ros.org/question/369896/file-turtlebot3-obstacle-detection-was-not-found-in-the-share-directory-of-package-turtlebot3-example/
- ROS2 Tutorials –▸
- TurtleBot3 Manual –▸ https://emanual.robotis.com/docs/en/platform/turtlebot3/overview/
- Repositories –▸
- Use the rosject: https://app.theconstructsim.com/#/l/3e2282a3/
Creating a rosject
In order to detect obstacles in ROS2 with TurtleBot3, let’s start by creating a rosject. We are going to use The Construct (https://www.theconstruct.ai/) for this tutorial, but if you have ROS2 installed on your own computer, you should be able to do ~everything on your own computer, except this creating a rosject part.
Let’s start by opening The Construct (https://www.theconstruct.ai/) and logging in. You can easily create a free account if you still don’t have one.
Once inside, let’s create My Rosjects and then, Create a new rosject:
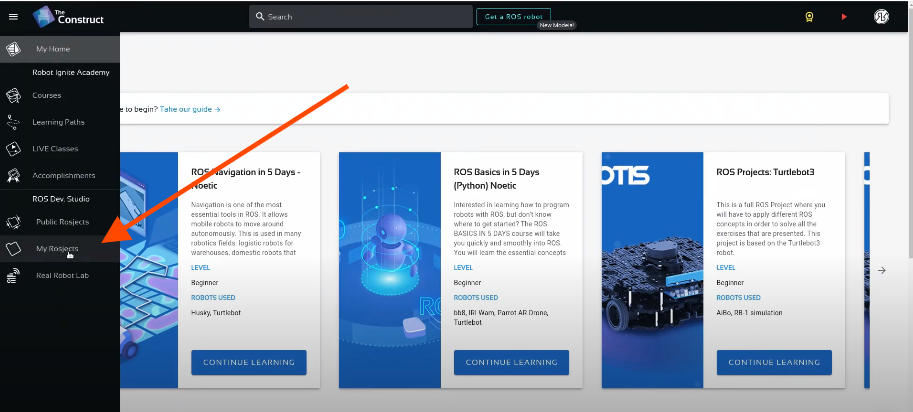
My Rosjects
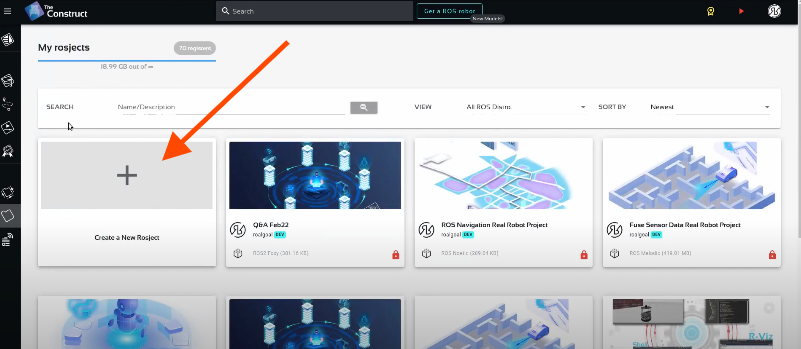
Create a new rosject
For the rosject, let’s select ROS2 Foxy for the ROS Distro, let’s name the rosject as Turtlebot3 Obstacle Detection. You can leave the rosject public.
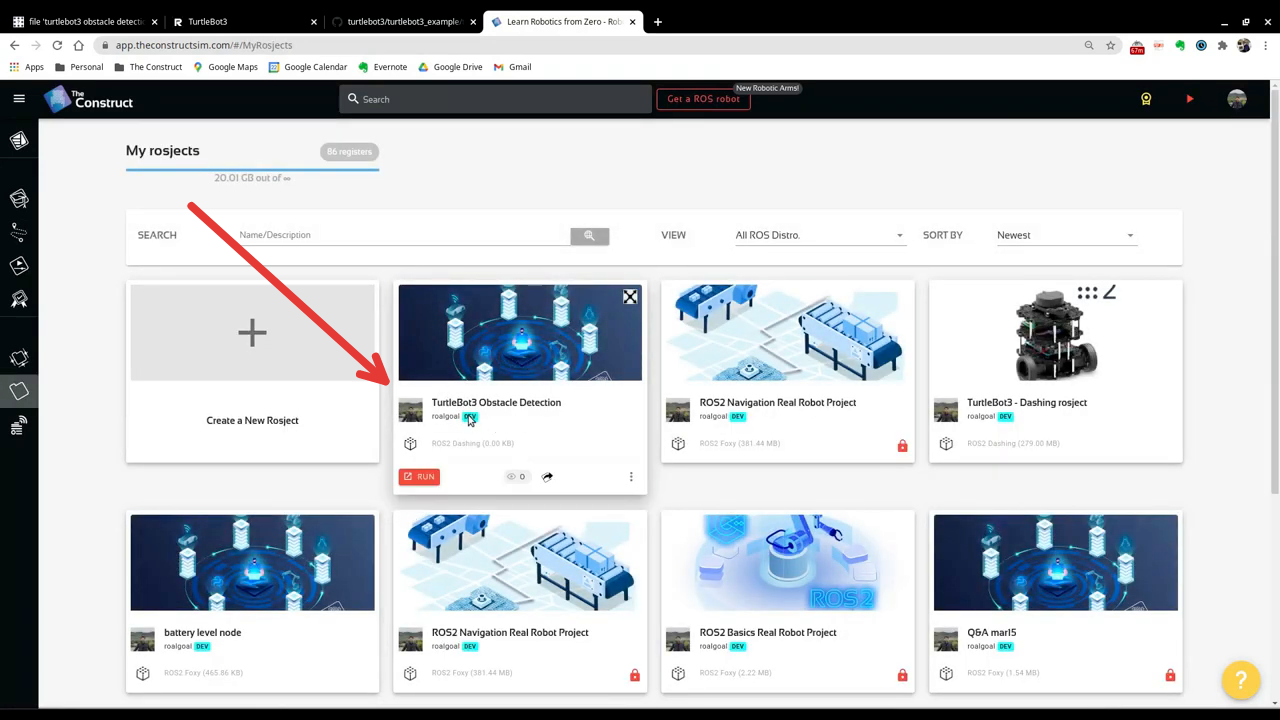
Turtlebot3 Obstacle Detection rosject for ros2
If you mouse over the recently created rosject, you should see a Run button. Just click that button to launch the rosject.
Cloning the Turtlebot3 repositories
Once the rosject is open, let’s start by cloning the necessary repositories.
Let’s open a new terminal by clicking on the Open a new shell window button:
Open a new shell
After having a web shell open, let’s enter our ros2_ws/src folder:
cd ~/ros2_ws/src
Let’s now source our ROS Foxy environment with:
source /opt/ros/foxy/setup.bash
It is worth mentioning that this source command has to be executed in all web shells that you open. If you want to automatically run that command for every shells, just add it to the .bashrc with:
echo 'source /opt/ros/foxy/setup.bash' >> ~/.bashrc
Now, when new shells are opened, that command will be executed automatically.
Now let’s clone the turtlebot3 repositories. Let’s specify the foxy-devel branch:
git clone -b foxy-devel https://github.com/ROBOTIS-GIT/turtlebot3

git clone -b foxy-devel https://github.com/ROBOTIS-GIT/turtlebot3_msgs

git clone -b foxy-devel https://github.com/ROBOTIS-GIT/turtlebot3_simulations
Before compiling our ROS2 workspace, let’s first install a package that is required:
sudo apt-get update

sudo apt-get install -y ros-foxy-dynamixel-sdk
We should now be able to compile our workspace with:
cd ~/ros2_ws/

colcon build
If everything went ok, the output you should have got should be similar to the following:
user:~/ros2_ws$ colcon build
Starting >>> turtlebot3_msgs
Starting >>> turtlebot3_description
Starting >>> turtlebot3_cartographer
Starting >>> turtlebot3_navigation2
Starting >>> turtlebot3_teleop
Finished <<< turtlebot3_teleop [1.66s]
Finished <<< turtlebot3_cartographer [12.0s]
Finished <<< turtlebot3_navigation2 [12.0s]
Finished <<< turtlebot3_description [12.3s]
[Processing: turtlebot3_msgs]
Finished <<< turtlebot3_msgs [1min 3s]
Starting >>> turtlebot3_node
Starting >>> turtlebot3_example
Starting >>> turtlebot3_fake_node
Finished <<< turtlebot3_example [1.56s]
Finished <<< turtlebot3_fake_node [14.2s]
[Processing: turtlebot3_node]
Finished <<< turtlebot3_node [52.1s]
Starting >>> turtlebot3_bringup
Finished <<< turtlebot3_bringup [2.69s]
Starting >>> turtlebot3
Finished <<< turtlebot3 [2.77s]
Starting >>> turtlebot3_gazebo
[Processing: turtlebot3_gazebo]
Finished <<< turtlebot3_gazebo [57.1s]
Starting >>> turtlebot3_simulations
Finished <<< turtlebot3_simulations [2.74s]

Summary: 12 packages finished [3min 1s]
Launching a Turtlebot3 simulation
Now that our workspace is compiled, let’s source it with:
source ~/ros2_ws/install/setup.bash
and start a simulation. For that, let’s use the following commands:
export TURTLEBOT3_MODEL=burger

ros2 launch turtlebot3_gazebo turtlebot3_world.launch.py
Now that the simulation was launched, we could open Gazebo by clicking the Gazebo button as we can see in the image below:
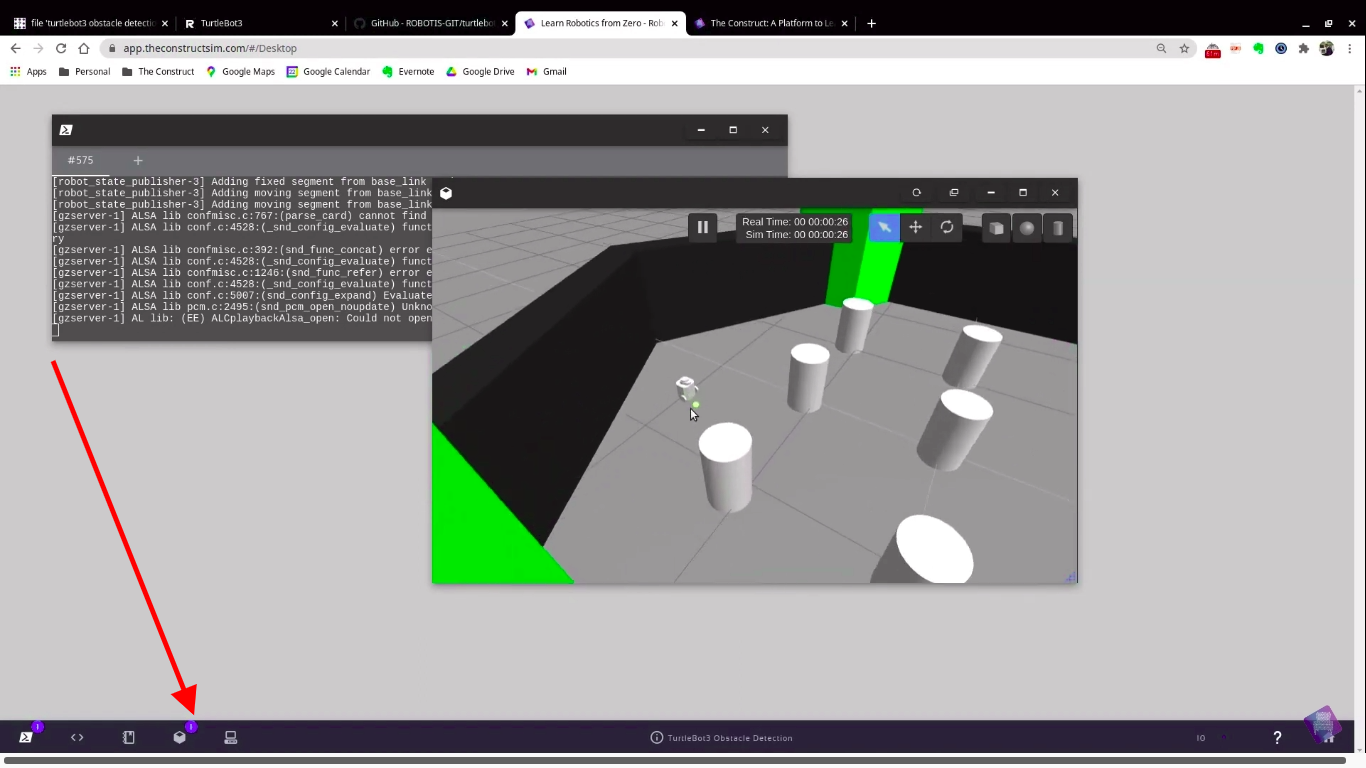
Turtlebot3 Obstacle Detection rosject – Open Gazebo
Launching the teleop keyboard
Now that the simulation is up and running, let’s run the teleop keyboard in oder to easily move the robot around.
For that, let’s open another web shell. After that, let’s source our environment:
cd ~/ros2_ws

source install/setup.bash

export TURTLEBOT3_MODEL=burger
ros2 run turtlebot3_teleop teleop_keyboard
You should now be able to move the robot around by pressing the keys as instructed in your web shell, using the keys w, a, s, d, and x.
Moving around:
  w
a s d
  x
Launching the Object Detector
Awesome. Now we have our simulation running, the keyboard teleoperator running, it is now time to run our Object Detector.
For that, let’s open a new terminal (the third one). After having it open, let’s source our workspace again:
cd ~/ros2_ws

source install/setup.bash

export TURTLEBOT3_MODEL=burger

ros2 run turtlebot3_example turtlebot3_obstacle_detection
The obstacle detection should now be working properly. It should output something similar to the following:
[INFO] [1638920304.914586963] [turtlebot3_obstacle_detection]: Turtlebot3 obstacle detection node has been initialised.
Since it may be subscribed to the /cmd_vel_raw topic, let’s kill the keyboard teleop launched in the second terminal, and run it again as follows (using the /cmd_vel_raw topic):
export TURTLEBOT3_MODEL=burger
ros2 run turtlebot3_teleop teleop_keyboard /cmd_vel:=/cmd_vel_raw
If you now move next to the wall, the terminal where the Obstacle Detector node was launched, you should see some messages saying that an obstacle was detected. Something similar to:
[INFO] [1638920462.116441990] [turtlebot3_obstacle_detection]: Obstacles are detected nearby. Robot stopped.
[INFO] [1638920462.126177608] [turtlebot3_obstacle_detection]: Obstacles are detected nearby. Robot stopped.
[INFO] [1638920462.136174240] [turtlebot3_obstacle_detection]: Obstacles are detected nearby. Robot stopped.
[INFO] [1638920462.146231079] [turtlebot3_obstacle_detection]: Obstacles are detected nearby. Robot stopped.
[INFO] [1638920462.160709358] [turtlebot3_obstacle_detection]: Obstacles are detected nearby. Robot stopped.
Congratulations. You now know how to detect obstacles with Turtlebot3 using ROS2.
Youtube video
So this is the post for today. Remember that we have the live version of this post on YouTube (important: the video uses the ROS Dashing version, but it may help you anyway). If you liked the content, please consider subscribing to our youtube channel. We are publishing new content ~every day.
Keep pushing your ROS Learning.


0 Comments