ROS-based Robot
SUMMIT-XL
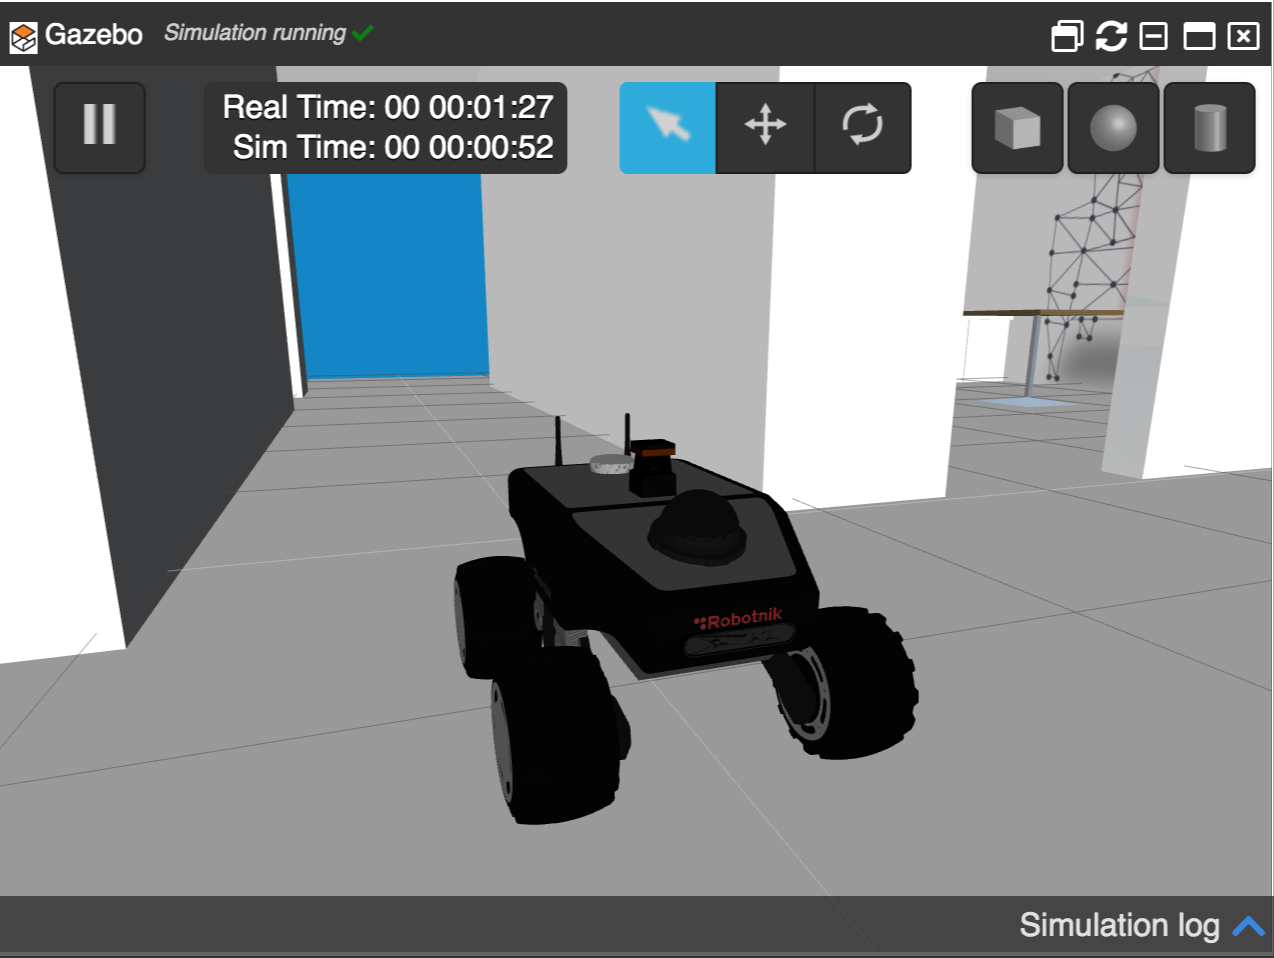
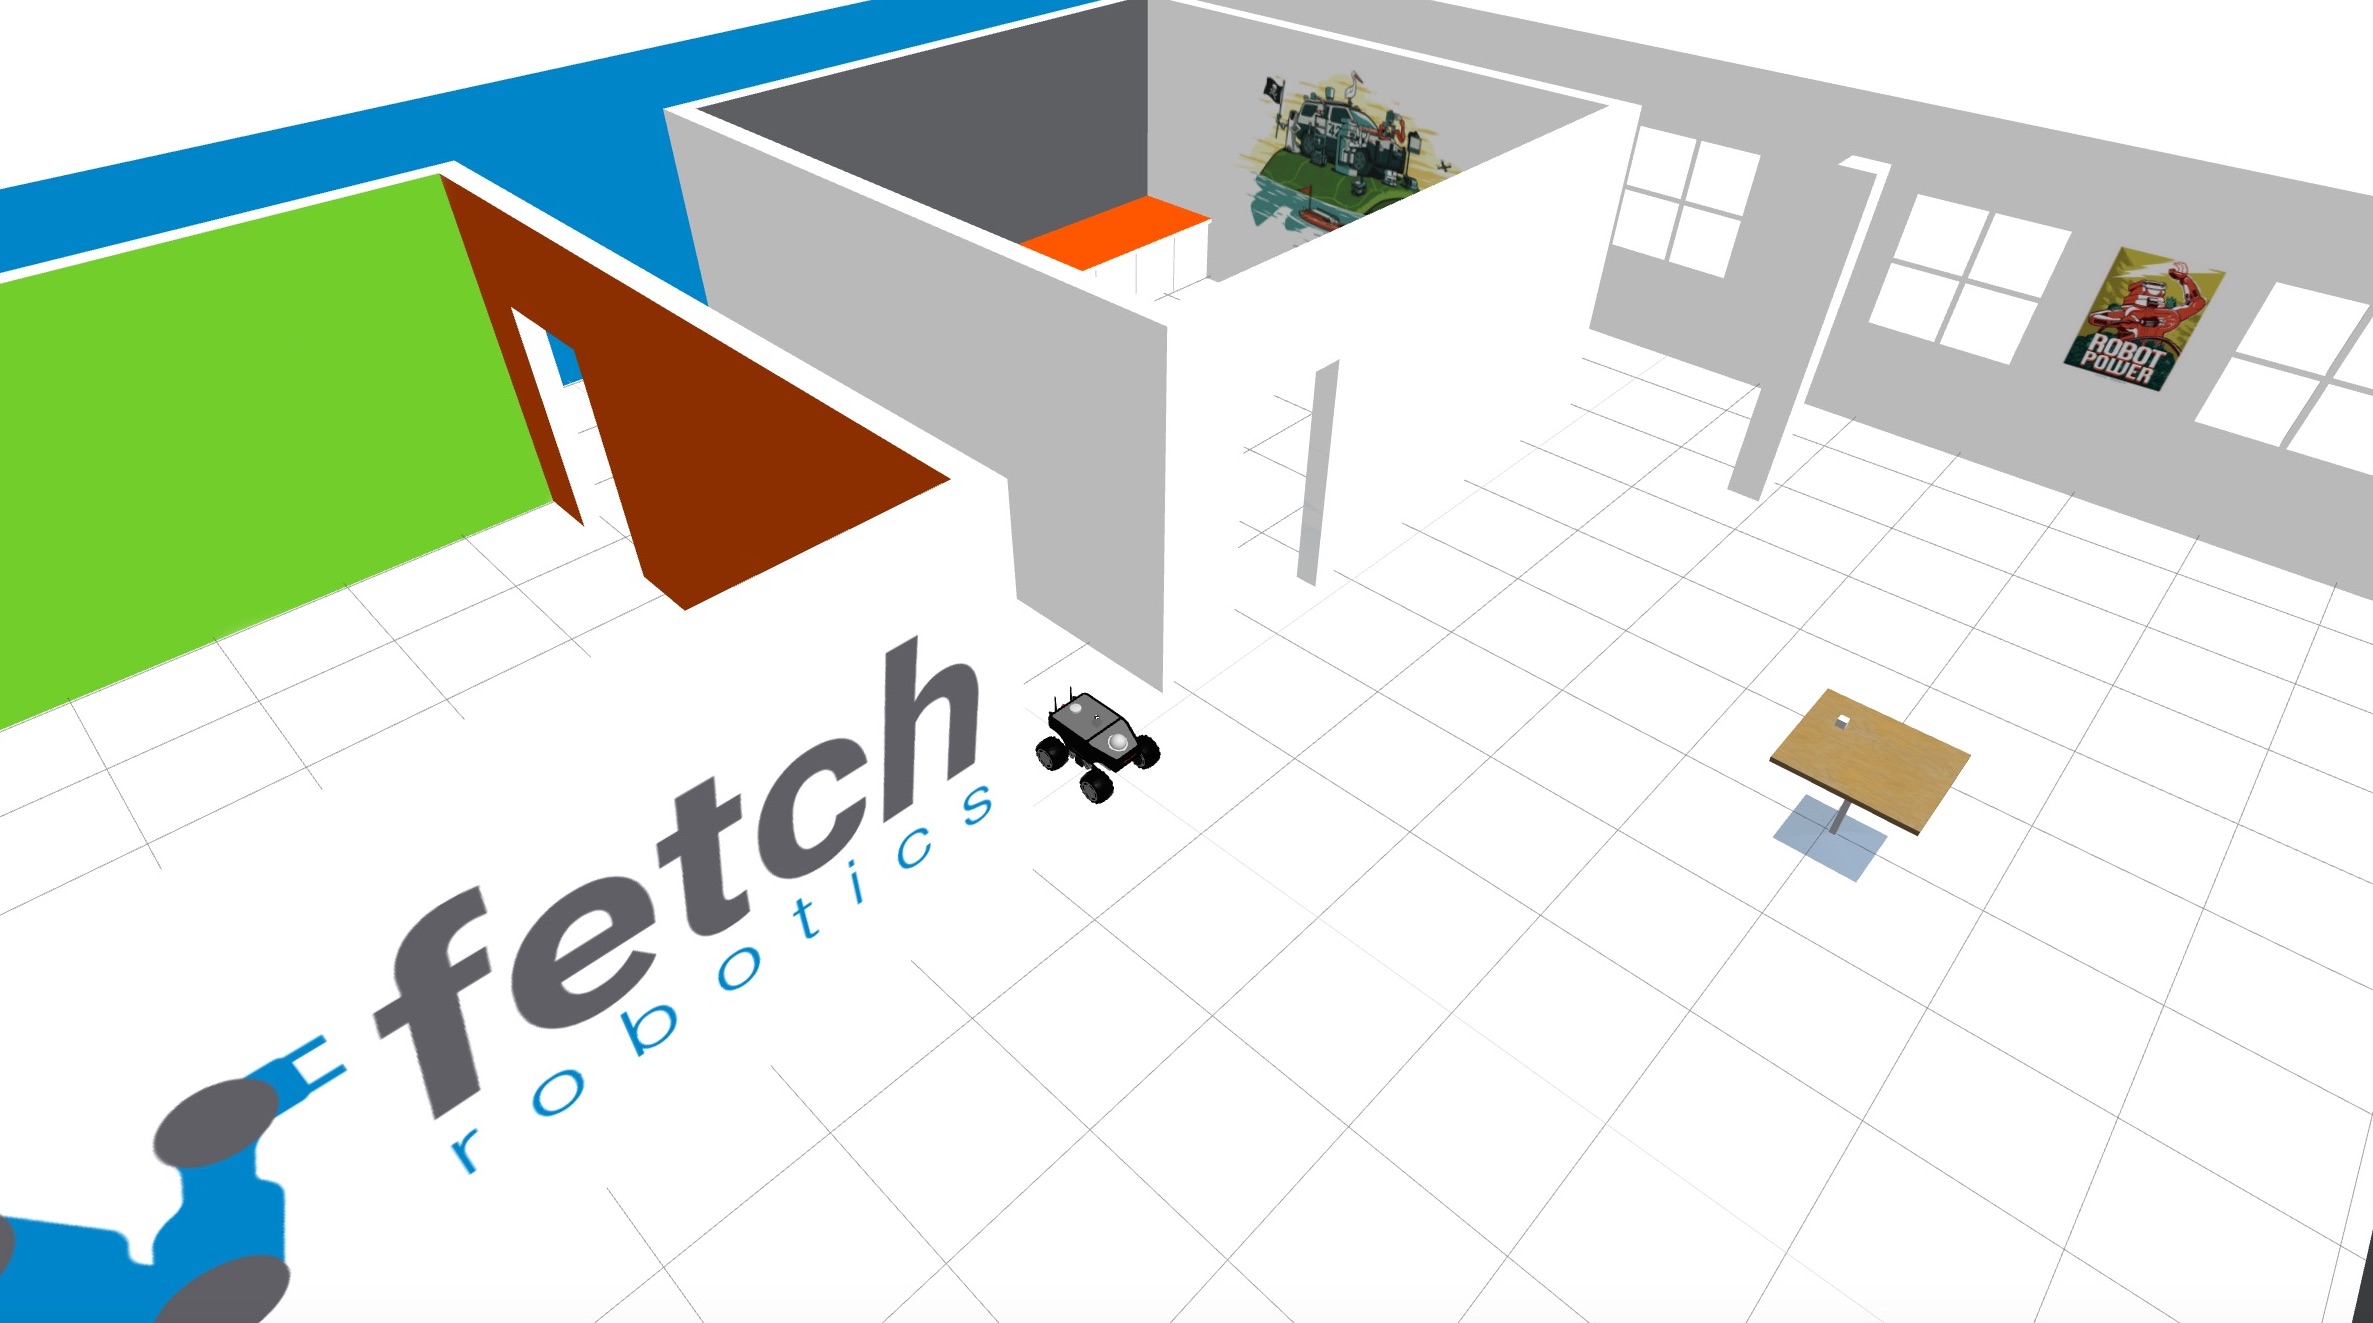
With the SUMMIT-XL robot simulation, you can do similar stuff without the risk of damaging the real version. You can use it to test any algorithms, such as Robot Navigation in indoor or outdoor environments. Once you have your code working in the simulation, you can directly execute it in the real SUMMIT-XL robot, with minimal to no changes!
Works with

ROS 1

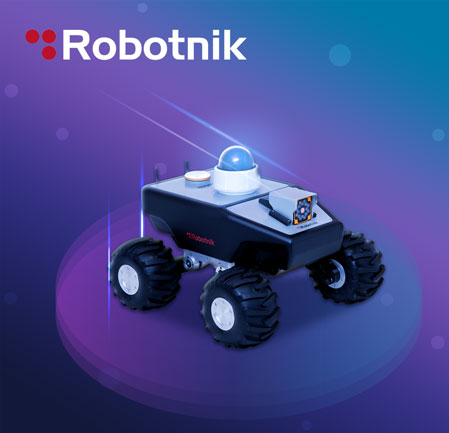
About SUMMIT-XL

SUMMIT-XL is a highly versatile mobile robot capable of carrying loads of up to 65 Kg.
The mobile robot can navigate autonomously or be teleoperated by means of a Pan-Tilt-Zoom camera that transmits video in real time.
The platform allows two types of configurations: with mecanum wheels or with rubber wheels. The former are recommended for indoor places while the latter are appropriate for outdoor environments. This makes the robot an agile and highly mobile vehicle.
The common sensor options include a Hokuyo laser scanner and a range of RTK-DGPS kits . Likewise, it has internal and external connectivity to easily connect all kinds of components.
SUMMIT-XL uses the ROS open architecture.
(source: Robotnik)
Related courses
Mastering with ROS: SUMMIT-XL
Learn all the basics to work with the Summit XL robot
Fuse Sensor Data to Improve Localization
Learn how to fuse GPS, IMU, odometry and other sources of localization
Robot Used: SUMMIT-XL
Related resources
LIVE Class – How to map and localize a robot using ROS
Class’s ROSJECT: https://app.theconstructsim.com/#/LiveClass/6d81098c-9f98-4e79-9830-166fdb3370fa
The first thing that an autonomous robot must know to do is how to navigate in an environment.
In this class, you’ll learn how to create a map of the environment for your robot with ROS, and how to localize your robot on that map. Further classes will show you how to move the robot along the space using the map and the localization.
By the end of this Live Class you will understand:
▸ How to create a map of the environment where your robot will work ▸ How to localize your robot in that map
Robot Used: SUMMIT-XL
LIVE Class – Autonomous Robot Navigation with ROS
Class’s ROSJECT: https://app.theconstructsim.com/#/LiveClass/51d2828a-c206-4e61-959f-af68cef80961
In this class we are going to learn how to make a robot use that map to plan paths, move autonomously on the environment and avoid obstacles, using the ROS navigation stack and the move_base.
Robot Used: SUMMIT-XL
LIVE Class – Localize a robot using GPS
Class’s ROSJECT: https://app.theconstructsim.com/#/LiveClass/52390f6e-e2aa-473d-af9c-46cea0eaf71c
In this ROS Live Class, you will be able to have a crude, but useful, system to position and move your robot around an outdoor terrain without a map, by using a GPS, odometry, and IMU. We will use the robot_localization package.
Robot Used: SUMMIT-XL
LIVE Class – How to fuse Odometry & IMU using Robot Localization Package
Class’s ROSJECT: https://app.theconstructsim.com/#/LiveClass/7dc53e5b-74fd-4c41-9fe1-cb83556821de
One way to get better odometry from a robot is by fusing wheels odometry with IMU data. We’re going to see an easy way to do that by using the robot localization package, an amazing ROS package that allows to mix any sensor information into more stable and exact localization data by using Kalman Filters. Even if robot_localization allows to mix many sensor data, in this class we are going to concentrate on mixing odometry with IMU only.
Robot Used: SUMMIT-XL
LIVE Class – How to Create a Map for Robot Navigation using Cartographer
Class’s ROSJECT: https://app.theconstructsim.com/#/LiveClass/6f885558-0b41-4224-be12-8efff5c295a1
In this class, you will learn how to use Cartographer in order to create a map for navigation.
Why is it so important to learn this topic?
A very important part of robotics is navigation, the ability of a robot to move in an environment, whether for transport, exploration, or various other uses in robotics. There are many techniques that can make robots navigate. The most common is based on SLAM. In order to make a robot move around using SLAM, you need to deal with four things:
- How to create a map of the environment: this helps the robot understand the environment in which it will work
- How to localize the robot on that map: this means that the robot has to identify where it is in the environment and to which point in the map it corresponds
- How to compute a path from a point to another on the map – How to move the robot following the path
- How to make the robot avoid obstacles in its path
You also need for the robot to have:
– A laser
– An odometry system
In this particular case, you will learn how to create a map using Cartographer. Cartographer is a system that provides real-time, simultaneous localization and mapping (SLAM) in 2D and 3D across multiple platforms and sensor configurations
Robot Used: SUMMIT-XL
Tutorials - What are the differences between global and local costmap
Get all the ROS code of the video in this link: http://www.rosject.io/l/c354a44/
In the following video, we are going to explain, using a simple example with Summit-XL robot, what are the main differences between the global costmap and the local costmap.
Tutorials - [Robot Modeling] Create a Virtual Model of an Omni Wheel Robot
Welcome to this series of creating a virtual model of a robot that uses mechanum wheels.
You will learn:
– What is an Omni Wheel
– Modeling an Omni Wheels using URDF
– Create launch files and show Omni Wheels in RViz/Gazebo
Episode 1
Get all the ROS code of the video in this link: http://www.rosject.io/l/bdea2dc/
Episode 2
Get all the ROS code of the video in this link: http://www.rosject.io/l/bdfeef9/
In episode 2, we will learn:
- How to assemble the mechanum robot & create XACRO files
- Understand launch files and robot descriptions in RViz/Gazebo
Episode 3
Get all the ROS code of the video in this link: http://www.rosject.io/l/be09cef/
This video aims to teach how the Gazebo plugins work with ROS and how to use then to move a robot with mecanum wheels.
You will learn:
– Set up a gazebo plugin in the XACRO file
– Control your robot with mecanum wheels using the keyboard
Episode 4
Get all the ROS code of the video in this link: http://www.rosject.io/l/be17f8b/
In this video, we’re going to compare our Mechanum Wheels to the simpler Diff Drive robot by using the standard “go-to point” motion planning algorithm and an improved one
You will learn:
– Understand better the broad range of possibilities of mechanum wheels
– Code a simple motion planning algorithm