

What we are going to learn
- How to configure ROS_DOMAIN_ID
- How to have separated ROS2 environments in the same network
- How to launch ROS2 programs in different environments
List of resources used in this post
- The Construct: https://app.theconstructsim.com/
- ROS2 Tutorials –▸
- ROS2 Basics in 5 Days (Python): https://app.theconstructsim.com/#/Course/73
- ROS2 Basics in 5 Days (C++): https://app.theconstructsim.com/#/Course/61
- ROS Domain ID documentation: https://docs.ros.org/en/foxy/Concepts/About-Domain-ID.html
Brief Start
Today we will be learning ROS_DOMAIN_ID, something new in ROS2 that works on top of DDS, the communication layer.
What it really does? It basically allows you to isolate two or more ROS environments in the same physical network.
Each DOMAIN_ID would allow you to have around 120 nodes.
Creating a rosject
In order to learn ROS_DOMAIN_ID with hands-on, we need to have a system with ROS installed. We are going to use The Construct (https://app.theconstructsim.com/) for this tutorial, but if you have ROS2 installed on your own computer, you should be able to do ~everything on your own computer, except this creating a rosject part.
Let’s start by opening The Construct (https://www.theconstruct.ai/) and logging in. You can easily create a free account if you still don’t have one.
Once inside, let’s click My Rosjects on the left side and then, Create a new rosject.
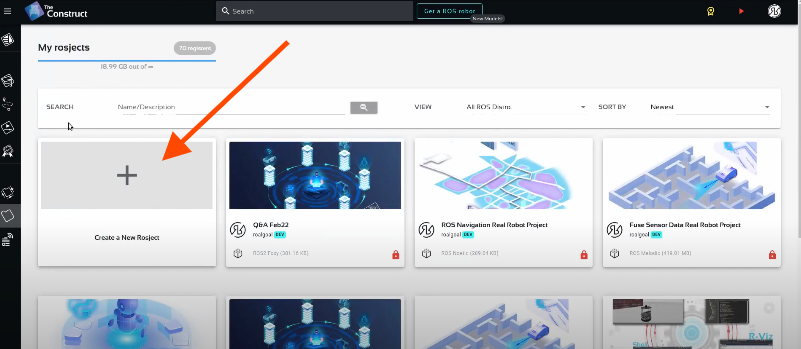
Create a new rosject
Let’s select ROS2 Foxy for the ROS Distro of the rosject, let’s name the rosject as you want. You can leave the rosject public. You should see the rosject you just created in your rosjects list (the name is certainly different from the example below that was added just for learning purposes)
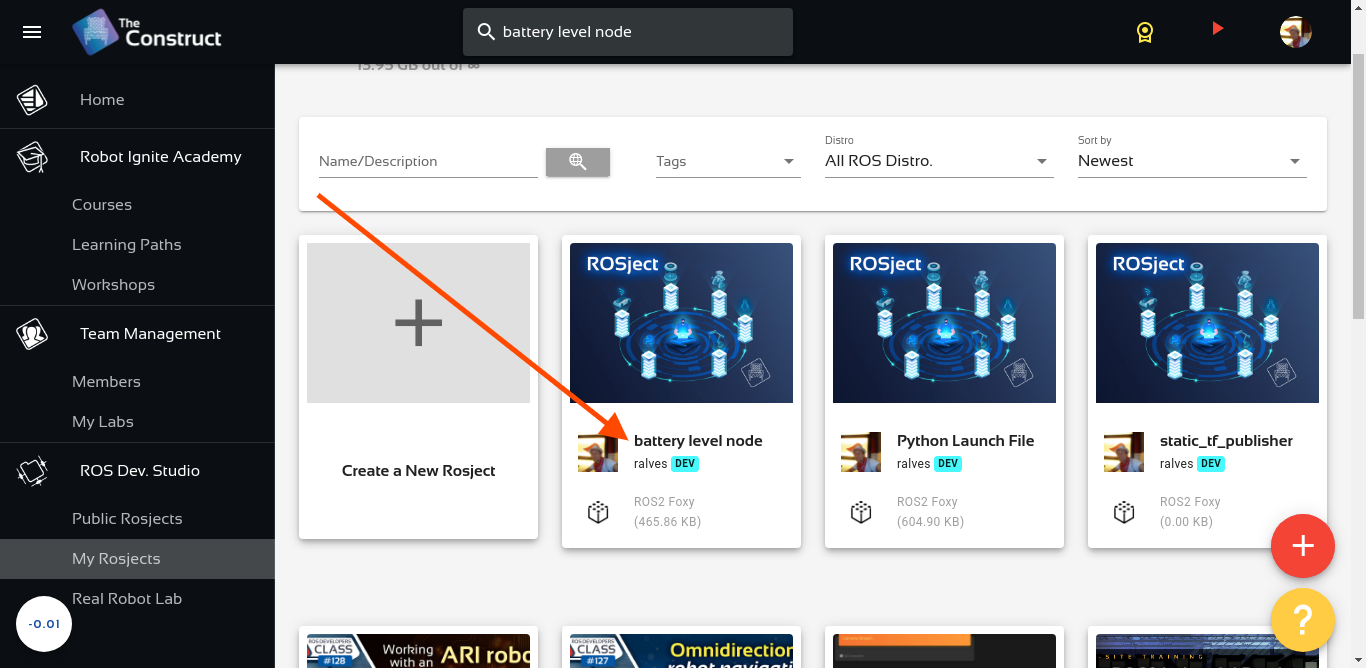
If you mouse over the recently created rosject, you should see a Run button. Just click that button to launch the rosject.
Running a publisher on ROS_DOMAIN_ID=0
Assuming that you have clicked the Run button and have your rosject running, let’s now create a publisher using the terminal. For that, let’s start by opening a terminal.
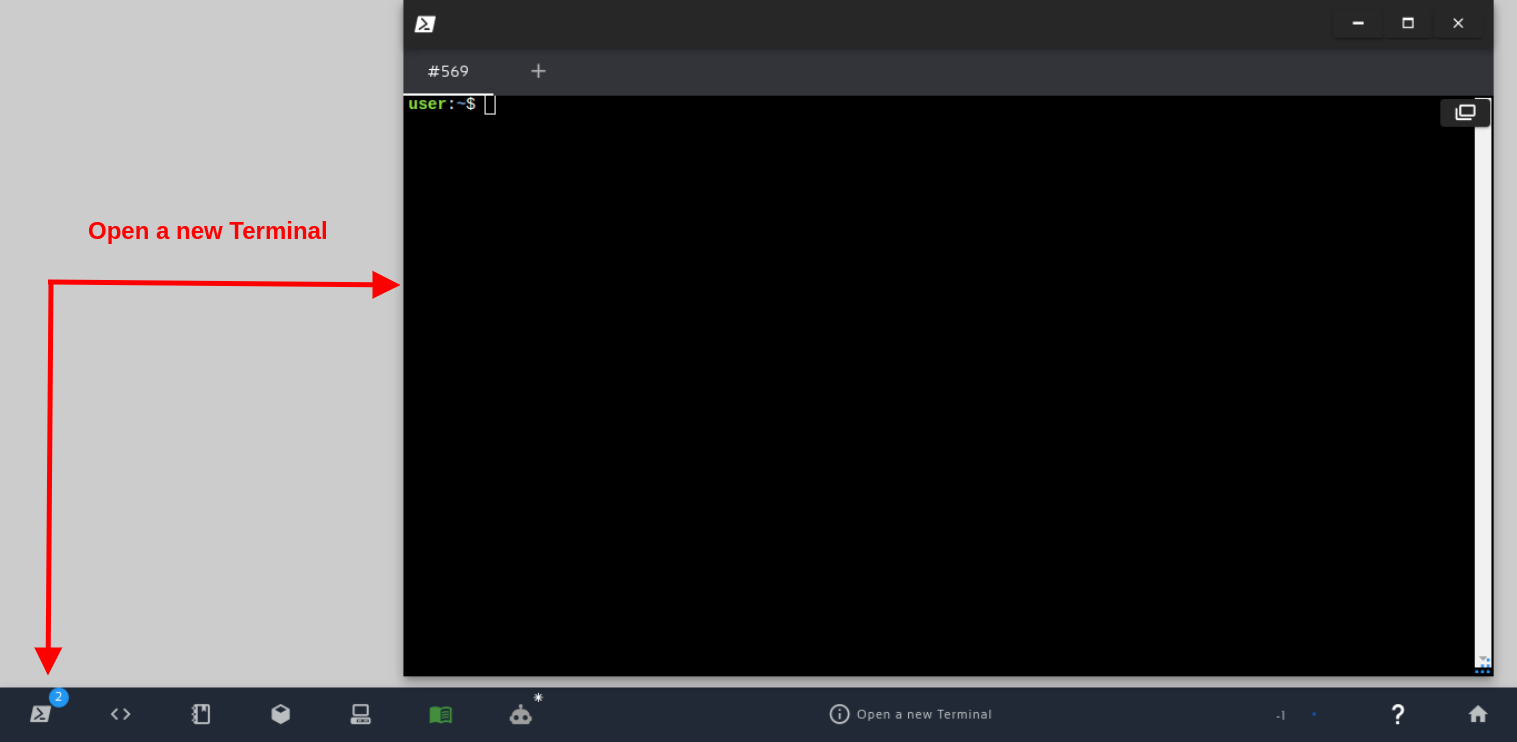
Open a new Terminal
Now, let’s run the following command to run create a publisher in the first terminal:
ros2 topic pub -r 1 /string_topic std_msgs/String "{data: \"Hello from my domain\"}"
We should have the following output:
publisher: beginning loop
publishing #1: std_msgs.msg.String(data='Hello from my domain')
publishing #2: std_msgs.msg.String(data='Hello from my domain')
publishing #3: std_msgs.msg.String(data='Hello from my domain')
publishing #4: std_msgs.msg.String(data='Hello from my domain')
publishing #5: std_msgs.msg.String(data='Hello from my domain')
publishing #6: std_msgs.msg.String(data='Hello from my domain')
publishing #7: std_msgs.msg.String(data='Hello from my domain')
...
If you look carefully at the command that we typed, we are basically creating a topic called string_topic with std_msgs/String data type and we are publishing Hello from my domain every 1 second.
Running a ROS2 Subscriber on ROS_DOMAIN_ID=0
If we open a second terminal, we can see the topics by typing ros2 topic list and we should be able to see our string_topic:
user:~$ ros2 topic list
/parameter_events
/rosout
/string_topic
We can also subscribe to that topic and see what is being published there with ros2 topic echo /string_topic, which should output:
user:~$ ros2 topic echo /string_topic

data: Hello from my domain
---
data: Hello from my domain
---
data: Hello from my domain
---
Up to now we did not setup any ROS_DOMAIN_ID, but we are running on Domain 0 (zero).
How do we know this? Because when we do not set any ROS_DOMAIN_ID, the default value is zero.
If we list the processes and grep for ros-domain, we can also see that the default ID is 0.
Let’s list the processes in a third terminal and search for ros-domain with the following command
ps -ax| grep ros-domain
We should see –ros-domain-id 0 at the end of the command line used to launch the ros2_daemon, which is launched automatically when you run your first ros2 command.
/usr/bin/python3 /opt/ros/foxy/bin/_ros2_daemon --rmw-implementation rmw_fastrtps_cpp --ros-domain-id 0
Publisher and Subscriber on ROS_DOMAIN_ID=1
Now, let’s go to the first terminal, stop the current publisher by pressing CTRL+C, and let’s relaunch the publisher but now setting the ROS_DOMAIN_ID=1.
ROS_DOMAIN_ID=1 ros2 topic pub -r 1 /string_topic std_msgs/String "{data: \"Hello from my 2ND domain\"}"
You should see that the publisher is running as expected:
publisher: beginning loop
publishing #1: std_msgs.msg.String(data='Hello from my 2ND domain')
publishing #2: std_msgs.msg.String(data='Hello from my 2ND domain')
publishing #3: std_msgs.msg.String(data='Hello from my 2ND domain')
publishing #4: std_msgs.msg.String(data='Hello from my 2ND domain')
publishing #5: std_msgs.msg.String(data='Hello from my 2ND domain')
publishing #6: std_msgs.msg.String(data='Hello from my 2ND domain')
publishing #7: std_msgs.msg.String(data='Hello from my 2ND domain')
...
But if we check the output of the subscriber in the second terminal, we see that the messages stopped coming.
We are not receiving the new messages in the second terminal, and the reason for that is simple: the subscriber is on ROS_DOMAIN_ID=0, and the publisher is on ROS_DOMAIN_ID=1. They are basically on different ROS Networks, that is why they do not see each other.
If we now stop the subscriber by pressing CTRL+C on the second terminal, we can run it again but on ROS_DOMAIN_ID=1 to see the messages being published:
ROS_DOMAIN_ID=1 ros2 topic echo /string_topic
We should see now that the messages are correctly coming:
data: Hello from my 2ND domain
---
data: Hello from my 2ND domain
---
data: Hello from my 2ND domain
...
ROS2 topic list on different ROS_DOMAIN_IDs
So far we learned that the ros2 topic pub and ros2 topic echo commands can use different domains, but it is worth mentioning that the ROS_DOMAIN_ID thing is not restricted only to these two commands. Any ROS2 command should respect this ROS_DOMAIN_ID.
If in the second terminal we stop the subscriber with CTRL+C and run ros2 topic list , we will not see the string_topic there:
ros2 topic list

/parameter_events
/rosout
But if we set the ROS_DOMAIN_ID to 1, we will see the string_topic topic there:
ROS_DOMAIN_ID=1 ros2 topic list

/parameter_events
/rosout
/string_topic
All right! We could go on with more examples, but I think you should now have understood how ROS_DOMAIN_ID works.
Here we did not explain why we can only have ~120 nodes in each ROS_DOMAIN_ID. We recommend you go to https://docs.ros.org/en/foxy/Concepts/About-Domain-ID.html and read it carefully to understand it better.
Youtube video
So this is the post for today. Remember that we have the live version of this post on YouTube. If you liked the content, please consider subscribing to our youtube channel. We are publishing new content ~every day.
Keep pushing your ROS Learning.
Related Courses & Training
If you want to learn more about ROS and ROS2, we recommend the following courses:
- ROS2 Basics in 5 Days (Python): https://app.theconstructsim.com/#/Course/73
- ROS2 Basics in 5 Days (C++): https://app.theconstructsim.com/#/Course/61


0 Comments