![[ROS2 Q&A] 238 - How to create map for Robot Fleet Management Open-RMF](https://www.theconstruct.ai/wp-content/uploads/2023/02/ROS2-Q-and-A-238-How-to-create-map-for-Robot-Fleet-Management-Open-RMF.jpg "[ROS2 Q&A] 238 – How to create map for Robot Fleet Management Open-RMF")

What we are going to learn
- How to use RMF already installed in a rosject
- How to use a map created by SLAM as a base for RMF
List of resources used in this post
- Use the rosject: https://app.theconstructsim.com/l/51e404da/
- The Construct: https://app.theconstructsim.com/
- Open-RMF: https://www.open-rmf.org/
- Open-RMF Demos: https://github.com/open-rmf/rmf_demos
- ROS2 Courses –▸
- ROS2 Basics in 5 Days Humble (Python): https://app.theconstructsim.com/Course/132
- ROS2 Basics in 5 Days Humble (C++): https://app.theconstructsim.com/Course/133
- Open-RMF / Fleet Management Training: https://www.theconstruct.ai/robot-fleet-management-ros2-open-rmf-training/
Overview
Open-RMF stands for Open Robotics Middleware Framework, and it is a Common Language for Robot Interoperability.
It is a modular software system that enables sharing and interoperability between multiple fleets of robots and physical infrastructure, like doors, elevators, and building management systems.
This post is an introduction to the map you will need in order to use Open-RMF.
ROS Inside!

ROS Inside
Before anything else, if you want to use the logo above on your own robot or computer, feel free to download it and attach it to your robot. It is really free. Find it in the link below:
Opening the rosject
In order to follow this tutorial, we need to have ROS2 and Open-RMF installed in our system, and ideally a ros2_ws (ROS2 Workspace). To make your life easier, we have already prepared a rosject with a simulation for that: https://app.theconstructsim.com/l/51e404da/.
You can download the rosject on your own computer if you want to work locally, but just by copying the rosject (clicking the link), you will have a setup already prepared for you.
After the rosject has been successfully copied to your own area, you should see a Run button. Just click that button to launch the rosject (below you have a rosject example).

How to create a map for Robot Fleet Management Open-RMF – Run rosject (example of the RUN button)
After pressing the Run button, you should have the rosject loaded. Now, let’s head to the next section to get some real practice.
Why do we need a map, after all?
When we use Open-RMF, we want to control a fleet of robots, and since robots move around, we need a way to go through the building, and for that, we need a map.
If we check the rmf_demos repository, it shows an image of a blueprint of a building,
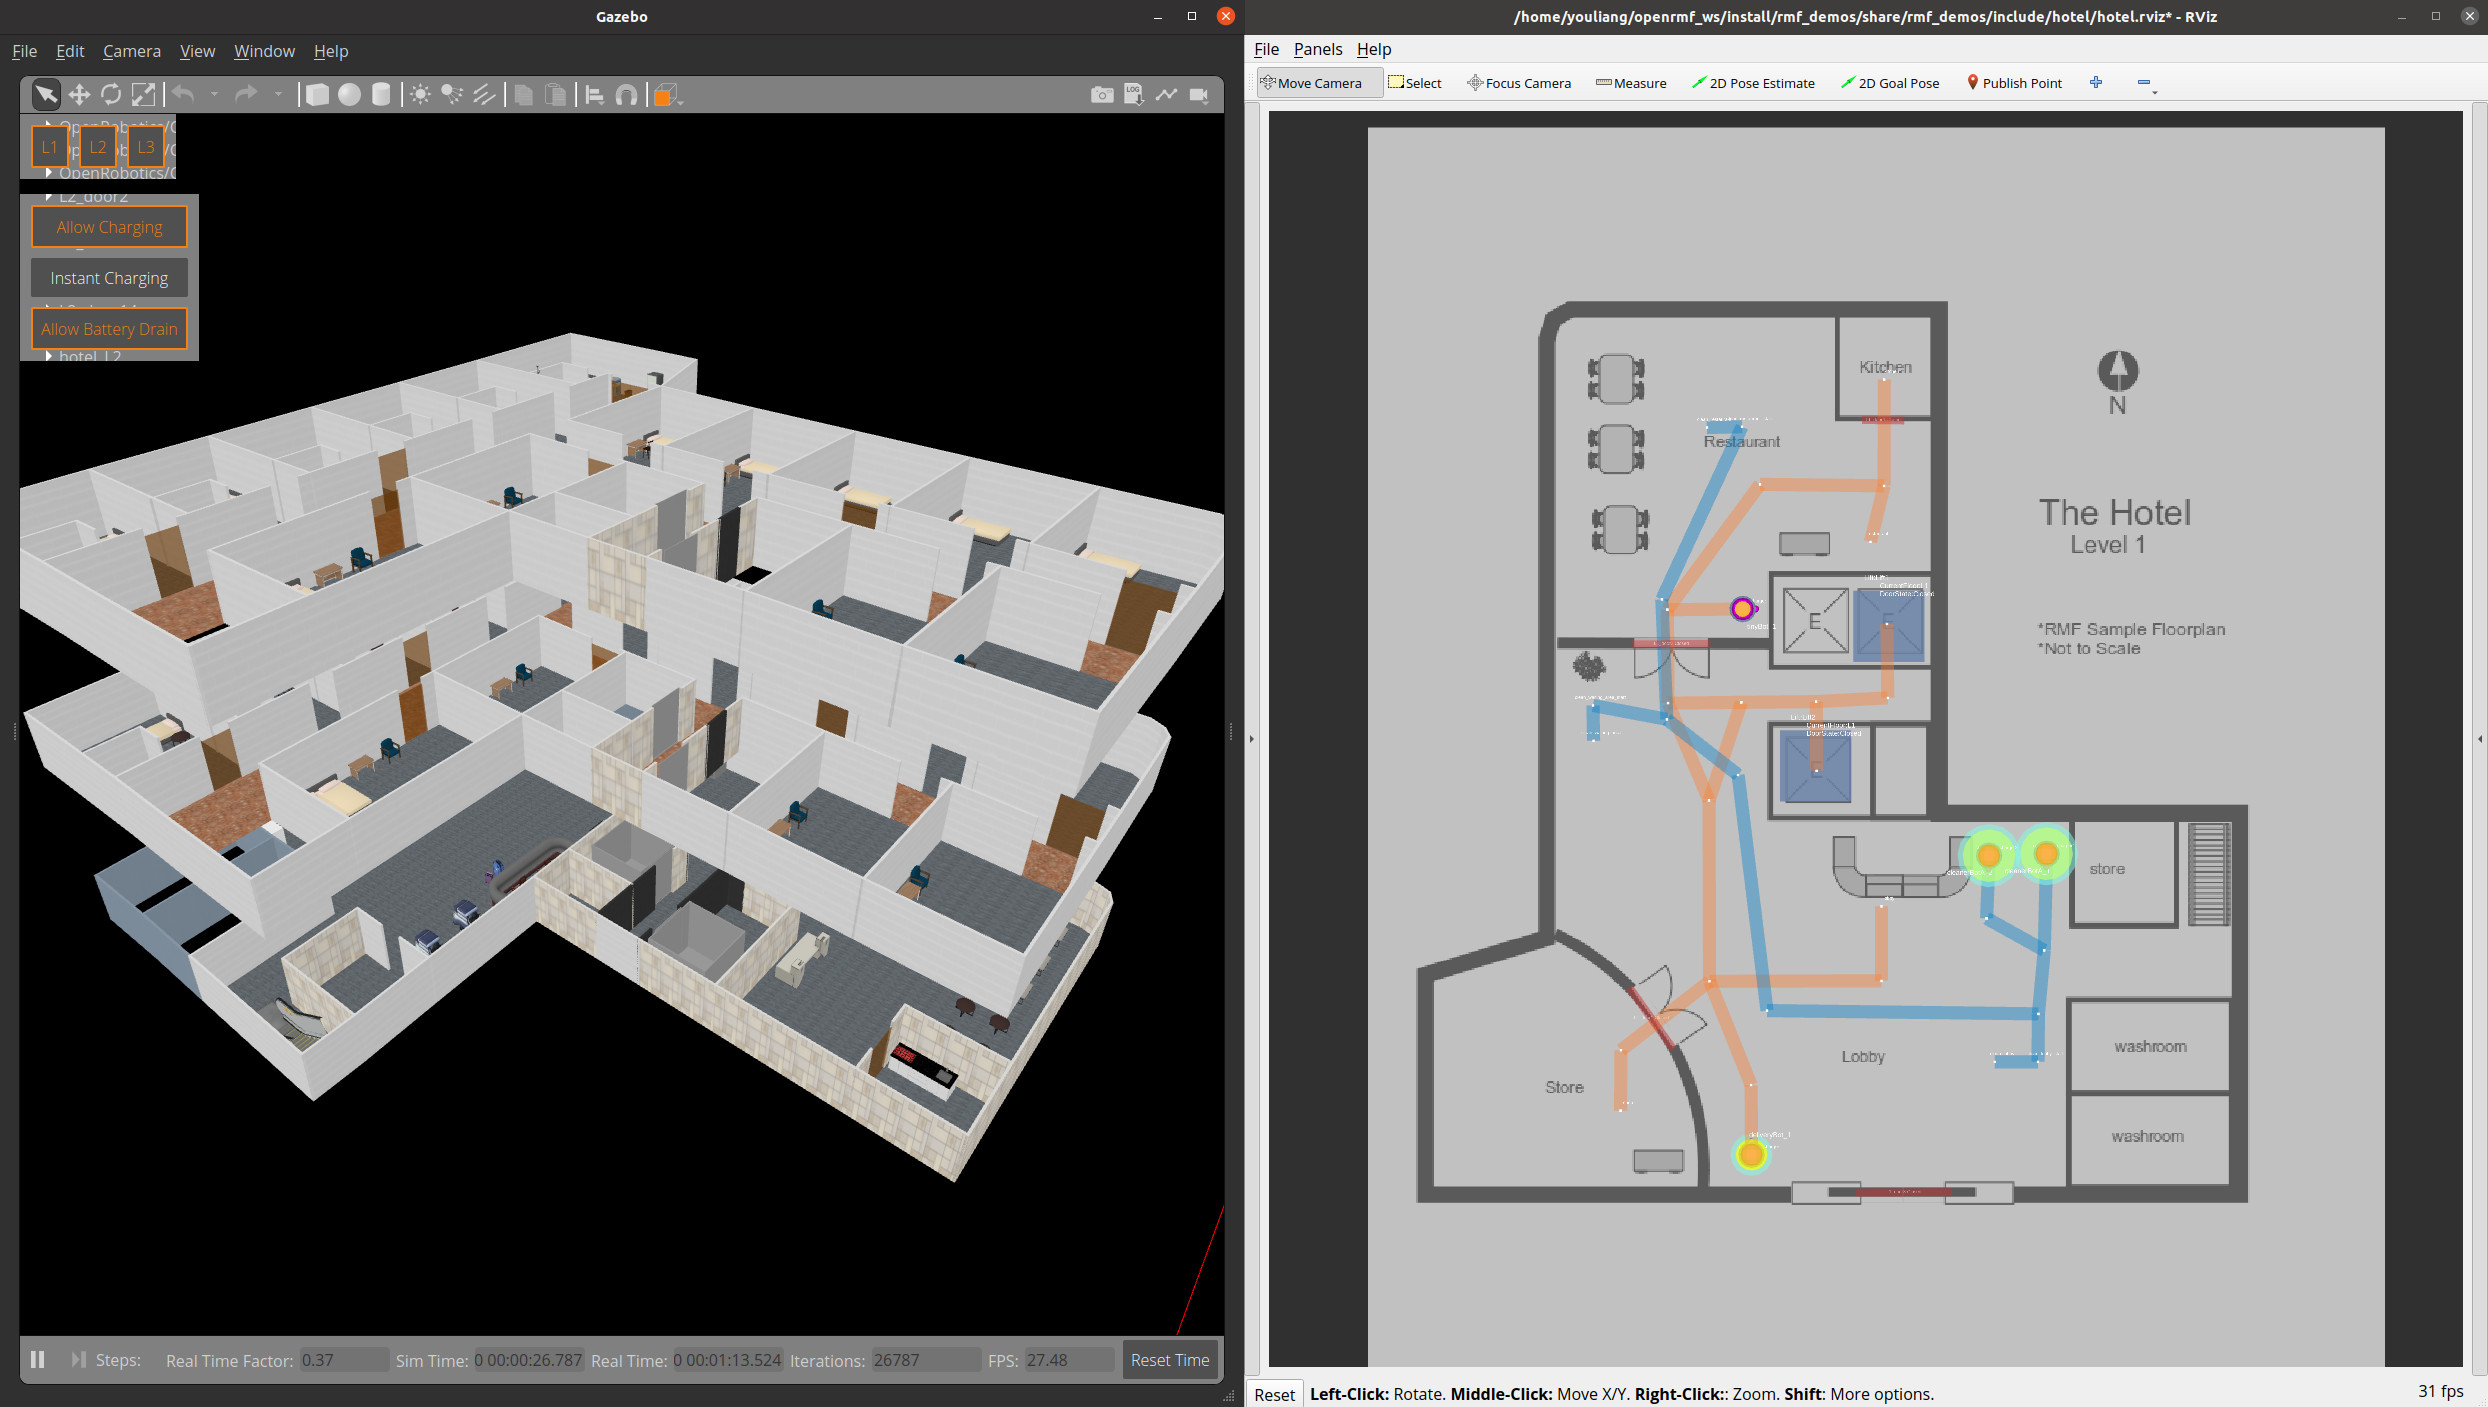
Open-RMF hotel world by Open-Robotics
In order to move the robot around, Open-RMF has a pipeline that goes as follows:
- We start with the blueprint of a building
- Use the Traffic Editor to paint the walls and the paths that the robot can follow in the building. The robots have autonomous navigation but we still limit the robots to certain areas. If we check the image above, we see two paths, a blue and an orange one. This means that there are two fleets of robots operating in this area. Each fleet can move in one of these paths.
- We start from the blueprint and create a simulation from that blueprint
But we found that most of the time we already have a simulation of a building, for example, and we want to make Open-RMF adapt to our simulation, instead of making our simulation adapt to Open-RMF.
That is what is this post about: How to make your own map to be used by Open-RMF.
Starting the simulation
After having opened the rosject, let’s start a simulation. For that, let’s open a terminal by clicking the Open a new terminal button.
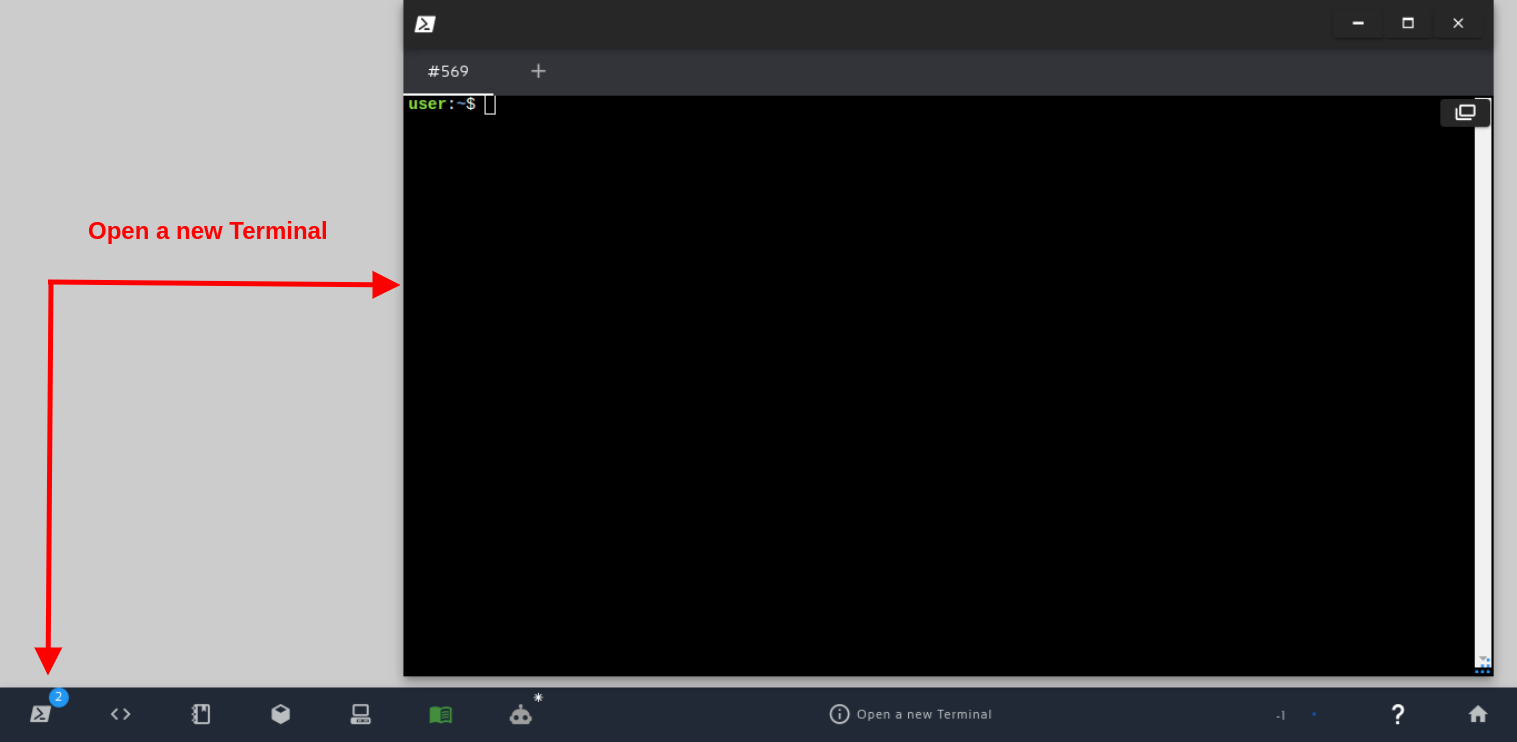
Open a new Terminal
Once inside the terminal, let’s run the commands below:
cd ~/ros2_ws
ros2 launch barista_gazebo start_world_standalone.launch.py
After a few seconds, we should have a simulation open, like in the image below (if for any reason you think the simulation is empty, just zoom out using the mouse to find the simulation):
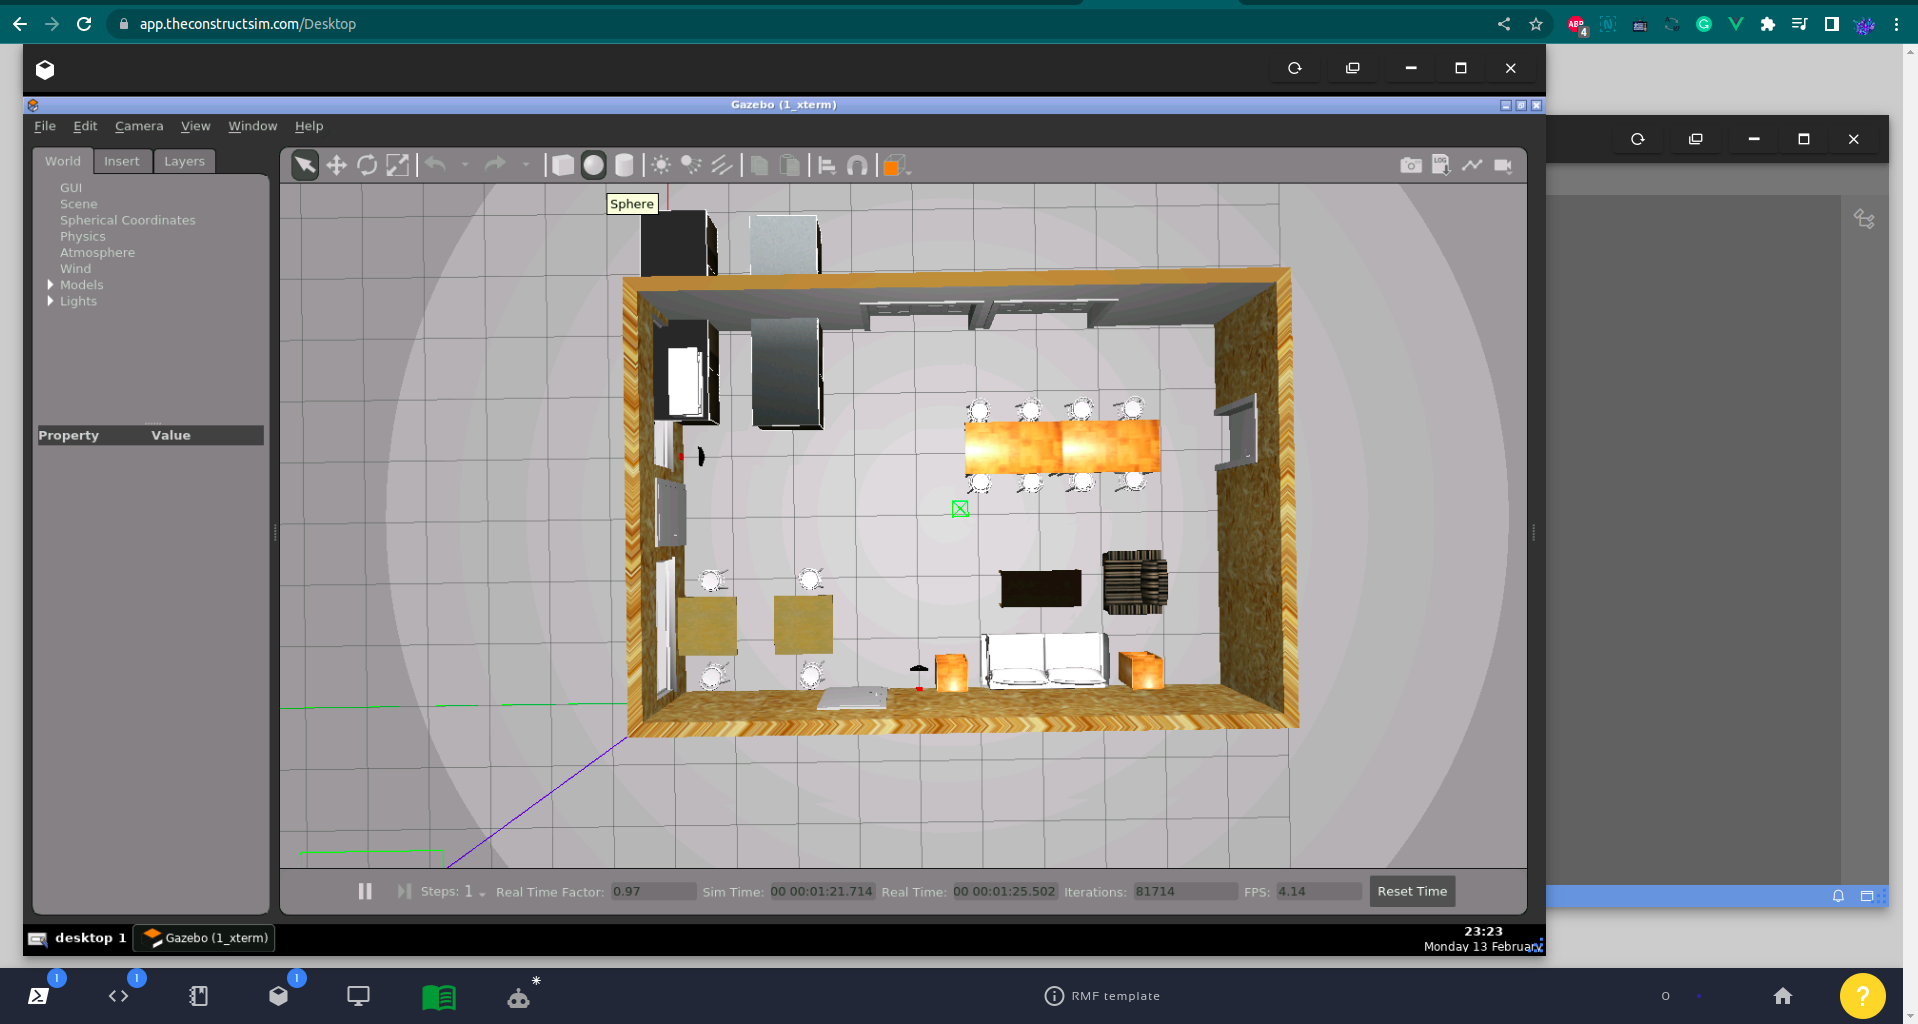
Starbots Coffee simulation for Open-RMF on The Construct
Now that you see the simulation, we basically want to make a map of that building that appears in the simulation.
Normally, everyone who has a Gazebo simulation already has a map of that area to make the robot move around. In this case, the cartographer_slam package has been used to create a map of the environment.
The image below is what we are talking about when we say we already have a map of the environment:
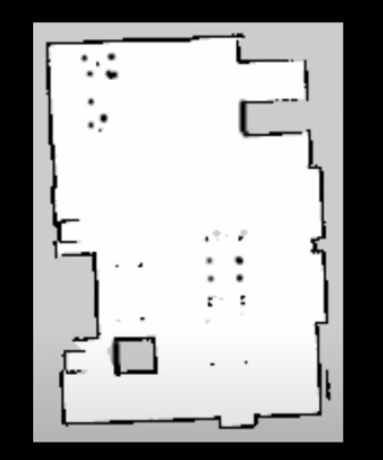
Starbots Coffee Cartographer Map for Open-RMF
If you want to see that image of the map, it is available in the following path in the rosject:
- ~/ros2_ws/src/starbots_rmf/maps/starbots_sim.png
In order to download that file, you can just use the IDE (Code Editor) for that. If you don’t know how to open it, please check the image below:
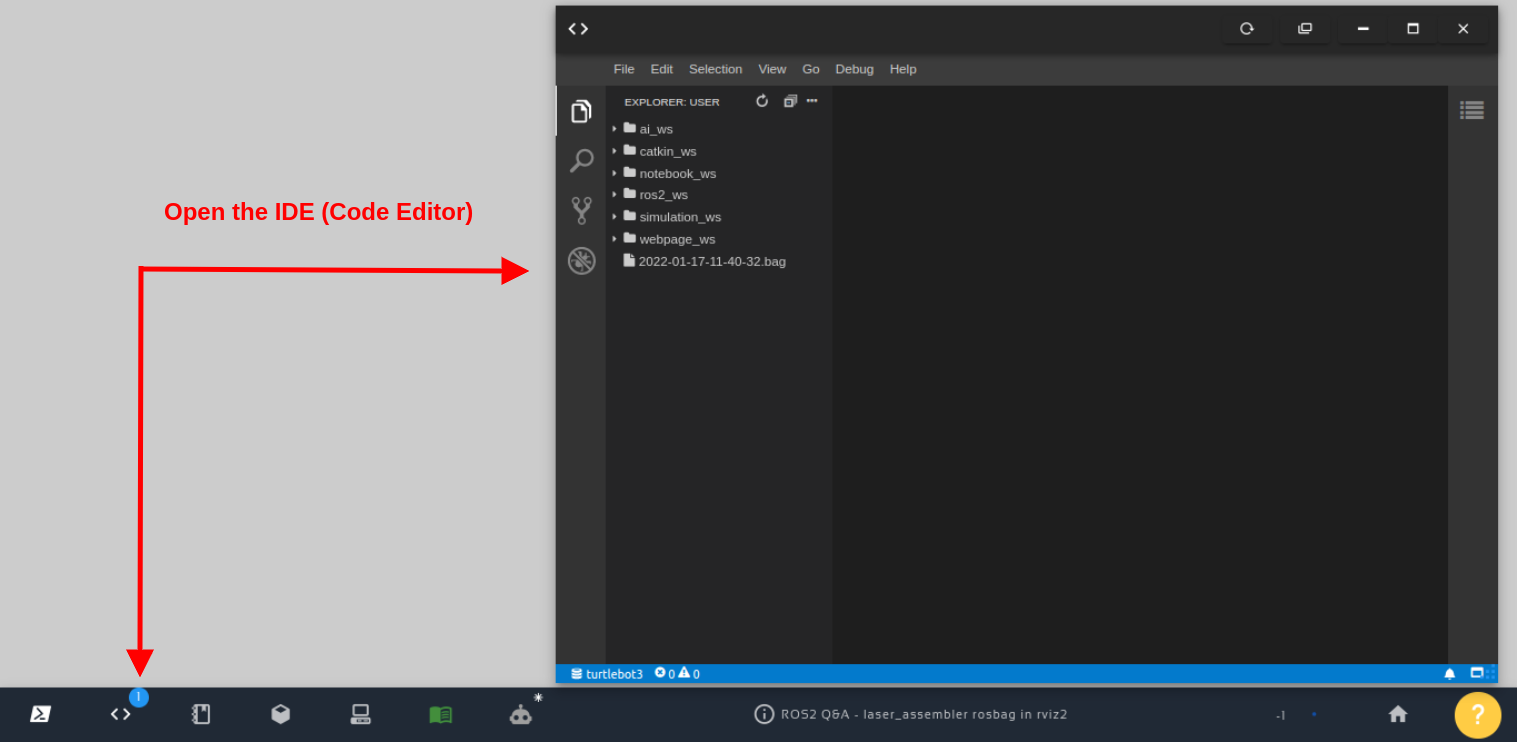
Open the IDE – Code EditorAfter opening the Code Editor, just right-click on ~/ros2_ws/src/starbots_rmf/maps/starbots_sim.png, and then click Download.
Bear in mind that the Cartographer Slam package generates PGM files. We used a tool to convert the PGM files to PNG (image format).
Starting the Traffic Editor
Now that the basic introductions have been made, let’s start with the Traffic Editor. For that, you can open a second terminal and type the following command:
traffic-editor
After a few seconds, you should have it open (a new window should pop up).
To create a new map, just click Buidling -> New.
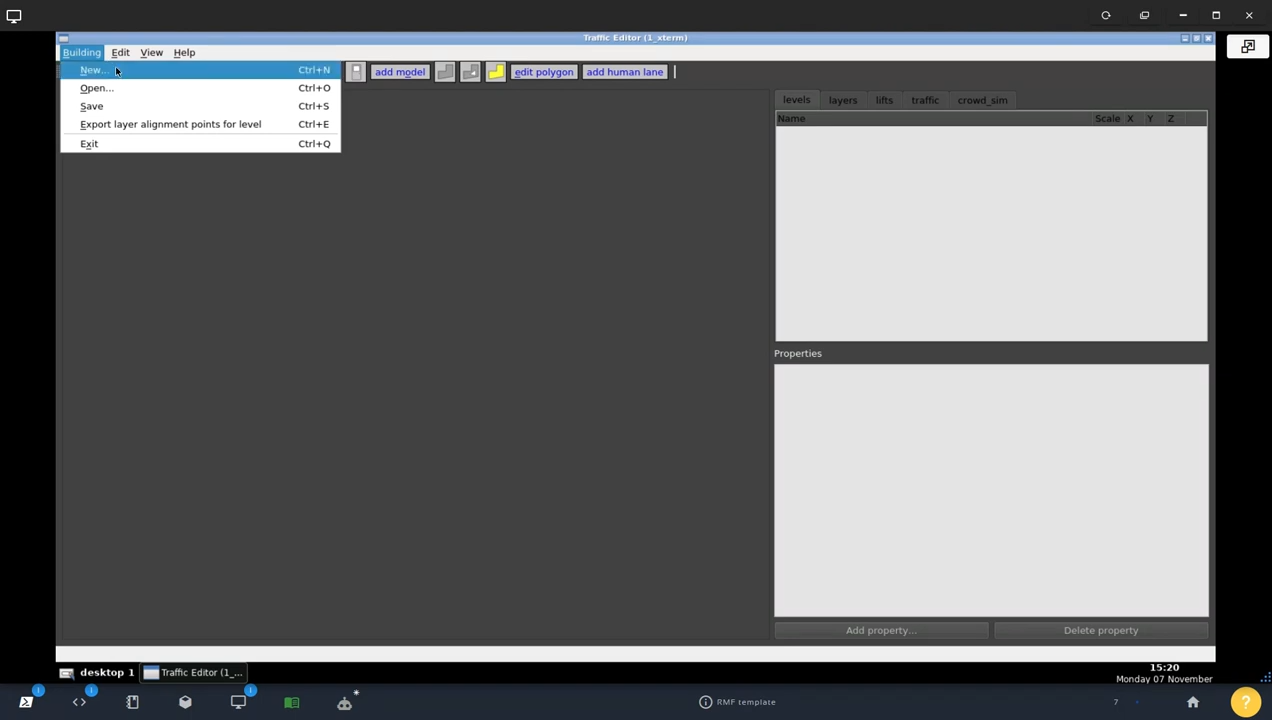
How to create a map for Robot Fleet Management Open-RMF -Building New
To make things simpler, you can save the map in the same location as the existing maps:
- /home/user/ros2_ws/src/starbots_rmf/maps/
You can name the map “test” and click the save button.
Traffic Editor – Creating a new level
Now that we have a blank map of the building in the Traffic Editor, let’s create a new level. Let’s name it L1 (level 1) and let’s select the /home/user/ros2_ws/src/starbots_rmf/maps/starbots_sim.png map that we mentioned earlier. For that, let’s click the Add button, then click Find to select the map, as we can see in the image below:
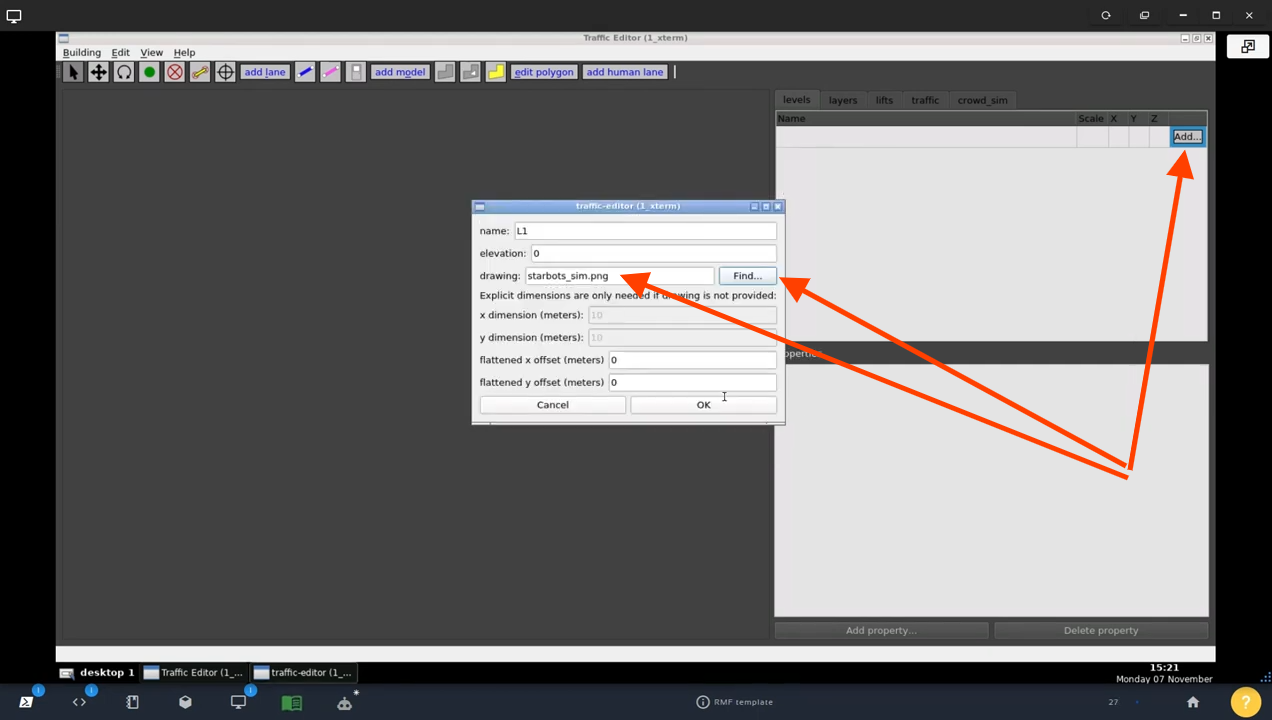
Open-RMF Traffic Editor – Adding a new level
Traffic Editor – Creating a new lane
After the new level has been created, we can now create a new lane that specifies the paths that the robot can move. The robot will be able to move only in those areas. For that, click New Lane, and by clicking in different areas of the map, draw a lane where the robot can move:
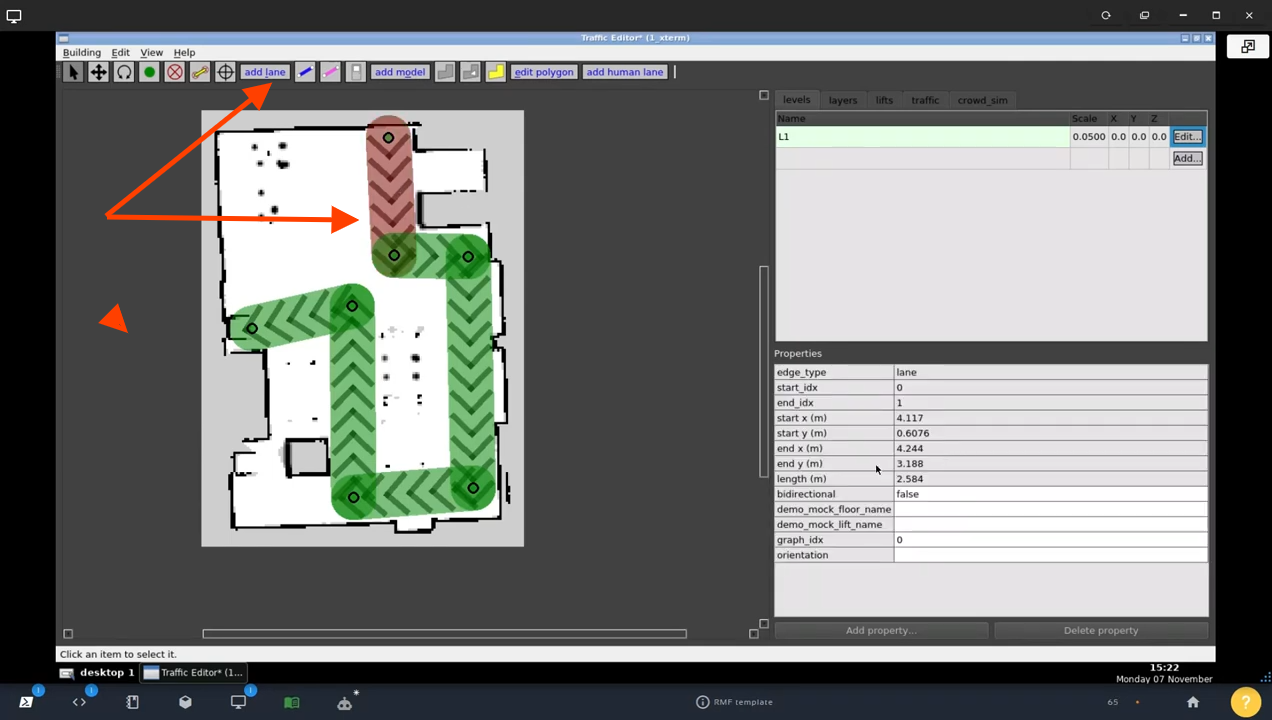
Open-RMF Traffic Editor – Adding a new lane
Traffic Editor – Naming the spots
After drawing the lane in the previous image, you see that we have some small circles that form the intersections, and we have them also at the beginning and at the end of the lane we draw.
When we click on any of these spots, we see some properties on the right side. Please click in each circle spot and name them, like start, end, kitchen, etc by entering the name in the name input.
By selecting the green lines, you can also define if the movement is bidirectional or not, for example.
You can have as many lanes as you want, but you have to make sure they are somehow connected if you want the robot to move the whole area.
Now, to make sure your changes will not be lost, just click Building -> Save.
After hitting Save, you should see all the information related to the map at:
- /home/user/ros2_ws/src/starbots_rmf/maps/test.building.yaml
Traffic Editor – Compile the workspace
Now that we created our new map, we need to recompile our workspace to make sure Open-RMF will be able to work with it.
For that, we just run the following commands in a third terminal:
cd ~/ros2_ws
then,
colcon build --cmake-args -DCMAKE_BUILD_TYPE=Release
We expect everything to finish successfully. Among other output messages, the following message is expected:
# ...
Generating Lane Graphs in  Generating Lane Graphs in  /home/user/ros2_ws/build/starbots_rmf/maps/test/nav_graphs/
# ...
The thing that most interests us here is the following path:
/home/user/ros2_ws/build/starbots_rmf/maps/test/
If we check the content of that directory, we will find a test.world file (because our Building was called test).
ls /home/user/ros2_ws/build/starbots_rmf/maps/test/

ls  /home/user/ros2_ws/build/starbots_rmf/maps/test/nav_graphs/
If we check /home/user/ros2_ws/build/starbots_rmf/maps/test/nav_graphs/, we will find a file named 0.yaml, which is the main element we need to get started with Open-RMF map.
Changing the launch file to open our newly generated map
Using the code editor, please open the following file:
- /home/user/ros2_ws/src/starbots_rmf/launch/rmf_schedule.launch.xml
Then, change the map_name variable on line 12 to set the value “test”. In the end, the file should look like this:
<?xml version='1.0' ?>

<launch>
  <arg name="failover_mode" default="false"/>
  <!-- set to false if using real robots -->
  <arg name="use_sim_time" default="false"/>

  <!-- Common launch -->
  <include file="$(find-pkg-share starbots_rmf)/launch/barista_rmf_schedule.launch.xml">
    <arg name="use_sim_time" value="$(var use_sim_time)"/>
    <arg name="failover_mode" value="$(var failover_mode)"/>
    <arg name="map_name" value="test" />
  </include>

</launch>
Now let’s create an RViz config file named test.rviz:
cd ~/ros2_ws/src
cp ./starbots_rmf/rviz_config/starbots.rviz ./starbots_rmf/rviz_config/test.rviz
Now we can compile the workspace again to have the updates of the XML reflected:
cd ~/ros2_ws
colcon build --cmake-args -DCMAKE_BUILD_TYPE=Release
source install/setup.bash
now we can launch the simulation again in the first terminal (Please remember to terminate the simulation that was launched previously in the first terminal):
ros2 launch starbots_rmf rmf_schedule.launch.xml
If everything worked perfectly, you should now see an RViz window with the map ready for Open-RMF to use it. If we had setup our robots correctly, they should appear on top of the map:
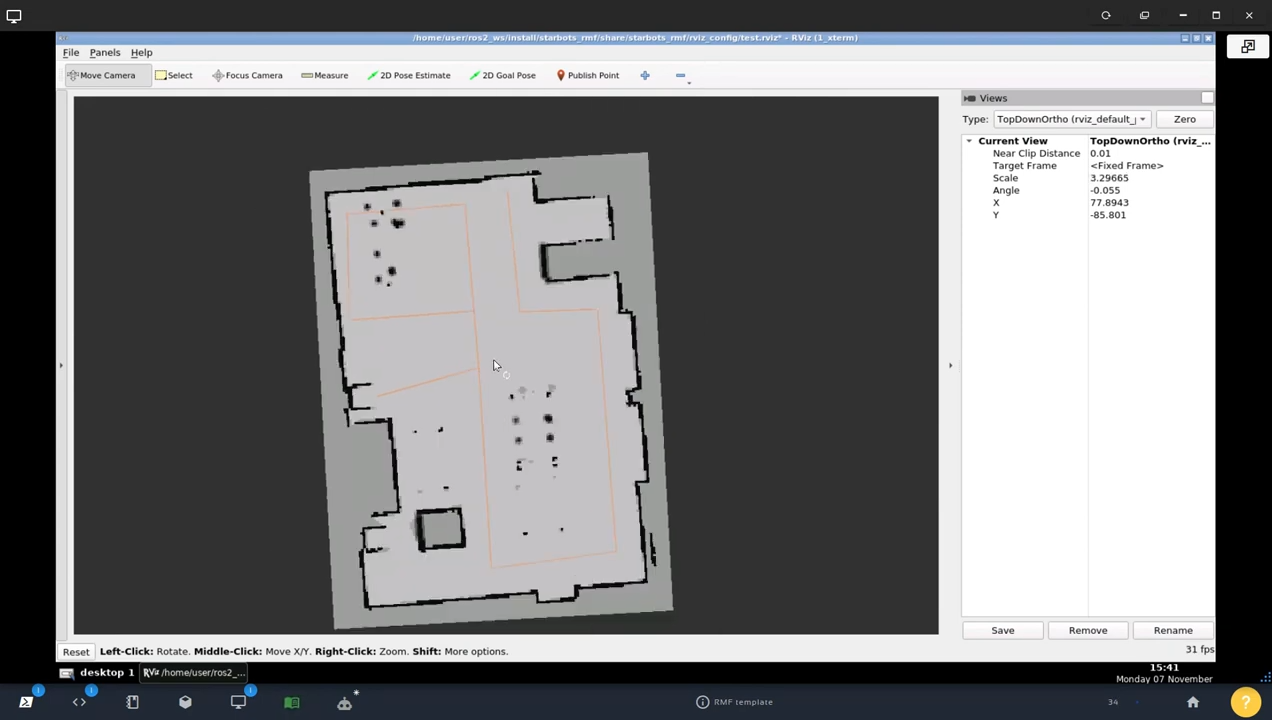
How to create map for Robot Fleet Management Open-RMF generated map on RViz
Congratulations. You just learned how to create a map to be used by Open-RMF.
We hope this post was really helpful to you. If you want a live version of this post with more details, please check the video in the next section.
Youtube video
So this is the post for today. Remember that we have the live version of this post on YouTube. If you liked the content, please consider subscribing to our youtube channel. We are publishing new content ~every day.
Keep pushing your ROS Learning.
Related Courses & Training
If you want to learn more about ROS and ROS2, we recommend the following courses:
-
- ROS2 Basics in 5 Days Humble (Python): https://app.theconstructsim.com/Course/132
- ROS2 Basics in 5 Days Humble (C++): https://app.theconstructsim.com/Course/133
- Open-RMF / Fleet Management Training: https://www.theconstruct.ai/robot-fleet-management-ros2-open-rmf-training/


0 Comments