

What we are going to learn
- How to create transformation frames
- How to get the position of one frame in relation to another that is not directly related
- How to create and publish as many frames as needed inside a ROS2 node
List of resources used in this post
- The Construct: https://app.theconstructsim.com/
- Use this rosject: https://app.theconstructsim.com/#/l/4a13e8b0/
- ROS2 Tutorials –▸
- ROS2 Basics in 5 Days (Python): https://app.theconstructsim.com/#/Course/73
- ROS2 Basics in 5 Days (C++): https://app.theconstructsim.com/#/Course/61
- ROS2 Navigation (https://bit.ly/3swohlO)
- TF2 documentation: https://docs.ros.org/en/foxy/Concepts/About-Tf2.html
TF2 Overview
As we can see on https://docs.ros.org/en/foxy/Concepts/About-Tf2.html, tf2 is the transform library for ROS2. It maintains the relationship between coordinate frames in a tree structure buffered in time and lets the user transform points between any two coordinate frames at any desired point in time.
Creating a rosject
In order to learn TF2 hands-on, we need to have a system with ROS installed. We are going to use The Construct (https://app.theconstructsim.com/) for this tutorial, but if you have ROS2 installed on your own computer, you should be able to do ~everything on your own computer, except this creating a rosject part.
Let’s start by opening The Construct (https://www.theconstruct.ai/) and logging in. You can easily create a free account if you still don’t have one.
If you do not want to create a rosject and do everything manually, you can use the rosject we already created (https://app.theconstructsim.com/#/l/4a13e8b0/). Just click the link.
Once inside, if you did not decide to use the existing rosject, let’s click My Rosjects on the left side and then, Create a new rosject.
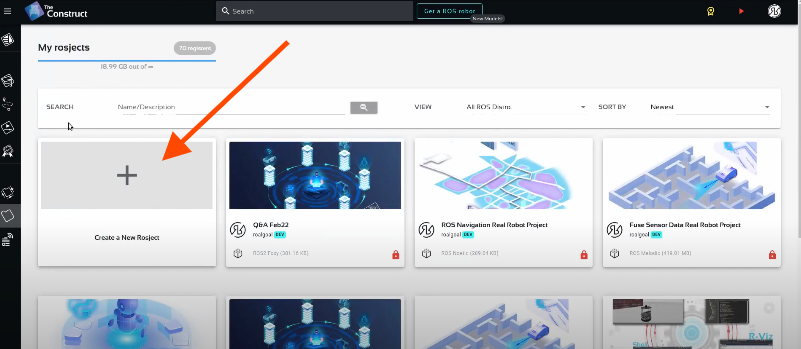
Create a new rosject
Let’s select ROS2 Foxy for the ROS Distro of the rosject, let’s name the rosject as you want. You can leave the rosject public. You should see the rosject you just created in your rosjects list (the name is certainly different from the example below that was added just for learning purposes)
If you mouse over the recently created rosject, you should see a Run button. Just click that button to launch the rosject.
Creating a ROS2 Python package
After pressing the Run button, you should now have the rosject open. Now, it’s time to create a ROS2 Python package if you had to create your own rosject. If you used the rosject we shared at the beginning of this post, you don’t need to create the package. To create the package, let’s start by opening a terminal:
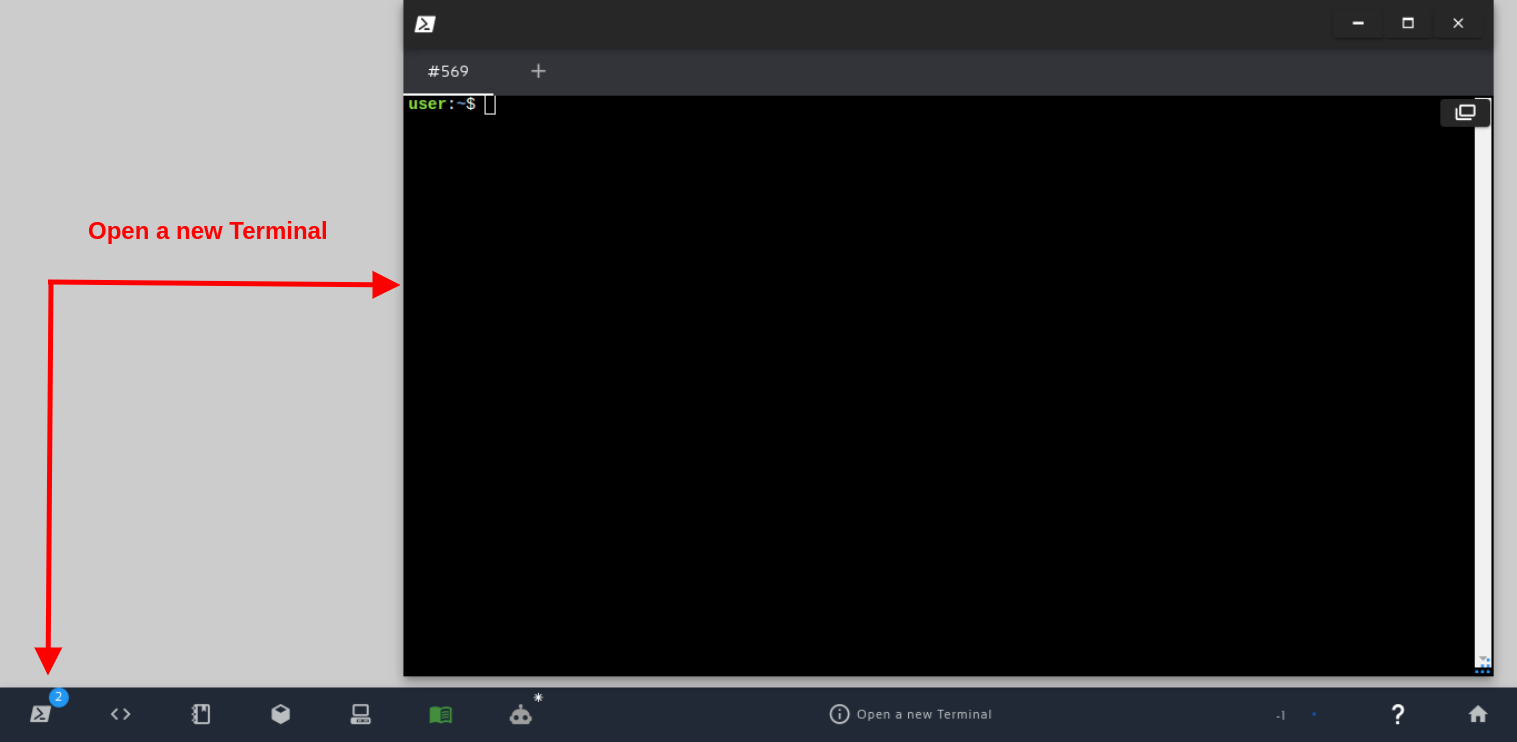
Open a new Terminal
Now, in this first terminal, let’s run the following command to create our package named tf2_examples:
cd ~/ros2_ws/src

ros2 pkg create --build-type ament_python --node-name my_node tf2_examples
If everything went fine, the output should be as follows:
going to create a new package
package name: tf2_examples
destination directory: /home/user/ros2_ws/src
package format: 3
version: 0.0.0
description: TODO: Package description
maintainer: ['user <user@todo.todo>']
licenses: ['TODO: License declaration']
build type: ament_python
dependencies: []
node_name: my_node
creating folder ./tf2_examples
creating ./tf2_examples/package.xml
creating source folder
creating folder ./tf2_examples/tf2_examples
creating ./tf2_examples/setup.py
creating ./tf2_examples/setup.cfg
creating folder ./tf2_examples/resource
creating ./tf2_examples/resource/tf2_examples
creating ./tf2_examples/tf2_examples/__init__.py
creating folder ./tf2_examples/test
creating ./tf2_examples/test/test_copyright.py
creating ./tf2_examples/test/test_flake8.py
creating ./tf2_examples/test/test_pep257.py
creating ./tf2_examples/tf2_examples/my_node.py
As we can see in the logs, we already have a node called ./tf2_examples/tf2_examples/my_node.py and a ./tf2_examples/setup.py.
Preparing our python package to have launch files
In order to be able to have launch files in our package, we need to modify the ~/ros2_ws/src/tf2_examples/setup.py file.
We have basically to import glob and modify the data_files variable. To make our life easier, I’m going to paste here the full content of the setup.py file after our modifications (bear in mind that if you used the rosject provided at the beginning, the file will already contain the correct code):
import os
from glob import glob
from setuptools import setup

package_name = 'tf2_examples'

setup(
    name=package_name,
    version='0.0.0',
    packages=[package_name],
    data_files=[
        ('share/ament_index/resource_index/packages',
            ['resource/' + package_name]),
        ('share/' + package_name, ['package.xml']),
        (os.path.join('share', package_name, 'launch'),
         glob(os.path.join('launch', '*.launch.py'))),
    ],
    install_requires=['setuptools'],
    zip_safe=True,
    maintainer='user',
    maintainer_email='user@todo.todo',
    description='TODO: Package description',
    license='TODO: License declaration',
    tests_require=['pytest'],
    entry_points={
        'console_scripts': [
            'my_node = tf2_examples.my_node:main'
        ],
    },
)
Installing dependencies
On The Construct, we do not always have all packages required for all purposes. For this TF2 demonstration, we need to have some packages. Lets install them by running the following commands in a second terminal:
sudo apt-get update

sudo apt-get install -y ros-foxy-turtle-tf2-py ros-foxy-tf2-tools ros-foxy-tf-transformations

pip3 install transforms3d
Creating a frame publisher
If you have used the rosject we provided at the beginning, you already have the my_node.py with a Frame Publisher set.
If you created a rosject manually, however, you need to manually replace the content of my_node.py with the following content taken from the official ROS2 Tutorials:
from geometry_msgs.msg import TransformStamped

import rclpy
from rclpy.node import Node

from tf2_ros import TransformBroadcaster

import tf_transformations

from turtlesim.msg import Pose


class FramePublisher(Node):

    def __init__(self):
        super().__init__('turtle_tf2_frame_publisher')

        # Declare and acquire `turtlename` parameter
        self.declare_parameter('turtlename', 'turtle')
        self.turtlename = self.get_parameter(
            'turtlename').get_parameter_value().string_value

        # Initialize the transform broadcaster
        self.br = TransformBroadcaster(self)

        # Subscribe to a turtle{1}{2}/pose topic and call handle_turtle_pose
        # callback function on each message
        self.subscription = self.create_subscription(
            Pose,
            f'/{self.turtlename}/pose',
            self.handle_turtle_pose,
            1)

    def handle_turtle_pose(self, msg):
        t = TransformStamped()
        t2 = TransformStamped()

        # Read message content and assign it to
        # corresponding tf variables
        t.header.stamp = self.get_clock().now().to_msg()
        t.header.frame_id = 'world'
        t.child_frame_id = self.turtlename
        # turtle/drone
        t2.header.stamp = self.get_clock().now().to_msg()
        t2.header.frame_id = self.turtlename
        t2.child_frame_id = 'drone'

        # Turtle only exists in 2D, thus we get x and y translation
        # coordinates from the message and set the z coordinate to 0
        t.transform.translation.x = msg.x - (11.08888/2)
        t.transform.translation.y = msg.y - (11.08888/2)
        t.transform.translation.z = 0.0

        t2.transform.translation.x = -0.5
        t2.transform.translation.y = 0.0
        t2.transform.translation.z = 1.0

        # For the same reason, turtle can only rotate around one axis
        # and this why we set rotation in x and y to 0 and obtain
        # rotation in z axis from the message
        q = tf_transformations.quaternion_from_euler(0, 0, msg.theta)
        t.transform.rotation.x = q[0]
        t.transform.rotation.y = q[1]
        t.transform.rotation.z = q[2]
        t.transform.rotation.w = q[3]

        t2.transform.rotation.x = 0.0
        t2.transform.rotation.y = 0.0
        t2.transform.rotation.z = 0.0
        t2.transform.rotation.w = 1.0

        # Send the transformation
        self.br.sendTransform(t)
        self.br.sendTransform(t2)


def main():
    rclpy.init()
    node = FramePublisher()
    try:
        rclpy.spin(node)
    except KeyboardInterrupt:
        pass

    rclpy.shutdown()
If you check carefully the code of my_node.py, you can see that around line 24 we start a TF Broadcaster:
# Initialize the transform broadcaster
self.br = TransformBroadcaster(self)
Creating a launch file
Now that we have our code in place, we need a launch file. If you remember well, the setup.py file is already prepared for launch files. We now need to create the launch files. Bear in mind that if you are using the rosject we provided at the beginning of the post, this launch folder and its python file already exist.
Assuming you created a rosject manually, let’s create a launch folder using the terminal:
cd ~/ros2_ws/src/tf2_examples

mkdir launch

cd launch

touch tf2_example.launch.py
from launch import LaunchDescription
from launch_ros.actions import Node


def generate_launch_description():
    return LaunchDescription([
        Node(
            package='turtlesim',
            executable='turtlesim_node',
            name='sim'
        ),
        Node(
            package='tf2_examples',
            executable='my_node',
            name='broadcaster1',
            parameters=[
                {'turtlename': 'turtle1'}
            ]
        ),
    ])
Compiling our ros2_ws workspace
Now that our launch files are ready, we can compile our ros2_ws workspace. Let’s do that with the following commands:
cd ~/ros2_ws

colcon build
user:~/ros2_ws$ colcon build

Starting >>> my_package
Starting >>> tf2_examples
Finished <<< my_package [2.17s]
Finished <<< tf2_examples [2.14s]
Summary: 2 packages finished [2.65s]
Launching the turtle simulation using ros2 launch files
Now that our package is compiled and everything in place, let’s launch the launch file we just created:
cd ~/ros2_ws/

source install/setup.bash

ros2 launch tf2_examples tf2_example.launch.py
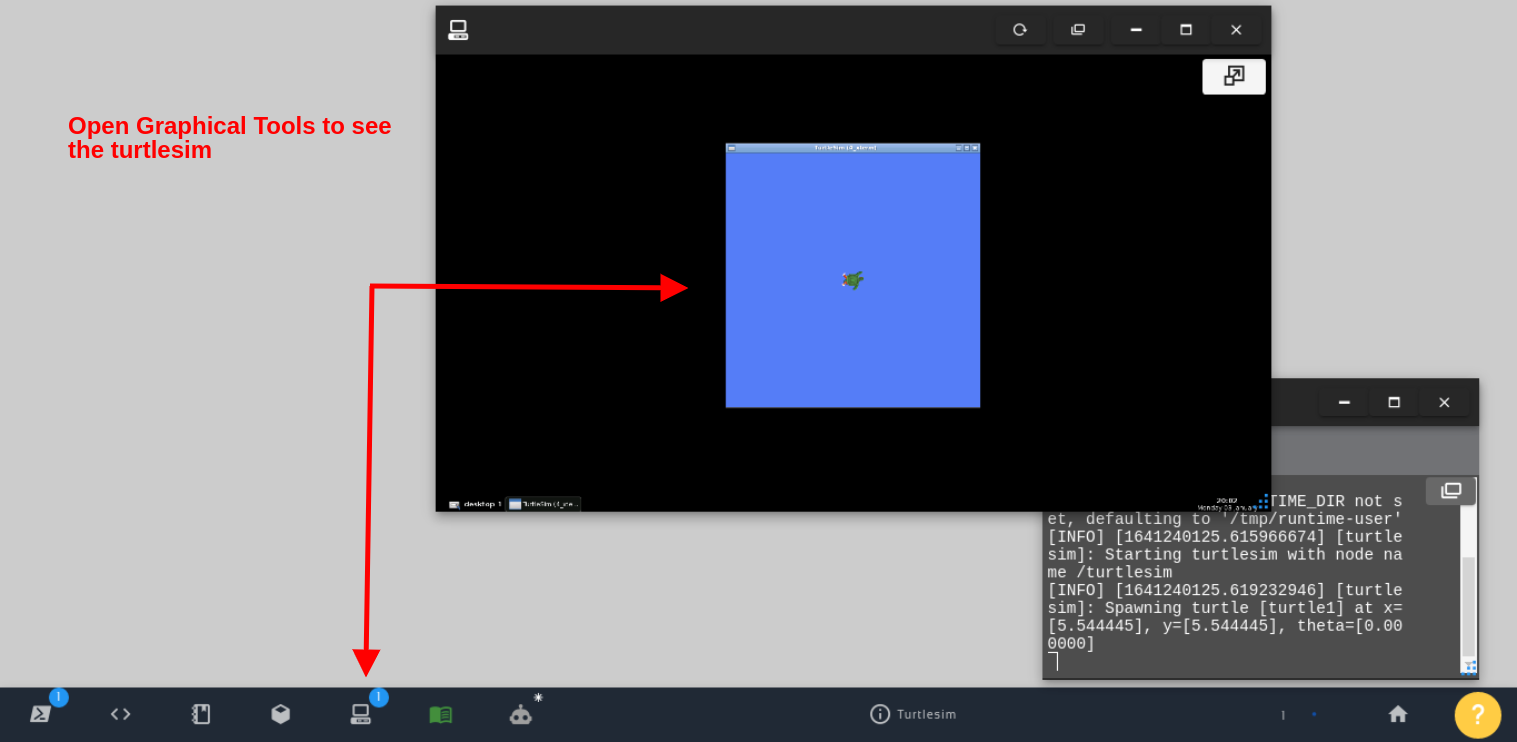
Open Graphical Tools to see the turtlesim
ros2 node list

/broadcaster1
/sim
Open RViz2
Now that we have our simulation and our broadcaster running, we need RViz2 to see the frames.
Let’s open it running the following command in the third terminal:
ros2 run rviz2 rviz2
If rviz2 does not show automatically to you, you can just open the Graphical Tools as before.
Assuming RViz is running, remember to set the fixed frame (on the top left side) to world. You also have to click the Add button on the bottom left to add TF:
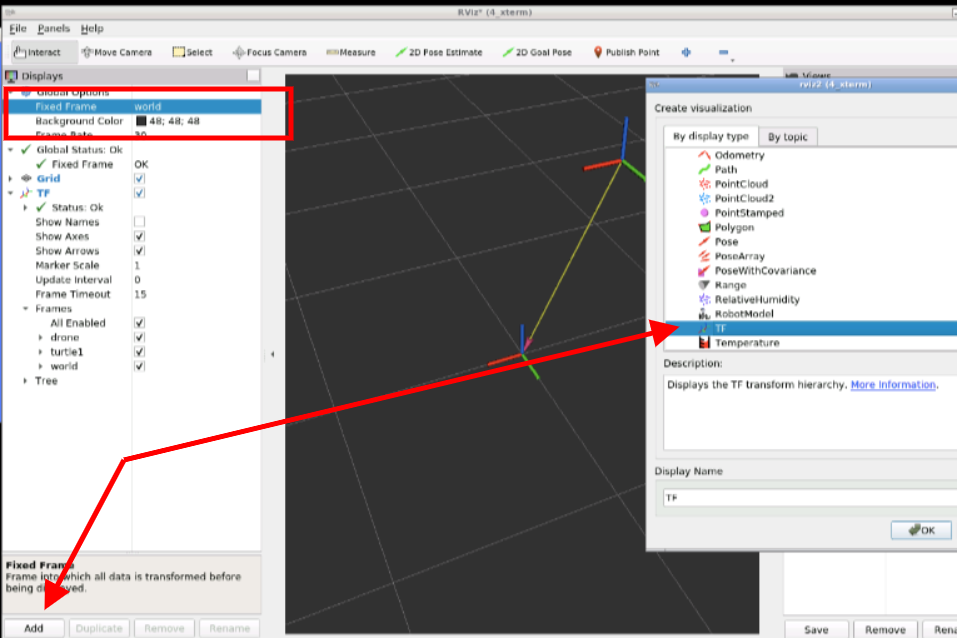
RViz add TF
After having added the TF panel in RViz, you should see the frames as it happens in the center of the image above.
Moving the robot using the keyboard
Now that we have our simulation running, rviz running, and our TF panel added, we can move our robot to better understand the TFs.
TIP: In the Graphical Tools window, to see the Turtlesim and the TFs at the same time, you can put move the turtlesim panel to the left, and put RViz on the right side.
Ok, we can now open a fourth terminal and run the turtle_teleop_key node that allows us to move the robot using the keyboard:
ros2 run turtlesim turtle_teleop_key
You should now have the instructions to move the robot around:
Reading from keyboard
---------------------------
Use arrow keys to move the turtle.
Use G|B|V|C|D|E|R|T keys to rotate to absolute orientations. 'F' to cancel a rotation.
'Q' to quit.
By pressing the arrow keys, you can see that the robot moves, and at the same time we can see the frames in RViz.
If you look carefully, in RViz we see not only the frames for the turtle and the world, but we also have a drone frame.
We did that to simulate that we have a drone following the turtle at a fixed distance. I would recommend you have a look again at the handle_turtle_pose method defined in the my_node.py to better understand it.
In the code of handle_turtle_pose, we see that the drone is 0.5 meters behind the turtle and 1 meter above:
t2.transform.translation.x = -0.5
t2.transform.translation.y = 0.0
t2.transform.translation.z = 1.0
Whenever we receive a position from the turtle, we are publishing the position of the drone based on the position of the turtle.
Checking the position of the turtle related to the world using the command line
We saw that we can do a lot of tf2-related things using Python.
It is worth mentioning that we can also use the command line to check the position/distance of the turtle with relation to the world.
ROS2 has a package named tf2_ros with many executables and one of them is tf2_echo. We can know the position of the turtle with the following command:
ros2 run tf2_ros tf2_echo world turtle1
The output should be similar to the following:
At time 1649109418.661570822
- Translation: [-2.552, 0.000, 0.000]
- Rotation: in Quaternion [0.000, 0.000, 0.000, 1.000]
At time 1649109419.668374440
- Translation: [-2.552, 0.000, 0.000]
- Rotation: in Quaternion [0.000, 0.000, 0.000, 1.000]
At time 1649109420.660446225
- Translation: [-2.552, 0.000, 0.000]
- Rotation: in Quaternion [0.000, 0.000, 0.000, 1.000]
You can also check the position of the drone related to the position of the robot:
ros2 run tf2_ros tf2_echo turtle1 drone
You can see that the translation is exactly as set in the my_node.py file (half meters behind, 1 meter above):
- Translation: [-0.500, 0.000, 1.000]
If you are wondering whether or not you can know the position of the drone related to the world, you can know it also just change the parameters passed to the tf2_echo node:
ros2 run tf2_ros tf2_echo world drone
Youtube video
So this is the post for today. Remember that we have the live version of this post on YouTube. If you liked the content, please consider subscribing to our youtube channel. We are publishing new content ~every day.
Keep pushing your ROS Learning.
Related Courses & Training
If you want to learn more about ROS and ROS2, we recommend the following courses:
- ROS2 Basics in 5 Days (Python): https://app.theconstructsim.com/#/Course/73
- ROS2 Basics in 5 Days (C++): https://app.theconstructsim.com/#/Course/61
- ROS2 Navigation (https://bit.ly/3swohlO)


0 Comments