

What we are going to learn
- The limitations of having a minimal ROS2 parameter implementation
- How to add a parameter callback method
List of resources used in this post
- Use the rosject: https://app.theconstructsim.com/l/53e75e28/
- The Construct: https://app.theconstructsim.com/
- Original ROS2 Documentation: Monitoring for parameter changes (C++)
- ROS2 Courses –▸
- ROS2 Basics in 5 Days Humble (Python): https://app.theconstructsim.com/Course/132
- ROS2 Basics in 5 Days Humble (C++): https://app.theconstructsim.com/Course/133
Overview
ROS2 parameters are great for configurable nodes that you can adapt to your robot configuration simply by changing a configuration file or a launch file. However, if we just implemented the basics you will have to re-run your node each time you change a parameter. You can’t change the parameter on-the-fly and have it updated in the robot. But by adding a callback function that updates the variables in our code, it is possible to do a live parameter update while a program is running, removing the need for a tedious node restart. Learn how to do it in this post.
ROS Inside!

ROS Inside
Before anything else, if you want to use the logo above on your own robot or computer, feel free to download it and attach it to your robot. It is really free. Find it in the link below:
Opening the rosject
In order to follow this tutorial, we need to have ROS2 installed in our system, and ideally a ros2_ws (ROS2 Workspace). To make your life easier, we have already prepared a rosject with a simulation for that: https://app.theconstructsim.com/l/53e75e28/.
You can download the rosject on your own computer if you want to work locally, but just by copying the rosject (clicking the link), you will have a setup already prepared for you.
After the rosject has been successfully copied to your own area, you should see a Run button. Just click that button to launch the rosject (below you have a rosject example).

Learn how to enable live parameter updates (C++) – Run rosject (example of the RUN button)
After pressing the Run button, you should have the rosject loaded. Now, let’s head to the next section to get some real practice.
Starting the simulation
After having opened the rosject, let’s start a simulation. For that, let’s open a terminal by clicking the Open a new terminal button.
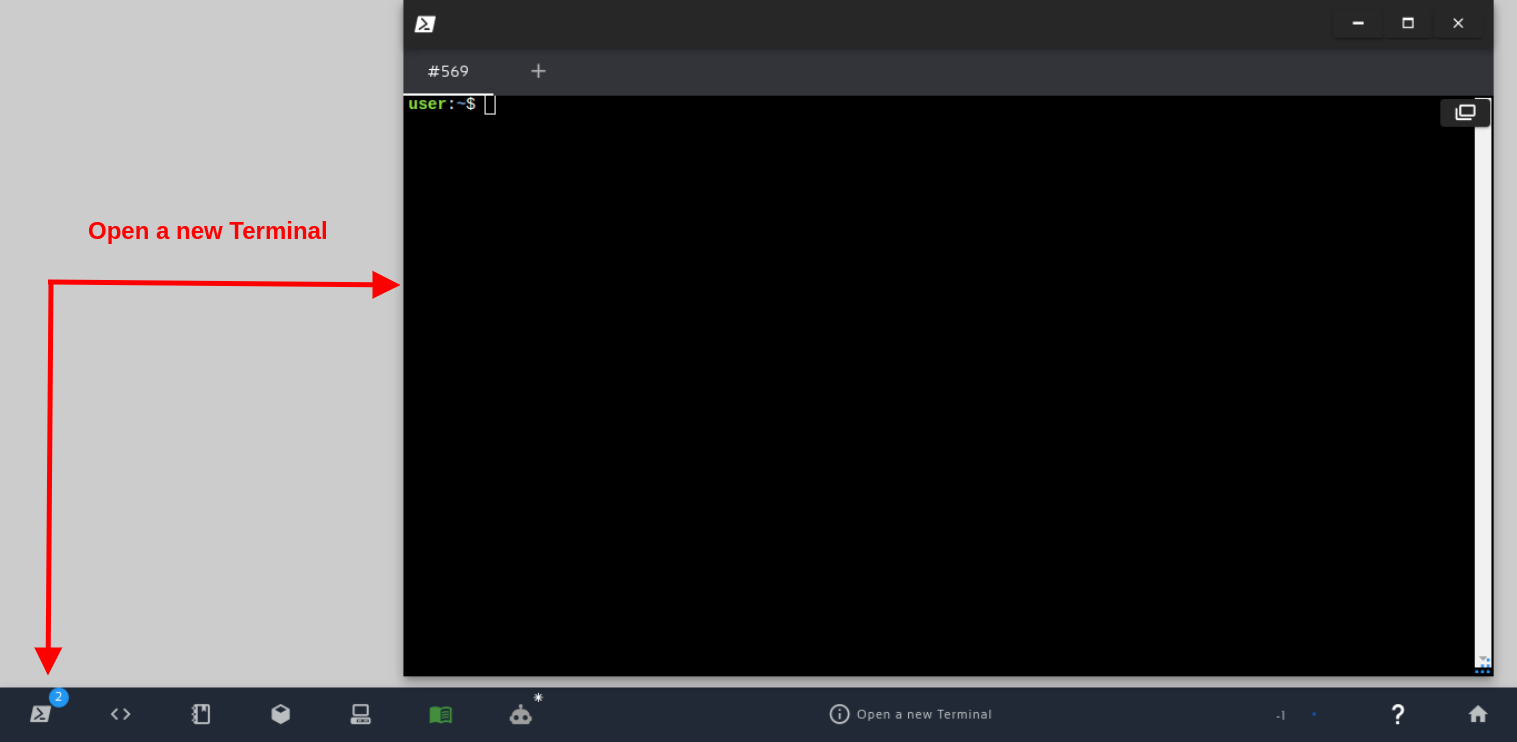
Open a new Terminal
Once inside the terminal, let’s run the commands below:
cd ~/ros2_ws
colcon build --packages-select rule_based_obstacle_avoidance
Now that our workspace is built. let’s source it so that ROS can find our packages:
source install/setup.bash
After the workspace has been sourced, we can launch our simulation:
ros2 launch rule_based_obstacle_avoidance simulation.launch.py
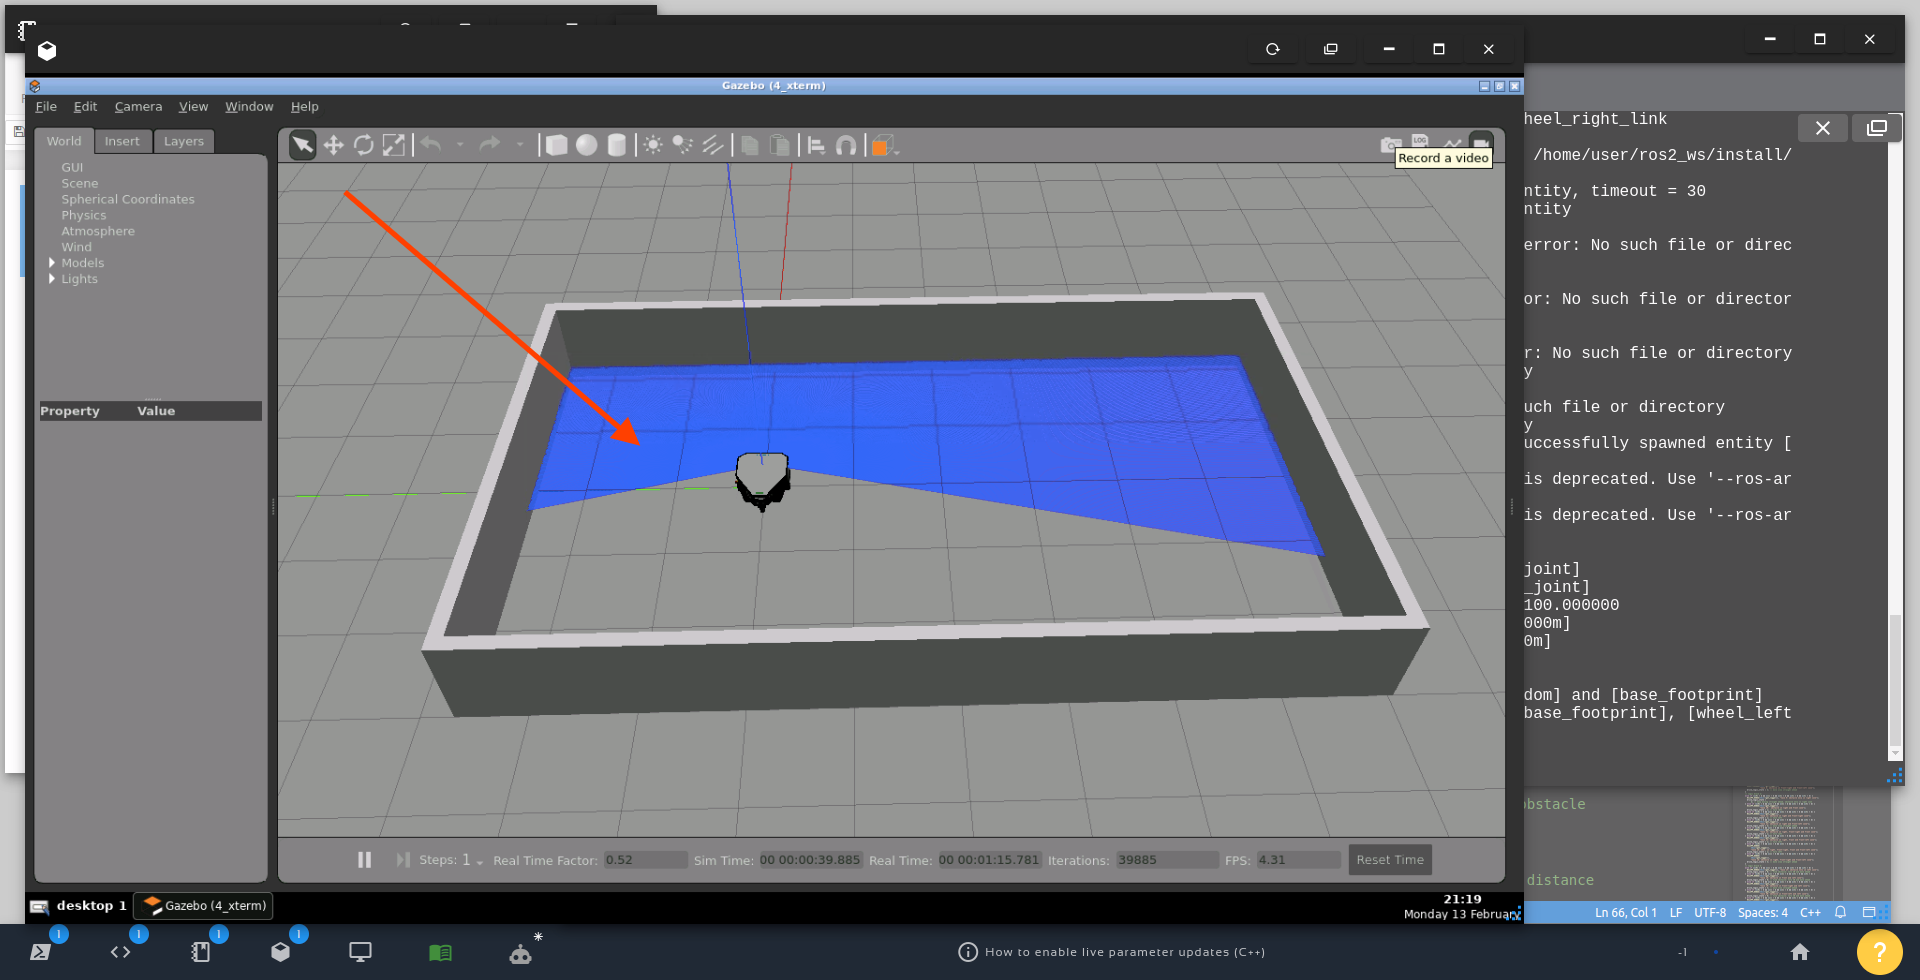
If everything went well, you should have a simulation loaded and opened automatically in a few seconds. The simulation will open from a top view, but you can use the mouse to move the simulation to a different perspective.
How to enable live parameter updates (C++)
Understanding the problem
Below is an example node in which we have only implemented the barebone basics of parameters in ROS2.
Let’s see it in action and see how it behaves, especially when we update its parameter values.
In a second terminal, let’s run the node for Obstacle Avoidance.
source ~/ros2_ws/install/setup.bash

ros2 run rule_based_obstacle_avoidance obstacle_avoidance
If you watch the simulation for a while, you will see that when the robot detects the wall, it rotates and moves forward until it detects another wall, and repeats the process.
The node name is obstacle_avoidance_node (you can check it in a third terminal by running: ros2 node list)
Now, let’s list the parameters of the node in a third terminal:
ros2 param list /obstacle_avoidance_node
We should see the following output:
  angular_z_velocity
  linear_x_velocity
  qos_overrides./parameter_events.publisher.depth
  qos_overrides./parameter_events.publisher.durability
  qos_overrides./parameter_events.publisher.history
  qos_overrides./parameter_events.publisher.reliability
  safety_distance
  use_sim_time
Now, still in the third terminal, let’s check the value of the safety_distance parameter:
ros2 param get /obstacle_avoidance_node safety_distance
The output we should have got should be the following:
Double value is: 1.5
Now, let’s set the parameter to a new value:
ros2 param set /obstacle_avoidance_node safety_distance 1.0
The expected output is:
Set parameter successful
Ok, so far so good. But with the new value, we expect the robot to get closer to the wall before turning around because now the safe distance was set from 1.5 meters to 1.0. The problem is that the robot is not considering the new value that we just set.
We can follow the same idea to try to make the robot move faster. Let’s check the current velocity of the robot:
ros2 param get /obstacle_avoidance_node linear_x_velocity
The output we should have got should be the following:
Double value is: 0.2
If we increase the speed:
ros2 param set /obstacle_avoidance_node linear_x_velocity 0.5
The expected output is:
Set parameter successful
The parameter was reported as successfully set, yet the robot does not move faster, because it still uses the value loaded when the node started.
In the current code, parameter values are fixed. As such, every time a parameter value changes, the parameter value in the code stays the same even though you may have expected it to update based on the latest value set.
In order to solve this, we must add a parameter callback function to your code so that the variable in the code gets the freshest data.
Solution: Add a parameter callback method
Alright, have you closed all programs by pressing CTRL+C on all terminals?
If so, let’s move forward, then.
We need to modify the following file:
- ros2_ws/src/rule_based_obstacle_avoidance/src/obstacle_avoidance.cpp
Let’s open that file using the IDE (Code Editor):
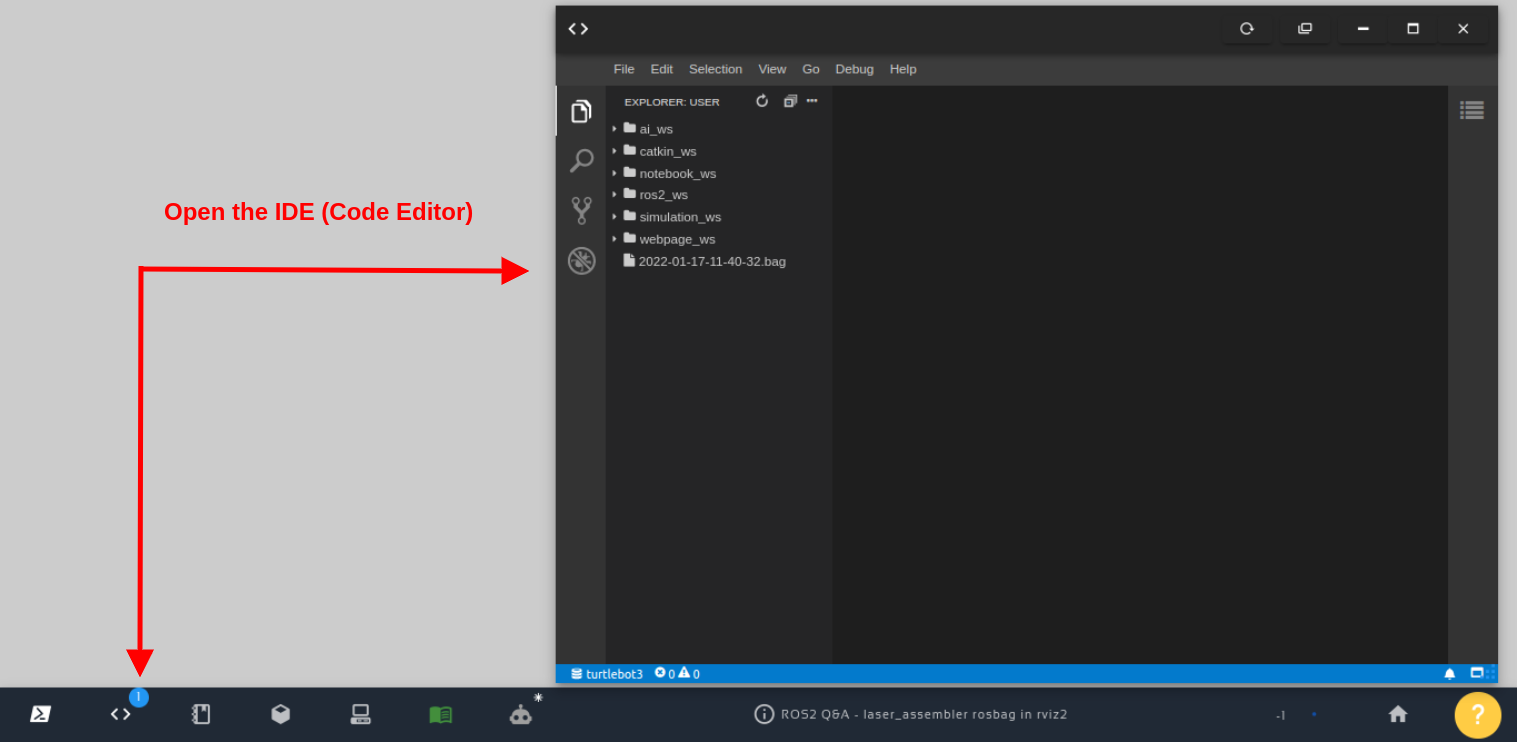
Open the IDE – Code Editor
Once the Code Editor is open, you should be able to see the ros2_ws folder (ROS2 workspace) and navigate to the file we mentioned above:
- ros2_ws/src/rule_based_obstacle_avoidance/src/obstacle_avoidance.cpp
If you check around line 45 on that file, you will find the “private:” section, where we define the private variables of our class, something like the following:
private:
  rclcpp::TimerBase::SharedPtr timer_;

  double linear_x_velocity_;
  double angular_z_velocity_;

   // ...
Let’s modify that part, in order to add two variables below right after the definition of “timer_”, so that our code looks like:
private:
  rclcpp::TimerBase::SharedPtr timer_;

  std::shared_ptr<rclcpp::ParameterEventHandler> param_subscriber_;
  std::shared_ptr<rclcpp::ParameterCallbackHandle> cb_handle_;

  double linear_x_velocity_;
  double angular_z_velocity_;

   // ...
Now, above that “private:” section, around line 38, let’s add the following code to instantiate a ParameterEventHandler, providing the current ROS node to use to create the required subscriptions:
param_subscriber_ = std::make_shared<rclcpp::ParameterEventHandler>(this);
Below the param_subscriber_ we have to set a callback method, in this case, a lambda function:
// Set a callback for this node's parameter, "linear_x_velocity"
    auto callback_linear_x = [this](const rclcpp::Parameter &p) {
      RCLCPP_INFO(this->get_logger(),
                  "callback_linear_x: Received an update to parameter \"%s\" "
                  "of type %s: \"%f\"",
                  p.get_name().c_str(), p.get_type_name().c_str(),
                  p.as_double());
      linear_x_velocity_ = p.as_double();
    };
Then we set “callback_linear_x” as the callback to invoke whenever linear_x_velocity is updated. We store the handle that is returned by “add_parameter_callback“; otherwise, the callback will not be properly registered.
cb_handle_ = param_subscriber_->add_parameter_callback("linear_x_velocity", callback_linear_x);
After those changes, the “public:” section of our class should look like this:
class ObstacleAvoidance : public rclcpp::Node {
public:
  ObstacleAvoidance() : Node("obstacle_avoidance_node") {

   auto default_qos = rclcpp::QoS(rclcpp::SystemDefaultsQoS());
    subscription_ = this->create_subscription<sensor_msgs::msg::LaserScan>(
        "scan", default_qos,
        std::bind(&ObstacleAvoidance::topic_callback, this, _1));
    vel_msg_publisher_ =
        this->create_publisher<geometry_msgs::msg::Twist>("cmd_vel", 10);

    // declare parameters and set default values
    this->declare_parameter("linear_x_velocity", 0.2);
    this->declare_parameter("angular_z_velocity", 0.2);
    this->declare_parameter("safety_distance", 1.5);
    // get parameters values
    this->get_parameter("linear_x_velocity", linear_x_velocity_);
    this->get_parameter("angular_z_velocity", angular_z_velocity_);
    this->get_parameter("safety_distance", d);

   param_subscriber_ = std::make_shared<rclcpp::ParameterEventHandler>(this);

    // Set a callback for this node's parameter, "linear_x_velocity"
    auto callback_linear_x = [this](const rclcpp::Parameter &p) {
      RCLCPP_INFO(this->get_logger(),
                  "callback_linear_x: Received an update to parameter \"%s\" "
                  "of type %s: \"%f\"",
                  p.get_name().c_str(), p.get_type_name().c_str(),
                  p.as_double());
      linear_x_velocity_ = p.as_double();
    };

    cb_handle_ = param_subscriber_->add_parameter_callback("linear_x_velocity",

    RCLCPP_INFO(this->get_logger(), "Obstacle avoidance running");

    timer_ = this->create_wall_timer(
        1000ms, std::bind(&ObstacleAvoidance::timerCallback, this));
  }

  ~ObstacleAvoidance() {}

private:
    // ...
Now that everything is in place, let’s build our package again and source it, using the first terminal:
cd ~/ros2_ws/
colcon build --packages-select rule_based_obstacle_avoidance
source install/setup.bash
The package should have been built with no problems:
user:~/ros2_ws$ colcon build --packages-select rule_based_obstacle_avoidance
Starting >>> rule_based_obstacle_avoidance
Finished <<< rule_based_obstacle_avoidance [27.3s]

Summary: 1 package finished [27.7s]
Now that our package has been rebuilt and sourced, let’s launch the simulation again:
ros2 launch neo_simulation2 simulation.launch.py
The simulation should have been opened just like before, but now we will see the parameters affecting the simulation in “real-time”.
Before changing the parameters, let’s also launch the Obstacle Avoidance node, just like before, using the second terminal:
ros2 run rule_based_obstacle_avoidance obstacle_avoidance
You should see the robot approaching the wall, and turning around when getting close to it.
Changing the x velocity using ROS 2 Parameters
Ok, now that the robot is moving, let’s retrieve again the current value of the linear x velocity using the third terminal:
ros2 param get /obstacle_avoidance_node linear_x_velocity
Just like before, the expected output is:
Double value is: 0.2
Now let’s change that value:
ros2 param set /obstacle_avoidance_node linear_x_velocity 1.0
We expect a successful output:
Set parameter successful
If you look at the simulation now, you should see that when the robot is moving forward (not turning around), it moves really faster. So, as we can see, we are now able to make ROS2 Parameters be reflected “instantly”.
This opens up really many different possibilities.
We hope this post was really helpful to you. If you want a live version of this post with more details, please check the video in the next section.
Youtube video
So this is the post for today. Remember that we have the live version of this post on YouTube. If you liked the content, please consider subscribing to our youtube channel. We are publishing new content ~every day.
Keep pushing your ROS Learning.
Related Courses & Training
If you want to learn more about ROS and ROS2, we recommend the following courses:
- ROS2 Basics in 5 Days Humble (Python): https://app.theconstructsim.com/Course/132
- ROS2 Basics in 5 Days Humble (C++): https://app.theconstructsim.com/Course/133


0 Comments