![[Morpheus Chair] Dynamixel Servos with Robot ARM ROS #Ep.1](https://www.theconstruct.ai/wp-content/uploads/2019/07/Morpheus-Chair-Dynamixel-Servos-with-Robot-ARM-ROS-Ep.1.png "[Morpheus Chair] Dynamixel Servos with Robot ARM ROS #Ep.1")

Welcome to Morpheus Chair, the series where you learn how to build and control real robots like the Open Manipulator that we are going to use today.
In this post, we are going to learn the first steps to use the servos used to control a robot arm, so that you can build whatever you want.
We are going to see how to use move the arm with python scripts, which will be the first steps to get a bit close to MoveIt, that great library that we are going to use in the next posts.
If you are new to ROS, I highly recommend you taking the ROS Basics in 5 Days (Python) or ROS Basics in 5 Days (C++) depending on which programming language you prefer.
What we will learn
In short, in this post we will learn :
- How to start a position control for Dynamixel Servos
- How to move the joints publishing in Topics and Services of ROS
- How to capture complex movements to after reproducing them.
Special Thanks to Clarkson University and especially James Carrol and its team for lending us the real robot used in this post.
Let’s get started, shall we?
Where to find what we need
Before we start, is worth mentioning that we need to be careful when working with the robot, because the servo motors are a bit strong. If you get your fingers or face in the trajectory of the arm you can get hurt. Just be careful.
All the code used in this post is available in this ROSject: http://www.rosject.io/l/b368f5c/
You can download the ROSject and run all the commands in your own computer, but if you prefer, you can also run some of the commands online by using ROS Development Studio (ROSDS).
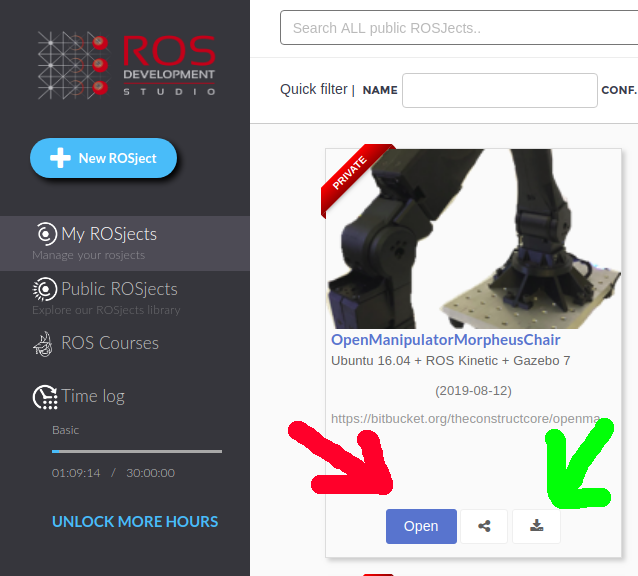
By clicking on http://www.rosject.io/l/b368f5c/ you will have a copy of the ROSject. You should see something like the image below:
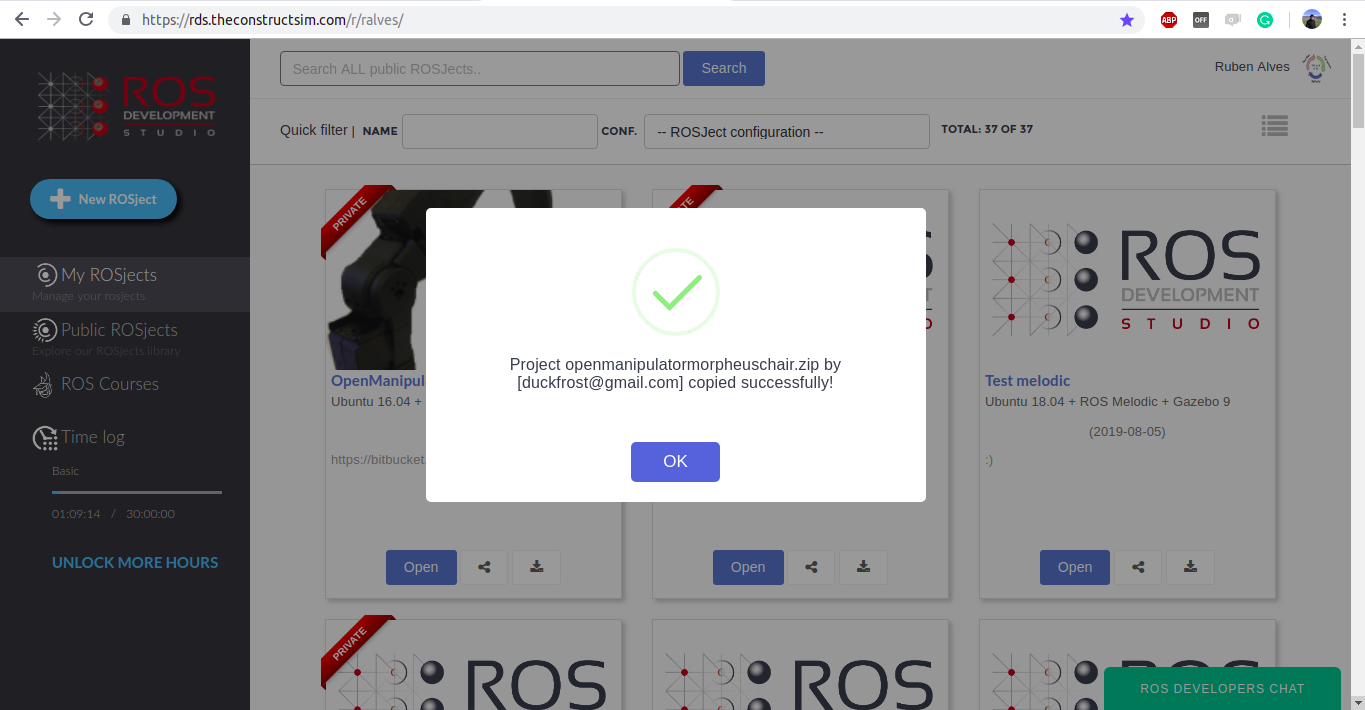
You can now open the ROSject by clicking on the Open button or you can download it by clicking on the download button, the ones pointed below by the red and green arrows respectively.
The ROSJect mentioned here basically contains the following git repositories on it:
- https://bitbucket.org/theconstructcore/open_manipulator_tc/src/unification/
- https://bitbucket.org/theconstructcore/openmanipulator_morpheus_chair/src/master/
- https://bitbucket.org/theconstructcore/openmanipulator_morpheus_chair_notebooks/src/master/
Open the Notebook
When you open a ROSject, by default you have the Jupyter Notebook automatically open, but if that doesn’t happen, you can manually open it by clicking on Tools -> Jupyter Notebook as shown in the image below:
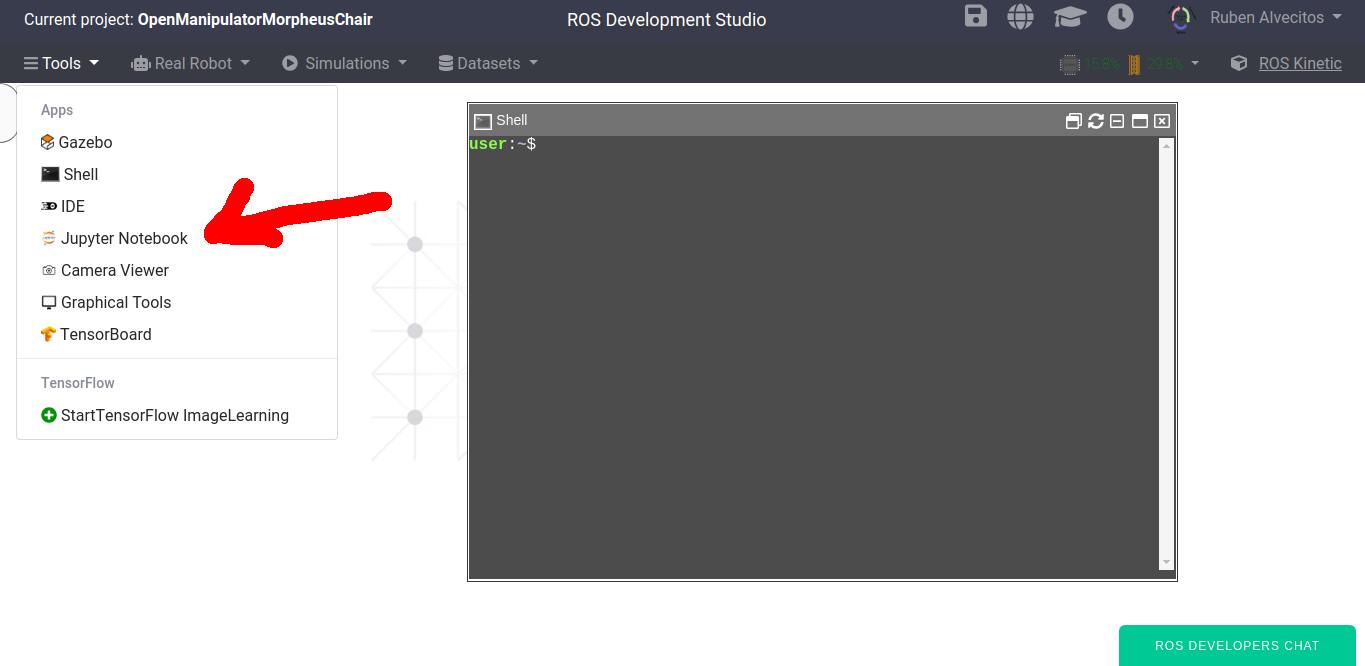
Now on the Jupyter Notebook window let’s click openmanipulator_morpheus_chair_notebooks, then click on Ep2_Dynamixel_Control.ipynb to open it. That notebook contains the instructions we are going to follow in this post.
Once again, be careful when working with real robots because the servo motors used today, for example, they don’t have force feedback, so if somehow you get a finger stuck there it can be really harmful.
Connecting our robot to our local computer
We are assuming you already have the robot. Now let’s connect it to our computer:

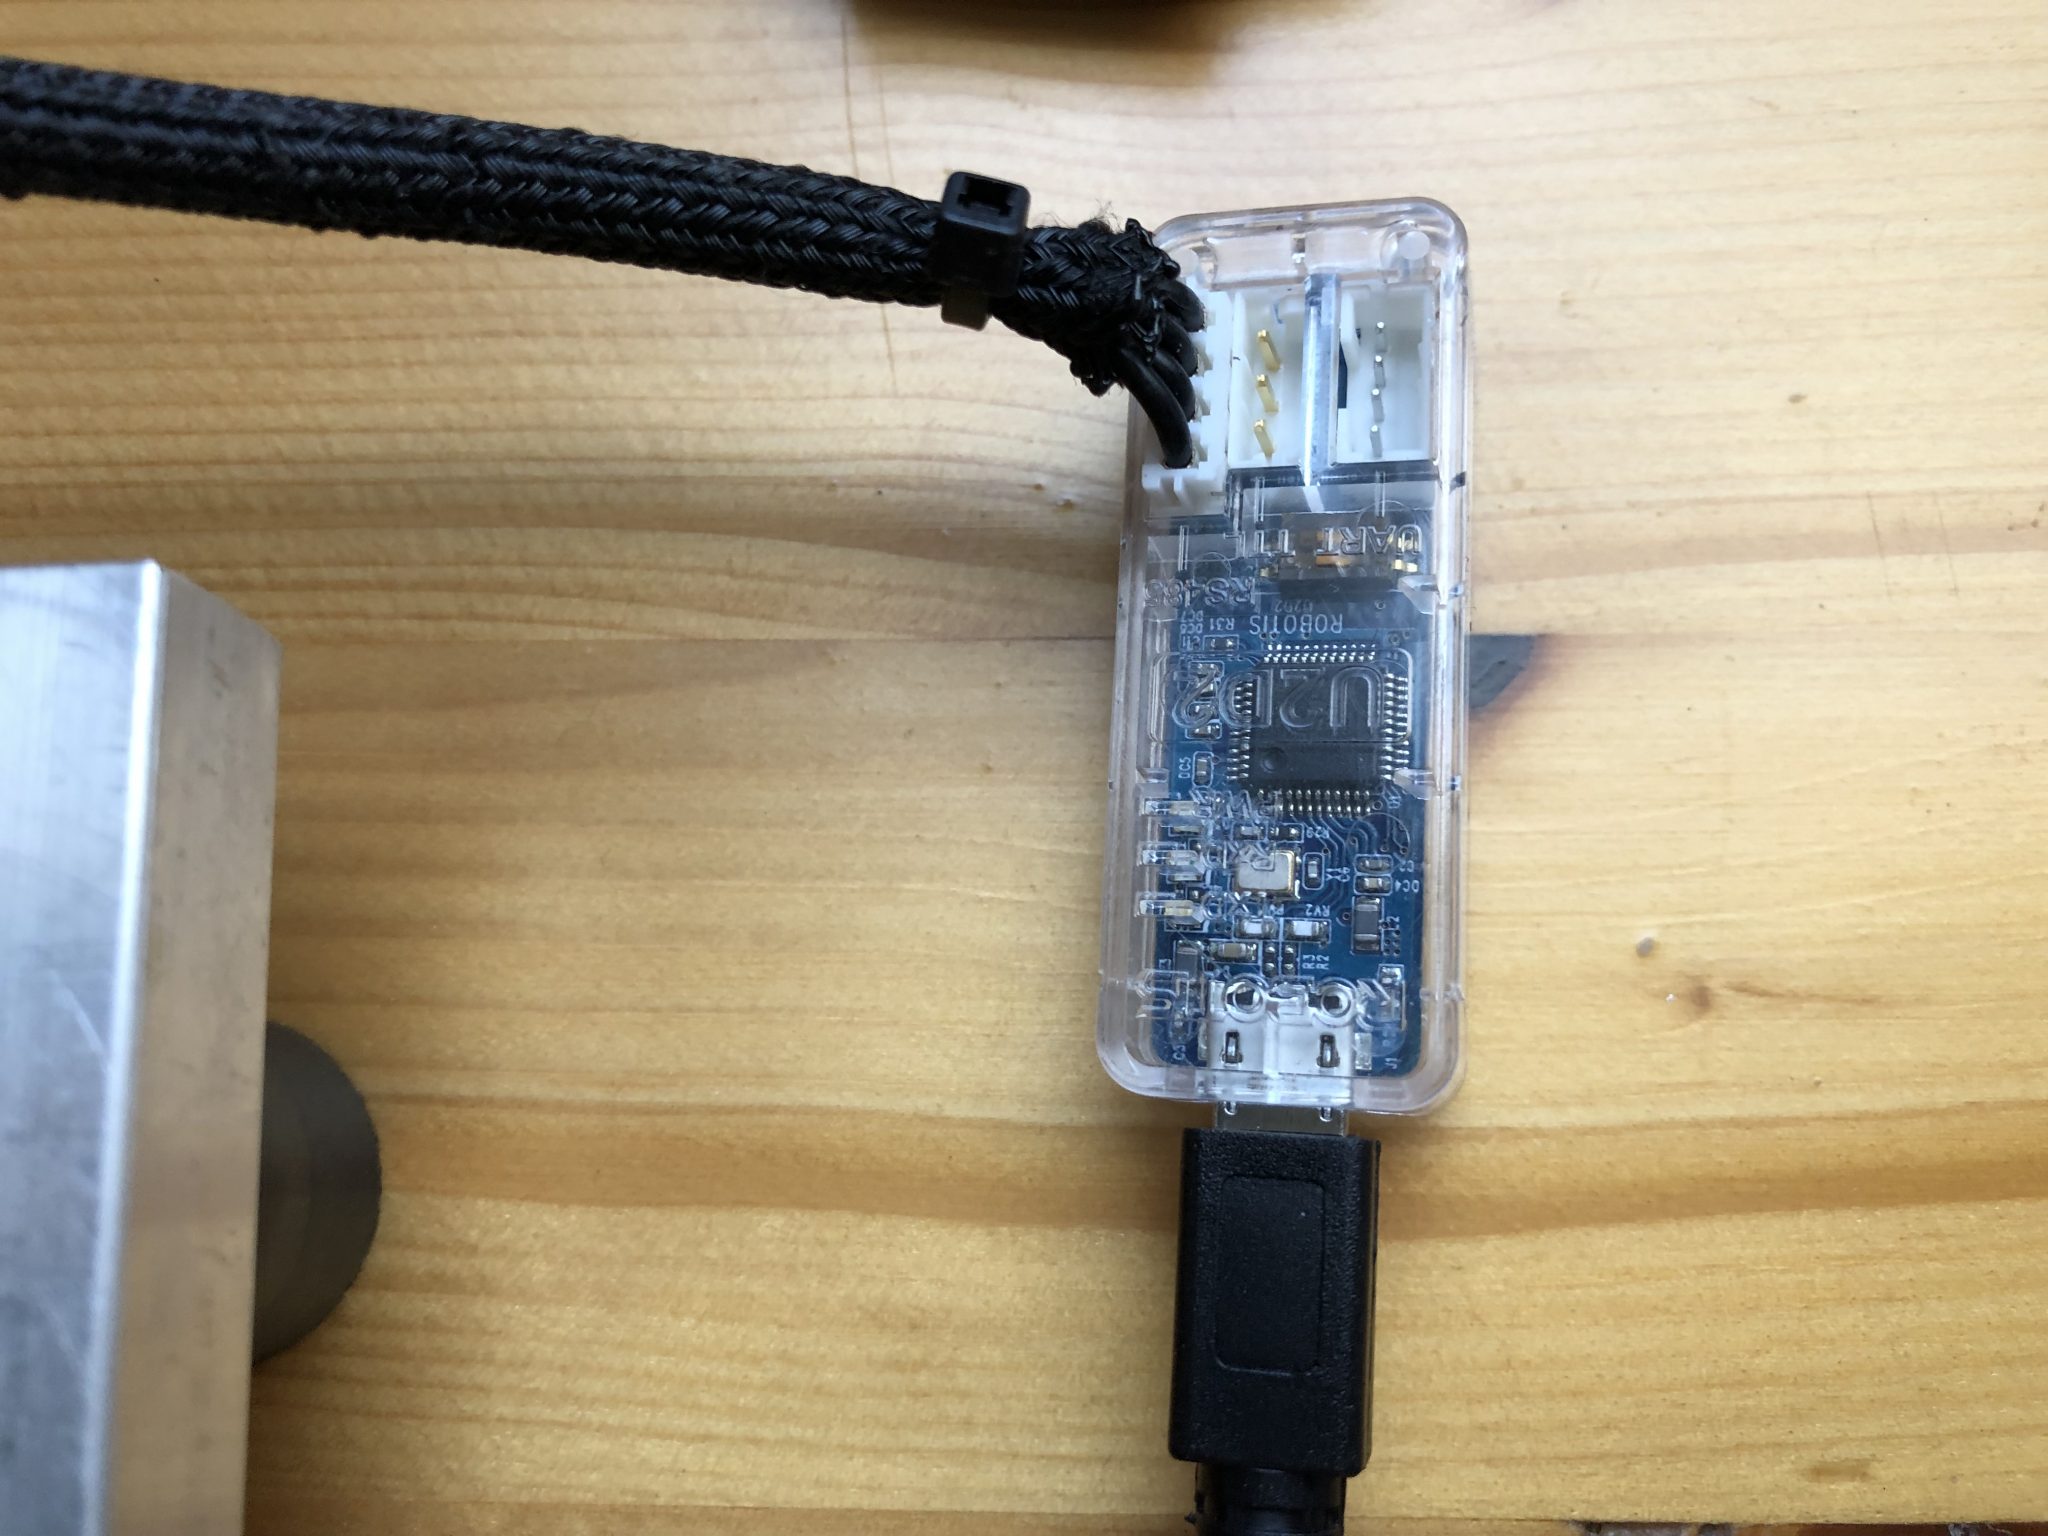

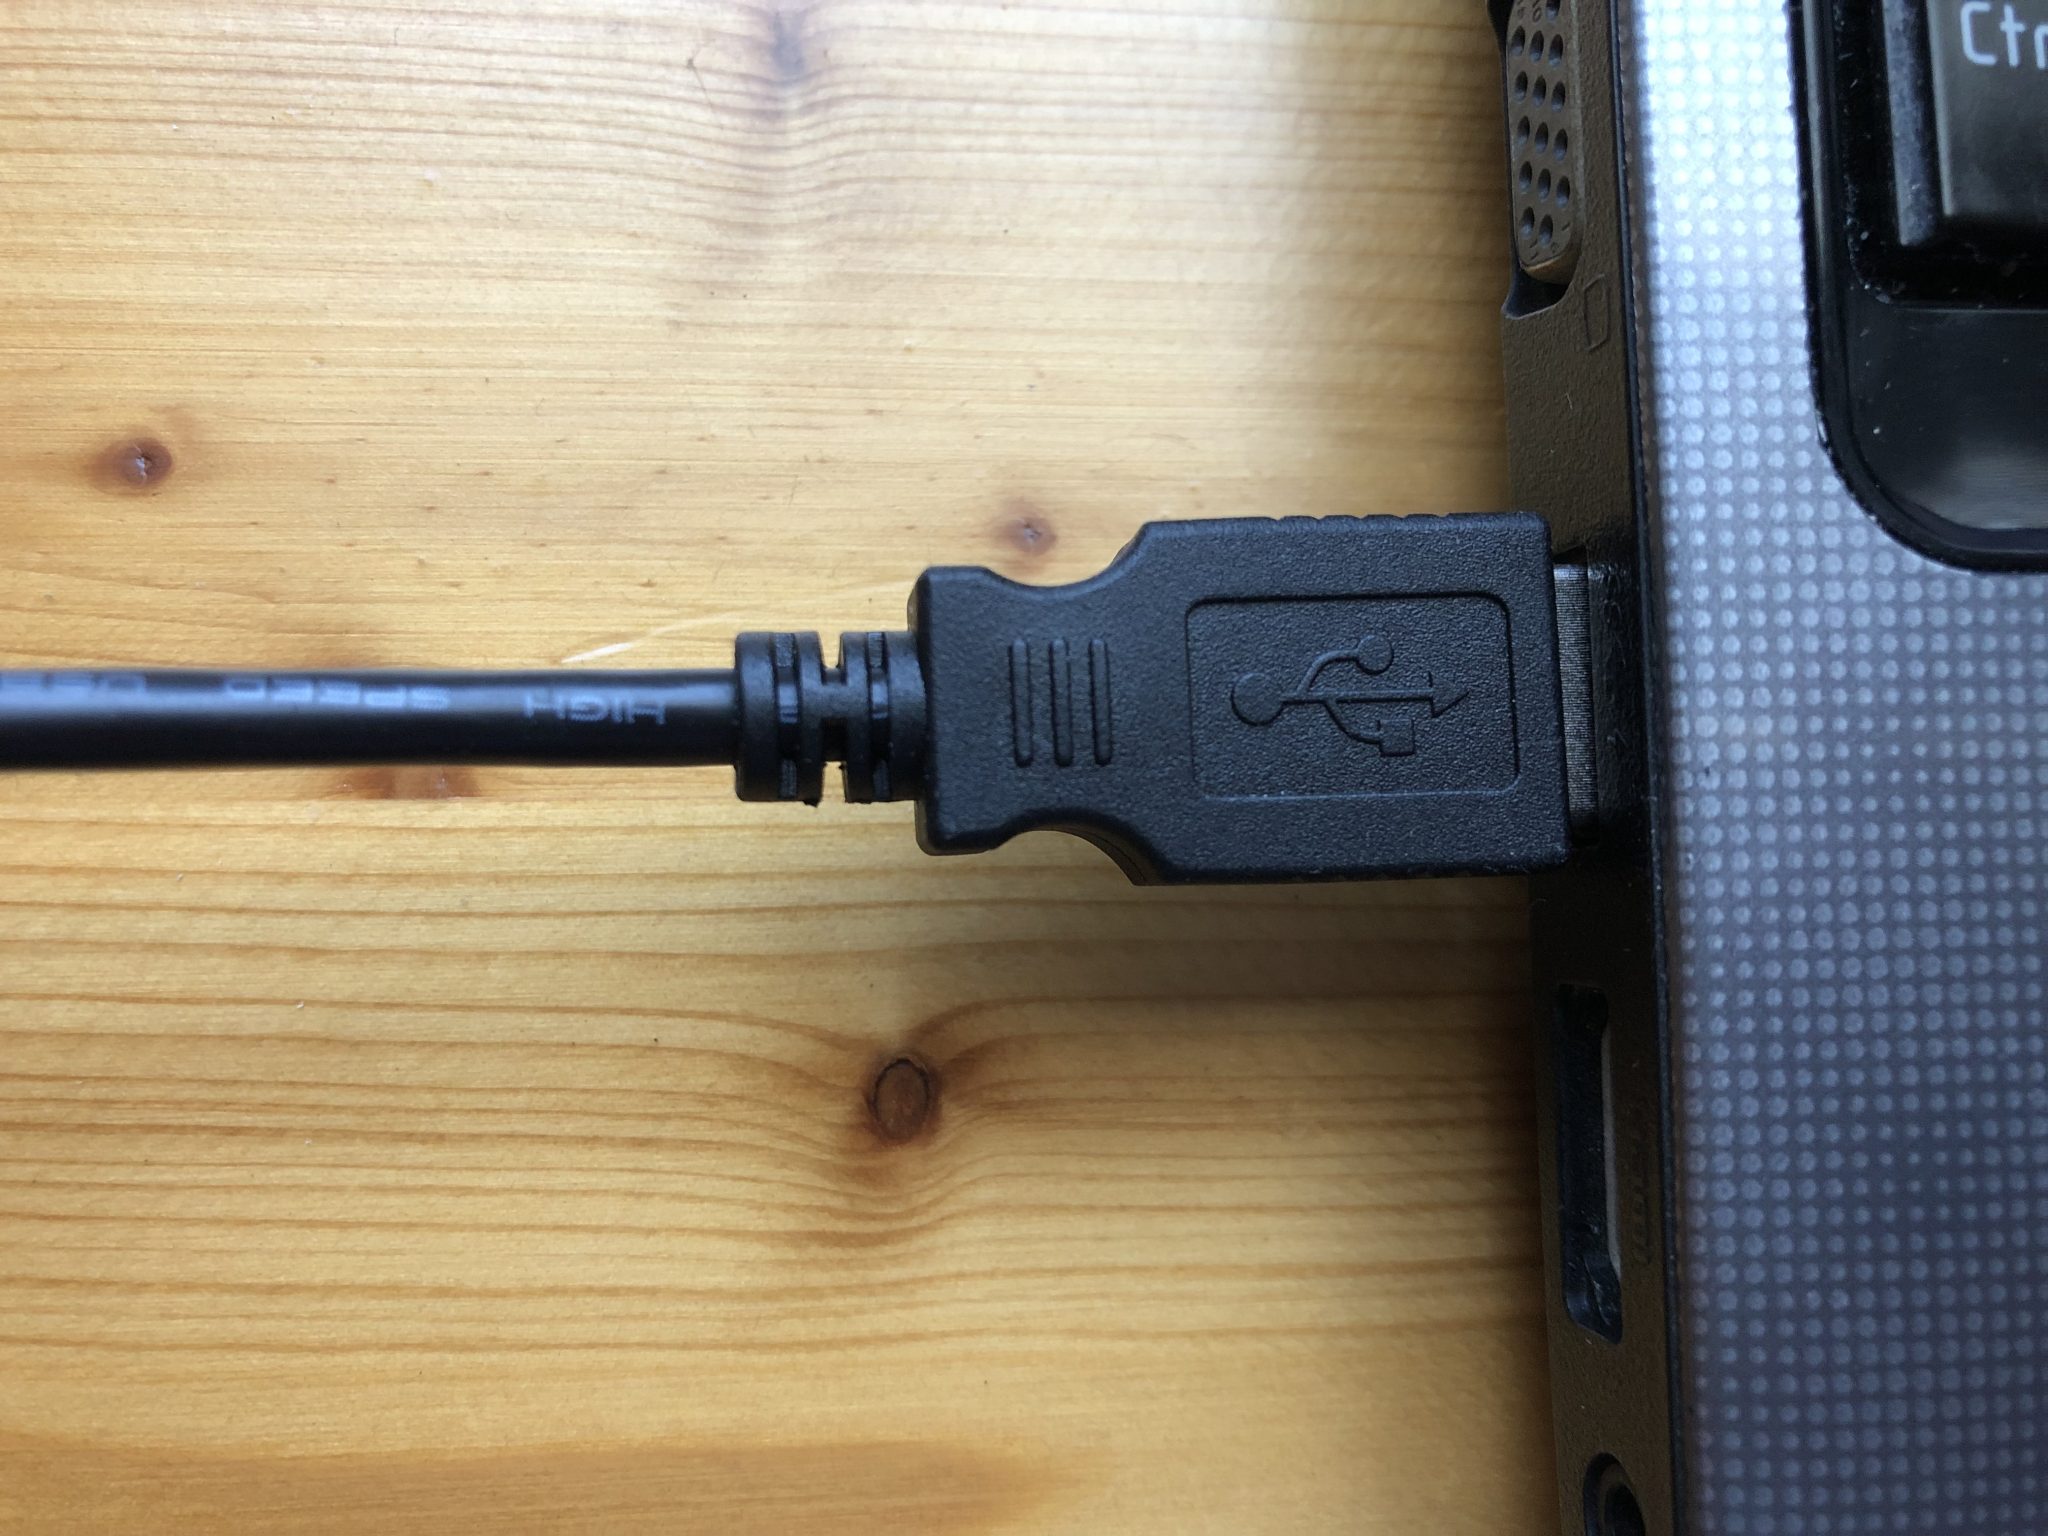
once the USB cable is connected, let’s see that our device is connected. If we run the command below:
dmesg -wH
and disconnect our USB cable we will see a message saying so.
[ +16,678853] usb 3-1: USB disconnect, device number 9
[ +0,000491] ftdi_sio ttyUSB0: FTDI USB Serial Device converter now disconnected from ttyUSB0
[ +0,000059] ftdi_sio 3-1:1.0: device disconnected
If we now connect our robot again we should see a message saying confirming that.
[ +7,356777] usb 3-1: new high-speed USB device number 9 using xhci_hcd
[ +0,134790] usb 3-1: New USB device found, idVendor=0403, idProduct=6014
[ +0,000011] usb 3-1: New USB device strings: Mfr=1, Product=2, SerialNumber=3
[ +0,000006] usb 3-1: Product: USB <-> Serial Converter
[ +0,000005] usb 3-1: Manufacturer: FTDI
[ +0,000004] usb 3-1: SerialNumber: FT2H2ZXW
[ +0,003952] ftdi_sio 3-1:1.0: FTDI USB Serial Device converter detected
[ +0,000086] usb 3-1: Detected FT232H
[ +0,000876] usb 3-1: FTDI USB Serial Device converter now attached to ttyUSB0
Note that our device name is called ttyUSB0 according to the logs. The name is important because we have to use it when setting up our program.
Another way of getting more information about the connected device (robot) is with the command below:
lsusb
which will give us the following output when our robot is not connected.
$ lsusb
Bus 002 Device 002: ID 8087:0024 Intel Corp. Integrated Rate Matching Hub
Bus 002 Device 001: ID 1d6b:0002 Linux Foundation 2.0 root hub
Bus 004 Device 001: ID 1d6b:0003 Linux Foundation 3.0 root hub
Bus 003 Device 001: ID 1d6b:0002 Linux Foundation 2.0 root hub
Bus 001 Device 006: ID 0cf3:3005 Atheros Communications, Inc. AR3011 Bluetooth
Bus 001 Device 004: ID 04f2:b2cf Chicony Electronics Co., Ltd
Bus 001 Device 003: ID 04d9:a067 Holtek Semiconductor, Inc.
Bus 001 Device 002: ID 8087:0024 Intel Corp. Integrated Rate Matching Hub
Bus 001 Device 001: ID 1d6b:0002 Linux Foundation 2.0 root hub
If we now connect the robot again, we can see it now:
$ lsusb
Bus 002 Device 002: ID 8087:0024 Intel Corp. Integrated Rate Matching Hub
Bus 002 Device 001: ID 1d6b:0002 Linux Foundation 2.0 root hub
Bus 004 Device 001: ID 1d6b:0003 Linux Foundation 3.0 root hub
**Bus 003 Device 010: ID 0403:6014 Future Technology Devices International, Ltd FT232H Single HS USB-UART/FIFO IC**
Bus 003 Device 001: ID 1d6b:0002 Linux Foundation 2.0 root hub
Bus 001 Device 006: ID 0cf3:3005 Atheros Communications, Inc. AR3011 Bluetooth
Bus 001 Device 004: ID 04f2:b2cf Chicony Electronics Co., Ltd
Bus 001 Device 003: ID 04d9:a067 Holtek Semiconductor, Inc.
Bus 001 Device 002: ID 8087:0024 Intel Corp. Integrated Rate Matching Hub
Bus 001 Device 001: ID 1d6b:0002 Linux Foundation 2.0 root hub
By comparing the messages when our device is connected with the messages when it is not connected, we can clearly see that our robot is the Future Technology Devices International, Ltd FT232H Single HS USB-UART/FIFO IC entry.
Running the controllers
If you downloaded the ROSject and extracted on your home folder (/home/your_username), you should have a simulation_ws folder there. In that folder, we will find a package called dynamixel_workbench_controllers, more precisely on the ~/simulation_ws/src/open_manipulator_tc/dynamixel-workbench/dynamixel_workbench_co
ntrollers path.
On that package, you can find a launch file called position_control.launch, which contains the following content.
<launch>
  <arg name="device_name"                default="/dev/ttyUSB0"/>
  <arg name="baud_rate"                  default="3000000"/>
  <arg name="scan_range"                 default="10"/>

  <arg name="profile_velocity"           default="200"/>
  <arg name="profile_acceleration"       default="50"/>

  <param name="device_name"              value="$(arg device_name)"/>
  <param name="baud_rate"                value="$(arg baud_rate)"/>

  <param name="scan_range"               value="$(arg scan_range)"/>

  <param name="profile_velocity"         value="$(arg profile_velocity)"/>
  <param name="profile_acceleration"     value="$(arg profile_acceleration)"/>

  <node name="position_control" pkg="dynamixel_workbench_controllers" type="position_control" required="true" output="screen"/>
</launch>
Note that on the second line we have the name of our device /dev/ttyUSB0. If in your computer the device has a different name, please update that line with the correct value. You can use the command dmesg -wH to see what is your device’s name.
On the third line, we have the baud_rate which in our case is 3000000. To get the baud_rate or our device we just run the command below with the robot connected:
stty < /dev/ttyUSB0
which in our case showed that our speed baud is 3000000.
speed 3000000 baud; line = 0;
intr = <undef>; quit = <undef>; erase = <undef>; kill = <undef>; eof = <undef>; start = <undef>; stop = <undef>; susp = <undef>; rprnt = <undef>; werase = <undef>;
lnext = <undef>; discard = <undef>; min = 0; time = 0;
-brkint -icrnl -imaxbel
-opost -onlcr
-isig -icanon -iexten -echo -echoe -echok -echoctl -echoke
Now with everything in place, let’s run the controllers with the commands below:
cd ~/simulation_ws
source devel/setup.bash
rospack profile
export ROS_MASTER_URI=http://master:11311
roslaunch dynamixel_workbench_controllers position_control.launch
If everything goes ok, the robot now should be stiff. You shouldn’t be able to move it.
If after running the roslaunch command you have an error like the one below, that happens because you may have a different baud rate. If that is the case, please update the device_name and baud_rate variables on the launch file with the correct values.
[ERROR] [1562837899.024503906]: Not found Motors, Please check scan range or baud rate
================================================================================
REQUIRED process [position_control-2] has died!
process has died [pid 14723, exit code -11, cmd /home/rdaneel/ros_playground/open_manipulator_ws/devel/lib/dynamixel_workbench_controllers/position_control __name:=position_control __log:=/home/rdaneel/.ros/log/9c5dd618-a3bf-11e9-ba51-9cb70d2d9370/position_control-2.log].
log file: /home/rdaneel/.ros/log/9c5dd618-a3bf-11e9-ba51-9cb70d2d9370/position_control-2*.log
Initiating shutdown!
================================================================================
If you open a new bash terminal and run rostopic list you should see at least the topics below:
$ rostopic list
/dynamixel_state
/goal_dynamixel_position
/joint_states
/rosout
/rosout_agg
We can also check the services we have. With rosservice list we should have at least the services below:
/joint_command
/position_control/get_loggers
/position_control/set_logger_level
/rosout/get_loggers
/rosout/set_logger_level
if for some reason the commands above don’t work, make sure you have ROS_MASTER_URI variable correctly set before running then:
export ROS_MASTER_URI=http://localhost:11311
Connecting to the real robot from ROSDS
We mentioned at the beginning of the post that you can run all commands directly on your own computer, but some of them you can also run remotely.
For that, we can just follow the instructions on this post: https://www.theconstruct.ai/use-real-robot-connection-rosdevelopementstudio/
If you followed the instructions correctly, running the commands rostopic list and rosservice list on ROSDS would give you the same output of when we ran on our own computer in which the robot is connected to.
Diving deeper
With rostopic list we can see that we have basically three topics:
/dynamixel_state
/goal_dynamixel_position
/joint_states
There are the basic topics that should always exist with any robot if you use the controller we are using here.
If we want to know more information about a specific topic, like /dynamixel_state for example, we can just run rostopic info /dynamixel_state. In this command we will see the list of publishers, subscribers and the message type, which for this topic is:
$ rostopic info /dynamixel_state
Type: dynamixel_workbench_msgs/DynamixelStateList
With rostopic echo /dynamixel_state -n1 we can see the model_name of each servo motor.
-
  model_name: "XM430-W350"
  id: 1
  torque_enable: 1
  goal_current: 0
  goal_velocity: 350
  goal_position: 2041
  present_current: 0
  present_velocity: 0
  present_position: 2040
  moving: 0
-
  model_name: "XM540-W270"
  id: 2
  torque_enable: 1
  goal_current: 0
  goal_velocity: 128
  goal_position: 2640
  present_current: 0
  present_velocity: 0
  present_position: 2642
  moving: 0
-
  model_name: "XM540-W270"
  id: 3
  torque_enable: 1
  goal_current: 0
  goal_velocity: 278
  goal_position: 519
  present_current: 0
  present_velocity: 0
  present_position: 519
  moving: 0
-
  model_name: "XM430-W350"
  id: 4
  torque_enable: 1
  goal_current: 0
  goal_velocity: 350
  goal_position: 2037
  present_current: 0
  present_velocity: 0
  present_position: 2037
  moving: 0
-
  model_name: "XM430-W350"
  id: 5
  torque_enable: 1
  goal_current: 0
  goal_velocity: 350
  goal_position: 991
  present_current: 0
  present_velocity: 0
  present_position: 992
  moving: 0
-
  model_name: "XM430-W350"
  id: 6
  torque_enable: 1
  goal_current: 0
  goal_velocity: 350
  goal_position: 2083
  present_current: 0
  present_velocity: 0
  present_position: 2083
  moving: 0
-
  model_name: "XM430-W350"
  id: 7
  torque_enable: 1
  goal_current: 0
  goal_velocity: 350
  goal_position: 1409
  present_current: 0
  present_velocity: 0
  present_position: 1409
  moving: 0
---
Note that we are using two different models, which are XM540-W270 and XM430-W350. The former is more powerful.
You can get more information about those models directly on the vendor’s page:
- http://support.robotis.com/en/product/actuator/dynamixel_x/xm_series/xm430-w350.htm
- http://support.robotis.com/en/product/actuator/dynamixel_x/xm_series/xm540-w270.htm
With rostopic echo /dynamixel_state -n1 we saw the present_position of each joint in a raw way. By printing the messages published on the /joint_states topic we can see the positions in radians:
$ rostopic echo /joint_states -n1
header:
seq: 8432
stamp:
secs: 1562839429
nsecs: 633347588
frame_id: ''
name: [id_1, id_2, id_3, id_4, id_5, id_6, id_7]
position: [-0.013805827125906944, 0.9111846089363098, -2.345456600189209, -0.016873789951205254, -1.621417760848999, 0.052155349403619766, -0.9802137613296509]
velocity: [0.0, 0.0, 0.0, 0.0, 0.0, 0.0, 0.0]
effort: []
Let’s also check the topic /goal_dynamixel_position.
$ rostopic info /goal_dynamixel_position
Type: sensor_msgs/JointState

Publishers: None

Subscribers:
* /position_control (http://rdaneel-laptop:35360/)
We can see that it has only subscribers, not publishers. That happens because the robot is listening to that topic and nobody is telling the robot to move yet. Let’s publish our first message there so that our arm can move.
Moving the arm
In order to move the arm, we have to publish a message on the /goal_dynamixel_position topic. For that we can use the command below:
rostopic pub /goal_dynamixel_position sensor_msgs/JointState [TAB][TAB]
We will fill the name, position, velocity, and effort with the same data we got from rostopic echo /joint_states -n1. We are just going to change the value of the first joint to 0.7. At the end our message will be something like:
rostopic pub /goal_dynamixel_position sensor_msgs/JointState "header:
seq: 0
stamp: {secs: 0, nsecs: 0}
frame_id: ''
name: ['id_1','id_2', 'id_3', 'id_4', 'id_5', 'id_6', 'id_7']
position: [0.7, 0.9111846089363098, -2.345456600189209, -0.016873789951205254, -1.621417760848999, 0.052155349403619766, -0.9802137613296509]
velocity: [0.0, 0.0, 0.0, 0.0, 0.0, 0.0, 0.0]
effort: [0]"
After pressing enter your robot arm should have moved.
We moved the arm by publishing on a topic. We can also do it by calling a ROS Service.
If you remember, we have some services that can be listed with rosservice list, which are:
/joint_command
/position_control/get_loggers
/position_control/set_logger_level
/rosout/get_loggers
/rosout/set_logger_level
The one we are interested in is /joint_command. Let’s move it with the command below:
rosservice call /joint_command [TAB] [TAB
let’s then fill the parameters:
rosservice call /joint_command "unit: 'rad'
id: 1
goal_position: -1.57"
Bean in mind that unit can be ‘rad‘, ‘raw’ or nothing. If we select raw or nothing, the effect is the same.
Creating a python ROS Node to move the servos
To move the arm with python code we have two options:
- We move it with a Service Client ( /joint_command ): We can only move one joint at a time, but it waits until movement finished.
- We move it publishing in a Topic ( /goal_dynamixel_position ): Moves everything at the same time, but there is no wait.
We are going to create a python class that allows us to use both. If you have the ROSJect, the ROS Package is already created for you at ~/simulation_ws/src/openmanipulator_morpheus_chair/openmanipulator_morpheus_chair_tutorials. We created that package with the commands below:
cd ~/simulation_ws
source devel/setup.bash
rospack profile
cd src
catkin_create_pkg openmanipulator_morpheus_chair_tutorials rospy dynamixel_workbench_msgs sensor_msgs
cd openmanipulator_morpheus_chair_tutorials
mkdir scripts
touch scripts/move_openmanipulator.py
chmod +x scripts/move_openmanipulator.py
On the move_openmanipulator.py file we have the following content:
#! /usr/bin/env python

import time
import rospy
from sensor_msgs.msg import JointState
from dynamixel_workbench_msgs.srv import JointCommand, JointCommandRequest
from std_msgs.msg import Header


class OpenManipulatorMove(object):
    def __init__(self):
        rospy.loginfo("OpenManipulatorMove INIT...Please wait.")

        # We subscribe to the joint states to have info of the system

        self.joint_states_topic_name = '/joint_states'
        self._check_join_states_ready()
        sub = rospy.Subscriber(self.joint_states_topic_name, JointState, self.joint_states_callback)


        # We start the Publisher for the positions of the joints
        self.goal_dynamixel_position_publisher = rospy.Publisher('/goal_dynamixel_position',
                                                                    JointState,
                                                                    queue_size=1)

        # Wait for the service client /joint_command to be running
        joint_command_service_name = "/joint_command"
        rospy.wait_for_service(joint_command_service_name)
        # Create the connection to the service
        self.joint_command_service = rospy.ServiceProxy(joint_command_service_name, JointCommand)

        rospy.loginfo("OpenManipulatorMove Ready!")

    def joint_states_callback(self,msg):
        """
        rosmsg show sensor_msgs/JointState
            std_msgs/Header header
              uint32 seq
              time stamp
              string frame_id
            string[] name
            float64[] position
            float64[] velocity
            float64[] effort

        :param msg:
        :return:
        """
        self.joint_states_msg = msg

    def _check_join_states_ready(self):
        self.joint_states_msg = None
        rospy.logdebug("Waiting for "+self.joint_states_topic_name+" to be READY...")
        while self.joint_states_msg is None and not rospy.is_shutdown():
            try:
                self.joint_states_msg = rospy.wait_for_message(self.joint_states_topic_name, JointState, timeout=5.0)
                rospy.logdebug("Current "+self.joint_states_topic_name+" READY=>")

            except:
                rospy.logerr("Current "+self.joint_states_topic_name+" not ready yet, retrying ")

    def move_all_joints(self, position_array):

        rospy.logwarn("move_all_joints STARTED")
        # We check that the position array has the correct number of elements
        number_of_joints = len(self.joint_states_msg.name)

        if len(position_array) == number_of_joints:
            if self.check_gripper_pos_safe(position_array[6]):
                new_joint_position = JointState()

                h = Header()
                h.stamp = rospy.Time.now()  # Note you need to call rospy.init_node() before this will work
                h.frame_id = self.joint_states_msg.header.frame_id

                new_joint_position.header = h
                new_joint_position.name = self.joint_states_msg.name
                new_joint_position.position = position_array

                # These values arent used, so they dont matter really
                new_joint_position.velocity = self.joint_states_msg.velocity
                new_joint_position.effort = self.joint_states_msg.effort

                rospy.logwarn("PUBLISH STARTED")
                self.goal_dynamixel_position_publisher.publish(new_joint_position)
                rospy.logwarn("PUBLISH FINISHED")
            else:
                rospy.logerr("Gripper position NOT valid=" + str(position_array[6]))
        else:
            rospy.logerr("The Array given doesnt have the correct length="+str(number_of_joints))

        rospy.logwarn("move_all_joints FINISHED")


    def move_one_joint(self, joint_id, position, unit="rad"):
        """
        rossrv show dynamixel_workbench_msgs/JointCommand
            string unit
            uint8 id
            float32 goal_position
            ---
            bool result

        :param joint_id:
        :param position:
        :param units:
        :return:
        """
        joint_cmd_req = JointCommandRequest()
        joint_cmd_req.unit = unit
        joint_cmd_req.id = joint_id
        joint_cmd_req.goal_position = position

        if joint_id == 7:
            rospy.logwarn("CHECKING Gripper Value is safe?")
            if self.check_gripper_pos_safe(position):

                # Send through the connection the name of the object to be deleted by the service
                result = self.joint_command_service(joint_cmd_req)
                rospy.logwarn("move_one_joint went ok?="+str(result))
            else:
                rospy.logwarn("Gripper Value Not safe=" + str(position))
        else:
            # Send through the connection the name of the object to be deleted by the service
            result = self.joint_command_service(joint_cmd_req)
            rospy.logwarn("move_one_joint went ok?=" + str(result))

    def get_joint_names(self):
        return self.joint_states_msg.name


    def check_gripper_pos_safe(self, gripper_value):
        """
        We need to check that the gripper pos is -1.0 > position[6] > -3.14
        Otherwise it gets jammed
        :param gripper_value:
        :return:
        """
        return (-0.5 > gripper_value > -2.0)

def movement_sequence_test():

    openman_obj = OpenManipulatorMove()

    # NOD
    joint_position_home = [0.08743690699338913, 1.0385050773620605, -2.345456600189209, -0.016873789951205254,
                           -1.4818254709243774, 0.0015339808305725455, -1.0599807500839233]
    joint_position1 = [0.8897088766098022, 0.6059224009513855, -1.4419419765472412, -0.016873789951205254,
                       -1.4818254709243774, 0.0015339808305725455, -1.0599807500839233]
    joint_position2 = [0.8912428617477417, 0.5859806537628174, -1.6060779094696045, -0.016873789951205254,
                       -0.8191457390785217, 0.004601942375302315, -1.0599807500839233]
    joint_position3 = [0.8897088766098022, 0.6028544902801514, -1.8745245933532715, -0.015339808538556099,
                       0.5292233824729919, 0.003067961661145091, -1.0599807500839233]


    # SAY NO
    joint_left = [0.44332045316696167, 1.0630487203598022, -2.345456600189209, 0.5568350553512573, -1.483359456062317,
                  0.004601942375302315, -1.0599807500839233]
    joint_right = [-0.20862139761447906, 1.0906603336334229, -2.3071072101593018, -0.6488738656044006,
                   -1.483359456062317, -0.4417864680290222, -1.0599807500839233]
    joint_middle = [0.0076699042692780495, 1.1274758577346802, -2.325515031814575, 0.3344078063964844,
                    -1.4848934412002563, 0.46172821521759033, -1.0599807500839233]

    # Pendulum
    pend_left = [0.46479618549346924, 0.13345633447170258, -1.728796362876892, 1.5907381772994995, -1.6797089576721191, 0.004601942375302315, -1.0799225568771362]
    pend_middle = [0.39269909262657166, 0.1595340073108673, -2.0984857082366943, -0.09817477315664291, -1.0615147352218628, -0.0015339808305725455, -1.0799225568771362]
    pend_right = [0.006135923322290182, 0.42337870597839355, -1.8806605339050293, -1.306951642036438, -1.0661166906356812, -0.004601942375302315, -1.0799225568771362]


    joint_position_sequence_nod = []
    joint_position_sequence_nod.append(joint_position_home)
    joint_position_sequence_nod.append(joint_position1)
    joint_position_sequence_nod.append(joint_position2)
    joint_position_sequence_nod.append(joint_position3)
    joint_position_sequence_nod.append(joint_position2)
    joint_position_sequence_nod.append(joint_position3)
    joint_position_sequence_nod.append(joint_position1)
    joint_position_sequence_nod.append(joint_position_home)

    joint_position_sequence_say_no = []
    joint_position_sequence_nod.append(joint_position_home)
    joint_position_sequence_nod.append(joint_left)
    joint_position_sequence_nod.append(joint_middle)
    joint_position_sequence_nod.append(joint_right)
    joint_position_sequence_nod.append(joint_left)
    joint_position_sequence_nod.append(joint_middle)
    joint_position_sequence_nod.append(joint_right)
    joint_position_sequence_nod.append(joint_left)
    joint_position_sequence_nod.append(joint_right)
    joint_position_sequence_nod.append(joint_left)
    joint_position_sequence_nod.append(joint_position_home)


    joint_position_sequence_say_pendulum = []
    joint_position_sequence_say_pendulum.append(joint_position_home)
    joint_position_sequence_say_pendulum.append(pend_left)
    joint_position_sequence_say_pendulum.append(pend_middle)
    joint_position_sequence_say_pendulum.append(pend_right)
    joint_position_sequence_say_pendulum.append(pend_left)
    joint_position_sequence_say_pendulum.append(pend_middle)
    joint_position_sequence_say_pendulum.append(pend_right)
    joint_position_sequence_say_pendulum.append(pend_left)
    joint_position_sequence_say_pendulum.append(pend_middle)
    joint_position_sequence_say_pendulum.append(pend_right)
    joint_position_sequence_say_pendulum.append(joint_position_home)


    for joint_position_array in joint_position_sequence_nod:
        openman_obj.move_all_joints(joint_position_array)
        time.sleep(0.5)

    for joint_position_array in joint_position_sequence_say_no:
        openman_obj.move_all_joints(joint_position_array)
        time.sleep(0.2)

    for joint_position_array in joint_position_sequence_say_pendulum:
        openman_obj.move_all_joints(joint_position_array)
        time.sleep(0.5)

def move_joints_test():
    """
    This is for Geting the positions of the joints without testing them
    live, which is quite dangerous!
    :return:
    """
    openman_obj = OpenManipulatorMove()
    joint_names = openman_obj.get_joint_names()
    rospy.logwarn("Starting Moving Joints GUI...")
    while not rospy.is_shutdown():
        rospy.logwarn("#######"+str(joint_names)+"#####")
        joint_id = int(raw_input("Joint ID="))
        joint_position = float(raw_input("Joint Position Radians="))
        openman_obj.move_one_joint(joint_id, joint_position, unit="rad")
        rospy.logwarn("####################")


if __name__ == "__main__":
    rospy.init_node('move_openmanipulator_node', log_level=rospy.WARN)
    #move_joints_test()
    movement_sequence_test()
Now in order to move the arm using our script, we can simply:
rosrun openmanipulator_morpheus_chair_tutorials move_openmanipulator.py
If everything went as expected, your arm should have moved to different places.
With the command above we called the servers responsible for moving the arm. Remember that we launched our controller with roslaunch dynamixel_workbench_controllers position_control.launch, which basically runs the code defined on ~/simulation_ws/src/open_manipulator_tc/dynamixel-workbench/dynamixel_workbench_controllers/src/position_control.cpp. Please have a look at that file if you want to understand how the Service Server and the Topic Subscriber move the arms.
Manually extracting the servo positions
At this point, you might be wondering how we know the radian value for the positions we want the arm to move to. We do that by disabling the controllers, moving the arm to the desired position and then checking the joint states, as explained here:
https://youtu.be/qEKXi5hNRdg?t=2253
APPENDIX
Tip to get complex poses quickly:
- Step1: Position the arm as you wish when the control isn’t on, and leave it there with the help of someone.
- Step2: Turn on the control (roslaunch dynamixel_workbench_controllers position_control.launch), now the joints are stiff
- Step3: rostopic echo /joint_states/position -n1
What can I do when my gripper doesn’t move?!
Rate doesn’t work properly?
    rateobj =  rospy.Rate(10.0)

    for joint_position_array in joint_position_sequence_nod:
        openman_obj.move_all_joints(joint_position_array)
        rateobj.sleep()

    rateobj2 = rospy.Rate(1.0)

    for joint_position_array in joint_position_sequence_say_no:
        openman_obj.move_all_joints(joint_position_array)
        rateobj2.sleep()
You would think that this would make the first movement go fast and the second go slow. But it seems that the one the counts is the first rateobject. If that happens, then it would be preferable to use time.sleep().
So, that is the post for today. Remember that we have a video showing all the content of this post. Please have a look and leave your thoughts on the comments section of the video. Also, feel free to subscribe to our channel on YouTube because we are publishing ROS-related content every day.
Below we have the video:
In the next post, we are going to learn how to use the MoveIt! Setup Assistant, so that we can easily move our robot arm later.
Edited by Miguel Angel and Ruben Alves.


This is great!!! You have saved me so much time! Thank you!!!
It’s amazing video and it was so helpful.
I am building ur5 robot and am using gyems RDM X8 motors so to connect with the real robot can i use dynamixel-workbench for my gyems RDM X8 motor?