

What we are going to learn
- How to check for node parameters
- How to load parameters from terminal and launch files
- How to dump parameters into a file
List of resources used in this post
- Use the rosject: https://app.theconstructsim.com/#/l/4875b2e0/
- The Construct: https://app.theconstructsim.com/
- ROS2 Tutorials –▸
- ROS2 Basics in 5 Days (Python): https://app.theconstructsim.com/#/Course/73
- ROS2 Basics in 5 Days (C++): https://app.theconstructsim.com/#/Course/61
ROS2 Parameters key points
Before we start really using ROS2 parameters, let’s understand key points about them:
-
- Parameters in ROS2 are implemented/attached to/served by each node individually, as opposed to the parameter server associated with roscore in ROS1, therefore, when the node dies, so do its parameters. This is easier to understand if you already know that in ROS2 we do not have roscore.
-
- Parameters can be loaded at the node startup or while the node is running
Having this in mind, our life now understanding ROS2 params is going to become easier.
Opening the rosject
In order to learn how to load and retrieve ROS2 Parameters, we need to have ROS installed in our system, and it is also useful to have some simulations. We already prepared a rosject with a simulation for that: https://app.theconstructsim.com/#/l/4875b2e0/.
You can download the rosject on your own computer if you want to work locally, but just by copying the rosject (clicking the link), you will have a setup already prepared for you.
After the rosject has been successfully copied to your own area, you should see a Run button. Just click that button to launch the rosject.

Learn ROS2 Parameters – Run rosject
After pressing the Run button, you should have the rosject loaded. Let’s now head to the next section to really get some real practice.
Launching the turtlebot simulation with ROS2
In order to launch the simulation, let’s start by opening a new terminal:
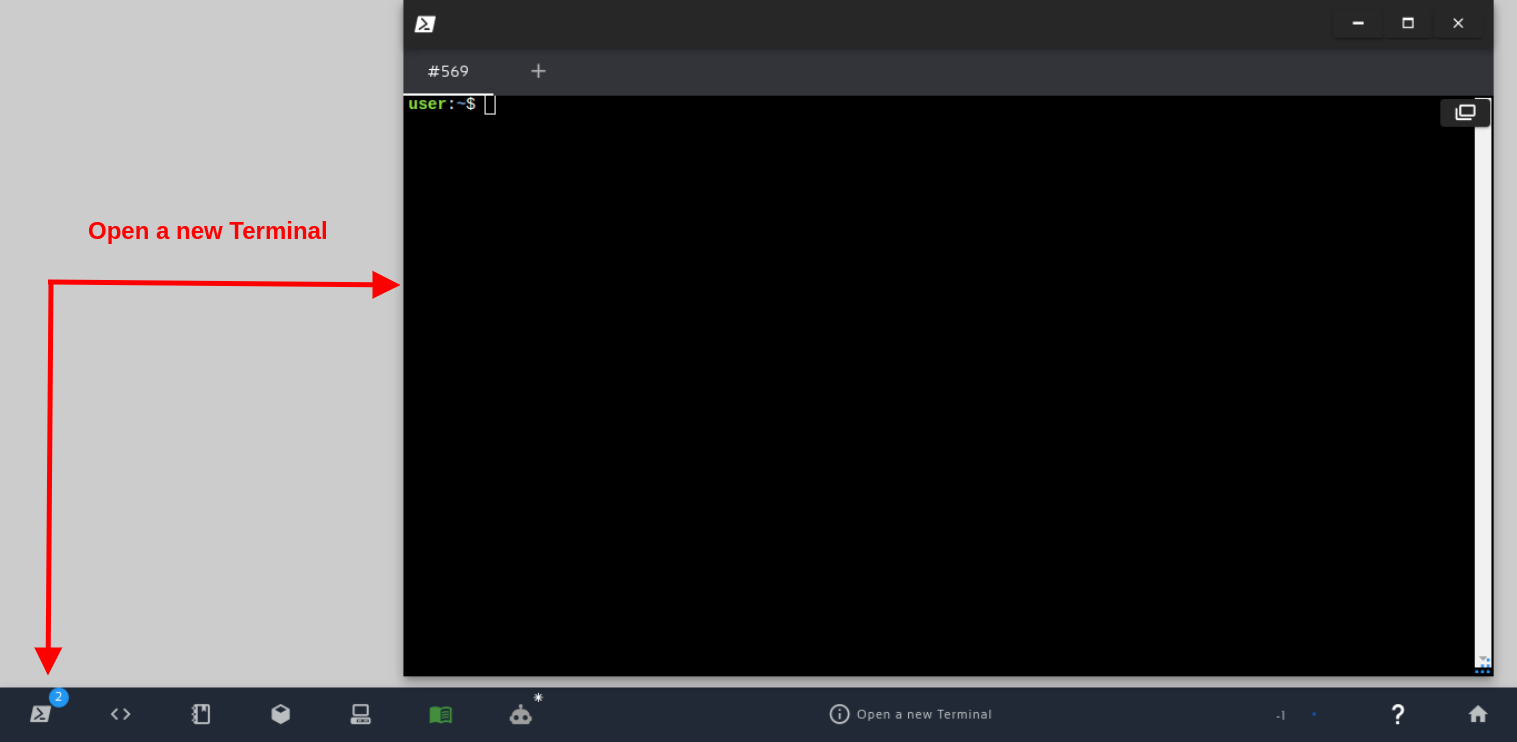
Open a new Terminal
After having the first terminal open, let’s run the following commands to launch a simulation:
source ~/simulation_ws/install/setup.bash
export TURTLEBOT3_MODEL=waffle_pi
export GAZEBO_MODEL_PATH=$GAZEBO_MODEL_PATH:~/simulation_ws/src/turtlebot3/turtlebot3_simulations/turtlebot3_gazebo/models
ros2 launch turtlebot3_gazebo empty_world.launch.py
Wait some seconds until the simulation is loaded. If for any reason the simulation does not load and you see error messages like the following:
[INFO] [1649093592.180346898] [spawn_entity]: Waiting for service /spawn_entity
[ERROR] [1649093597.566604708] [spawn_entity]: Service %s/spawn_entity unavailable. Was Gazebo started with GazeboRosFactory?
[ERROR] [1649093597.567565097] [spawn_entity]: Spawn service failed. Exiting.
[ERROR] [spawn_entity.py-4]: process has died [pid 1007, exit code 1, cmd '/opt/ros/galactic/lib/gazebo_ros/spawn_entity.py -entity waffle_pi -file /home/user/simulation_ws/install/turtlebot3_gazebo/share/turtlebot3_gazebo/models/turtlebot3_waffle_pi/model.sdf -x 0.0 -y 0.0 -z 0.01 --ros-args']
you can just abort the current command by pressing CTRL+C in the terminal, then run the last command “ros2 launch turtlebot3_gazebo empty_world.launch.py” again.
If everything loaded fine, you should have a Turtlebot Waffle PI simulation running:
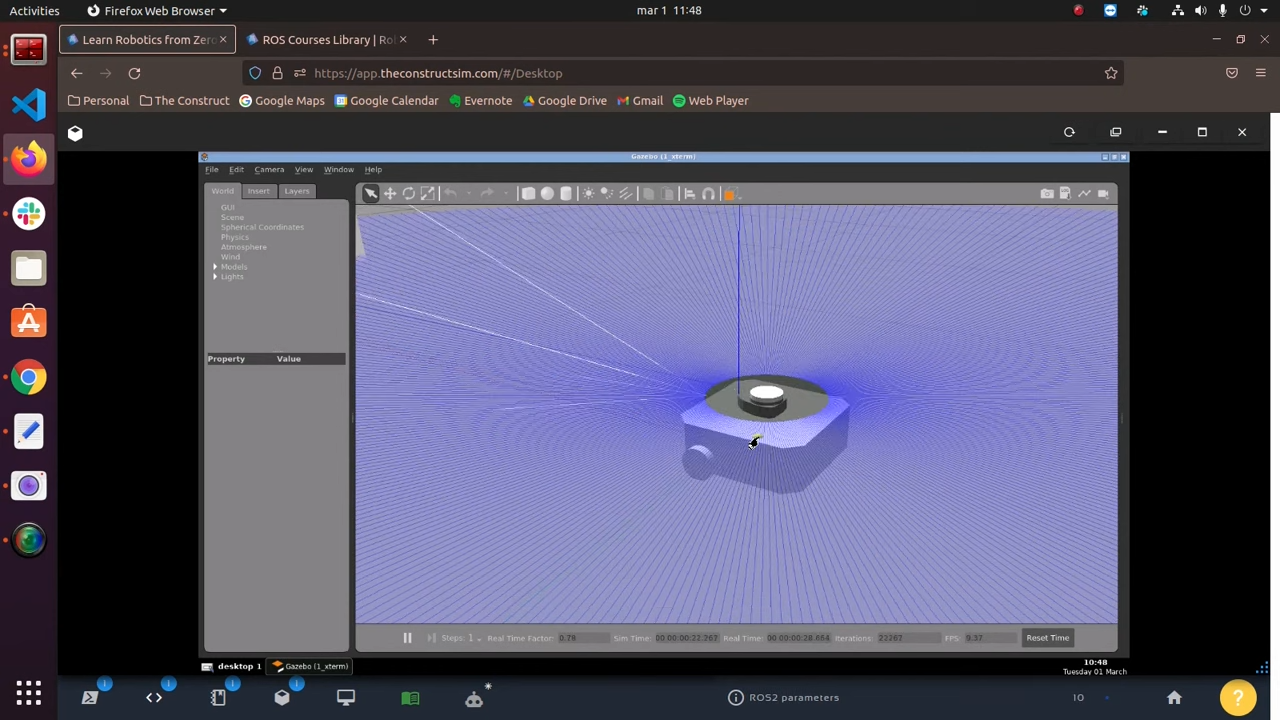
Turtlebot Waffle PI – How to use ROS2 parameters
Checking ROS2 Topics to ensure the simulation is ok
Now that our simulation is running, we can check the topics just to make sure everything loaded as expected.
For that, let’s open a second terminal and type the following command:
ros2 topic list
If you see the following list of topics, then everything has loaded fine:
user:~$ ros2 topic list

/camera/camera_info
/camera/image_raw
/clock
/cmd_vel
/imu
/joint_states
/odom
/parameter_events
/performance_metrics
/robot_description
/rosout
/scan
/tf
/tf_static
If you look carefully in the list of topics, we have the topic /cmd_vel. We are going to use it to send velocity commands to the robot using ROS parameters.
Understanding the parameter_tests package
So far so good. It is now time to check the structure of our workspace. Let’s start by opening our Code Editor:
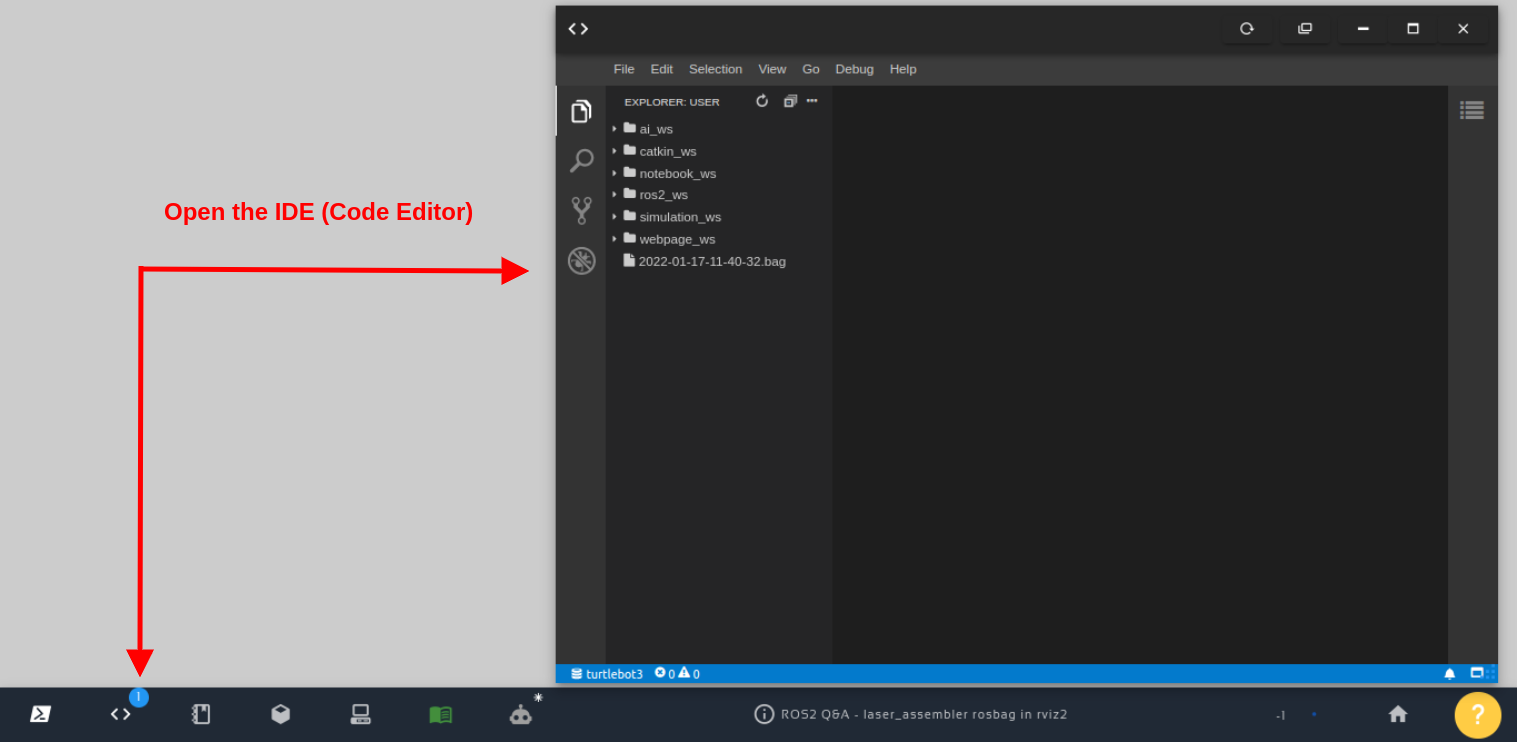
Open the IDE – Code Editor
After having the IDE open, under ros2_ws/src you should find a package named parameter_tests.
Inside that package, there is also a folder named parameter_tests with a file named parameter_tests_node.py. Please click on that file to open it and analyze its code.
The code is the following:
import rclpy
import rclpy.node
from rcl_interfaces.msg import ParameterDescriptor
from geometry_msgs.msg import Twist


class VelParam(rclpy.node.Node):
    def __init__(self):
        super().__init__('param_vel_node')
        self.timer = self.create_timer(0.1, self.timer_callback)
        self.publisher = self.create_publisher(Twist, 'cmd_vel', 10)
        self.msg = Twist()
        param_descriptor = ParameterDescriptor(
            description='Sets the velocity (in m/s) of the robot.')
        self.declare_parameter('velocity', 0.0, param_descriptor)
        # self.add_on_set_parameters_callback(self.parameter_callback)

    def timer_callback(self):
        my_param = self.get_parameter('velocity').value

        self.get_logger().info('Velocity parameter is: %f' % my_param)

        self.msg.linear.x = my_param
        self.publisher.publish(self.msg)

def main():
    rclpy.init()
    node = VelParam()
    rclpy.spin(node)


if __name__ == '__main__':
    main()
If you check the main function, we are basically starting the ROS node, instantiating an object of our VelParam class, and spinning that node.
On the VelParam, one of the most important parts is where we define the param_descriptor. That param descriptor is what we use to set a parameter called velocity and define its initial value as 0.0.
Another important part of the code is the timer:
self.timer = self.create_timer(0.1, self.timer_callback)
Every certain amount of time (0.1 sec) the timer_callback method is called.
If we now check that timer_callback method, we see that it basically reads the velocity parameter and uses it to publish a velocity to the /cmd_vel.
Running the parameter_tests_node node
Now that we understand what our node does, it is time to run it.
For that, let’s open a third terminal and run the following command:
ros2 run parameter_tests param_vel
You should see constant messages like the following:
[INFO] [1649095105.555241669] [param_vel_node]: Velocity parameter is: 0.000000
[INFO] [1649095105.559028822] [param_vel_node]: Velocity parameter is: 0.000000
[INFO] [1649095105.583306104] [param_vel_node]: Velocity parameter is: 0.000000
...
We see that the initial value of the velocity parameter is 0 (zero).
Checking ROS Parameters using the terminal
Ok, so far we see everything is working, and we were are able to set and retrieve the ROS Param using Python.
Now let’s list the parameters to identify our velocity param. Let’s open a third terminal and type ros2 param list. The output should be similar to the following:
user:~$ ros2 param list
/camera_driver:
  qos_overrides./clock.subscription.depth
  qos_overrides./clock.subscription.durability
  qos_overrides./clock.subscription.history
  qos_overrides./clock.subscription.reliability
  qos_overrides./parameter_events.publisher.depth
  qos_overrides./parameter_events.publisher.durability
  qos_overrides./parameter_events.publisher.history
  qos_overrides./parameter_events.publisher.reliability
  update_rate
  use_sim_time
/gazebo:
  publish_rate
  qos_overrides./clock.subscription.depth
  qos_overrides./clock.subscription.durability
  qos_overrides./clock.subscription.history
  qos_overrides./clock.subscription.reliability
  qos_overrides./parameter_events.publisher.depth
  qos_overrides./parameter_events.publisher.durability
  qos_overrides./parameter_events.publisher.history
  qos_overrides./parameter_events.publisher.reliability
  use_sim_time
/param_vel_node:
  use_sim_time
  velocity
/robot_state_publisher:
  ignore_timestamp
  publish_frequency
  qos_overrides./clock.subscription.depth
  qos_overrides./clock.subscription.durability
  qos_overrides./clock.subscription.history
  qos_overrides./clock.subscription.reliability
  qos_overrides./parameter_events.publisher.depth
  qos_overrides./parameter_events.publisher.durability
  qos_overrides./parameter_events.publisher.history
  qos_overrides./parameter_events.publisher.reliability
  qos_overrides./tf.publisher.depth
  qos_overrides./tf.publisher.durability
  qos_overrides./tf.publisher.history
  qos_overrides./tf.publisher.reliability
  qos_overrides./tf_static.publisher.depth
  qos_overrides./tf_static.publisher.history
  qos_overrides./tf_static.publisher.reliability
  robot_description
  use_sim_time
  use_tf_static
/turtlebot3_diff_drive:
  qos_overrides./clock.subscription.depth
  qos_overrides./clock.subscription.durability
  qos_overrides./clock.subscription.history
  qos_overrides./clock.subscription.reliability
  qos_overrides./parameter_events.publisher.depth
  qos_overrides./parameter_events.publisher.durability
  qos_overrides./parameter_events.publisher.history
  qos_overrides./parameter_events.publisher.reliability
  qos_overrides./tf.publisher.depth
  qos_overrides./tf.publisher.durability
  qos_overrides./tf.publisher.history
  qos_overrides./tf.publisher.reliability
  use_sim_time
/turtlebot3_imu:
  qos_overrides./clock.subscription.depth
  qos_overrides./clock.subscription.durability
  qos_overrides./clock.subscription.history
  qos_overrides./clock.subscription.reliability
  qos_overrides./parameter_events.publisher.depth
  qos_overrides./parameter_events.publisher.durability
  qos_overrides./parameter_events.publisher.history
  qos_overrides./parameter_events.publisher.reliability
  use_sim_time
/turtlebot3_joint_state:
  qos_overrides./clock.subscription.depth
  qos_overrides./clock.subscription.durability
  qos_overrides./clock.subscription.history
  qos_overrides./clock.subscription.reliability
  qos_overrides./parameter_events.publisher.depth
  qos_overrides./parameter_events.publisher.durability
  qos_overrides./parameter_events.publisher.history
  qos_overrides./parameter_events.publisher.reliability
  use_sim_time
/turtlebot3_laserscan:
  qos_overrides./clock.subscription.depth
  qos_overrides./clock.subscription.durability
  qos_overrides./clock.subscription.history
  qos_overrides./clock.subscription.reliability
  qos_overrides./parameter_events.publisher.depth
  qos_overrides./parameter_events.publisher.durability
  qos_overrides./parameter_events.publisher.history
  qos_overrides./parameter_events.publisher.reliability
  use_sim_time
The node we are interested in is the param_vel_node. In the output above, we can easily identify our velocity param there:
user:~$ ros2 param list
/param_vel_node:
  use_sim_time
  velocity
the use_sim_time is a parameter that comes in every node.
Moving the robot using ROS Parameter
That that we have the param_vel_node with the velocity param, we can easily set a value to that parameter with the following command:
ros2 param set /param_vel_node velocity 0.2
After running this command, you should see that the robot started moving.
If you also check the terminal where we launched our node, it should say the current value or our parameter:
[INFO] [1649096658.093696410] [param_vel_node]: Velocity parameter is: 0.200000
[INFO] [1649096658.181101399] [param_vel_node]: Velocity parameter is: 0.200000
[INFO] [1649096658.281628131] [param_vel_node]: Velocity parameter is: 0.200000
Remember that you can easily set the parameter to 0.0 again to stop the robot:
ros2 param set /param_vel_node velocity 0.0
Dumping ROS Parameters into a YAML file (YAML format)
Now that we saw that we can easily move the robot back and forth using ROS parameters, in case you need to somehow dump the parameters, you can easily do it with:
cd ~/ros2_ws/src/parameter_tests/config

 ros2 param dump /param_vel_node
The command will generate a file named ./param_vel_node.yaml with the following content (after we have set the velocity to 0.0 again):
/param_vel_node:
  ros__parameters:
    use_sim_time: false
    velocity: 0.0
Loading ROS Parameters when running Node using YAML files
All right, so far we have learned how to set parameters using Python and using the command line directly through ros2 param set. Now the time has come to also learn how to launch a node and set the parameters from a YAML file.
Before we do that, feel free to change the velocity value in the param_vel_node.yaml file.
Please, go to the second terminal where you launched the node and press CTRL+C to kill it. The simulation should be kept running.
Now, launch the node again, but now loading the parameters from the YAML file using the following command:
ros2 run parameter_tests param_vel --ros-args --params-file /home/user/ros2_ws/src/parameter_tests/config/param_vel_node.yaml
Based on the logs that are printed on the screen, you should be able to see that the parameters were correctly loaded from the YAML file.
Loading ROS Parameters using launch files directly
Up to now, we were launching our node using ros2 run, but if you are familiar with ROS, you may know that we can also use ros2 launch to launch ROS2 nodes.
If you check carefully the rosject, you will find a launch file under the following path:
~/ros2_ws/src/parameter_tests/launch/test_parameters.launch.py
It has the following content:
from launch import LaunchDescription
from launch_ros.actions import Node


def generate_launch_description():
    return LaunchDescription([
        Node(
            package='parameter_tests',
            executable='param_vel',
            name='param_vel_node',
            output='screen',
            emulate_tty=True,
            parameters=[
                {'velocity': 0.2}
            ]
        )
    ])
As you can see, we are setting here the velocity with parameters=[ {‘velocity’: 0.2} ]
To launch that launch file, we run the following command:
ros2 launch parameter_tests test_parameters.launch.py
The robot should move again.
Congratulations, you now know all the basics about ROS Parameters in ROS2.
Youtube video
So this is the post for today. Remember that we have the live version of this post on YouTube. If you liked the content, please consider subscribing to our youtube channel. We are publishing new content ~every day.
Keep pushing your ROS Learning.
Related Courses & Training
If you want to learn more about ROS and ROS2, we recommend the following courses:
- ROS2 Basics in 5 Days (Python): https://app.theconstructsim.com/#/Course/73
- ROS2 Basics in 5 Days (C++): https://app.theconstructsim.com/#/Course/61


0 Comments