

What we are going to learn
- How to create a ros/rosdistro source entry so that your package can be released with ROS. Something like: sudo apt-get install ros-humble-my-package-name
List of resources used in this post
- Part 1 of this series: https://www.theconstruct.ai/how-to-release-a-ros-2-binary-package-part-1-2
- Use the rosject: https://app.theconstructsim.com/l/50995c4e/
- The Construct: https://app.theconstructsim.com/
- ROS2 Courses –▸
- ROS2 Basics in 5 Days (Python): https://app.theconstructsim.com/#/Course/73
- ROS2 Basics in 5 Days (C++): https://app.theconstructsim.com/#/Course/61
- ROS2 Navigation training: https://www.theconstruct.ai/ros2-navigation-training/
Overview
ROS2, the improved version of ROS (ROS1), is quickly becoming the standard for developing robotics applications.
In this post, we will learn the second part on how to release a ROS2 package as a binary file. Binary files are pre-built executables. They are easier to install because they do not require building from the source code. Binary files are perfect if you want to easily distribute a package to other people.
You can easily install them with apt-get install PKG_NAME, or sudo dpkg -i pkg-name.deb, for example.
It is highly recommended that you follow that Part 1, since it is a requirement for following this post:
Also, the third part of this series can be found in the link below:
ROS Inside!

ROS Inside
Before anything else, in case you want to use the logo above on your own robot or laptop, feel free to download it for free and attach it to your robot. It is really free. Find it in the link below:
Acknowledgment
This post is based on ROS2’s official documentation, check it out here:
https://docs.ros.org/en/humble/How-To-Guides/Releasing/Releasing-a-Package.html
Opening the rosject
In order to release a ROS 2 binary package, we need to have ROS2 installed in our system, and it is also useful to have some simulations. To make your life easier, we already prepared a rosject with a simulation for that: https://app.theconstructsim.com/l/50995c4e/.
You can download the rosject on your own computer if you want to work locally, but just by copying the rosject (clicking the link), you will have a setup already prepared for you.
After the rosject has been successfully copied to your own area, you should see a Run button. Just click that button to launch the rosject (below you have a rosject example).

How to release a ROS 2 binary package – Run rosject (example of the RUN button)
After pressing the Run button, you should have the rosject loaded. Let’s now head to the next section to really get some real practice.
Assumptions
- Existing ROS2 Package, publicly available for everyone to use
- Git and GitHub basics
- You have completed the first part aforementioned:
- Created a release repository
- Started a new release team (pull request is pending)
- Installed the tools required on our machine
- Created a GIT access token to authenticate
Open a terminal
You will need to clone a repository soon, so, in order to do that, you will need a terminal. If you are new to the platform, you can easily open a terminal by clicking on the first button on the bottom left.
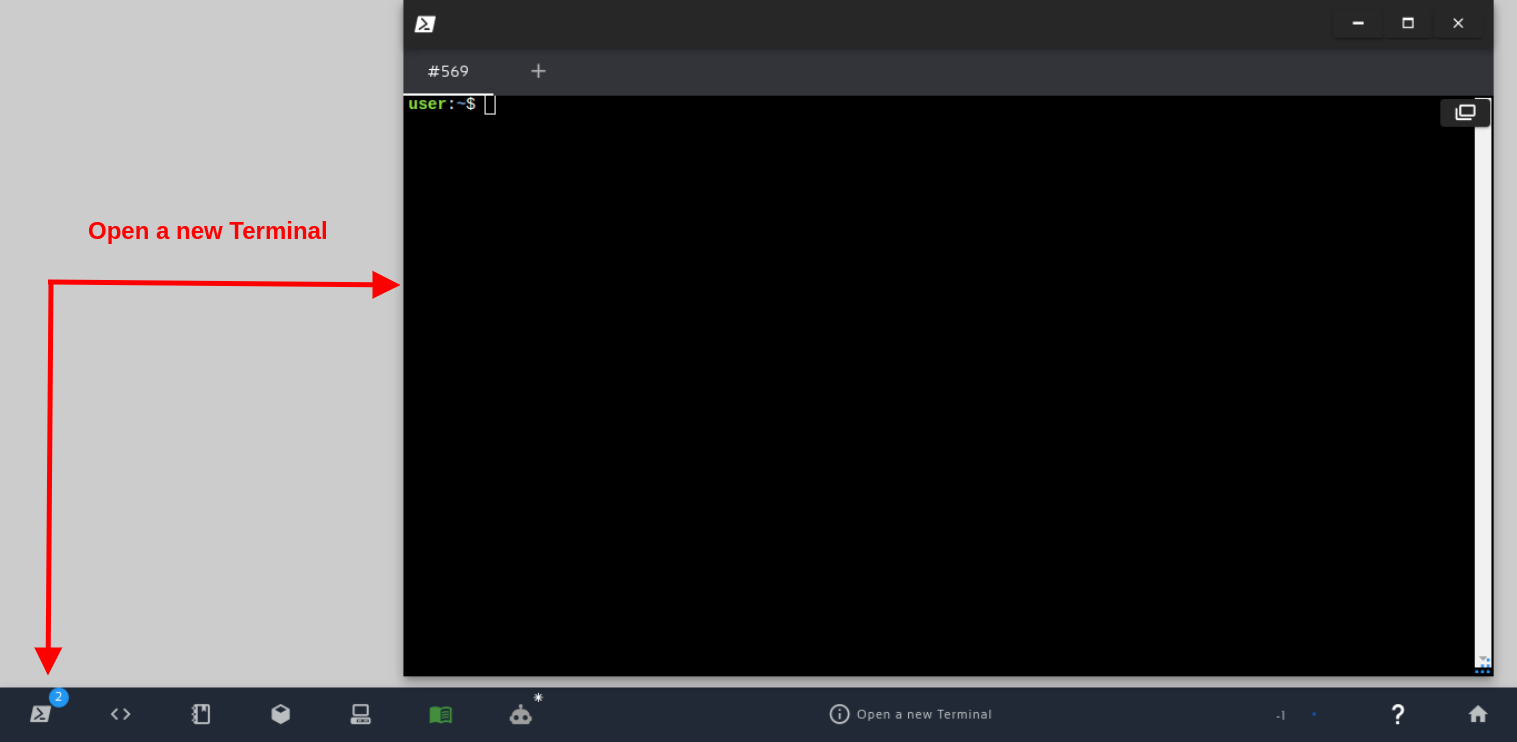
Open a new Terminal
Create a ros/rosdistro source entry
What is ros/rosdistro? https://github.com/ros/rosdistro is a GitHub repository that maintains information describing ROS packages and repositories. The build process accesses this information to build packages.
The rosdistro repository also stores the rules used by rosdep to install external dependencies.
Validation process
- LICENSE file
- Package Naming rules
To add create a ros/rosdistro source entry one can manually open a pull request to the corresponding GitHub repository:
Steps:
- Fork the https://github.com/ros/rosdistro repository on GitHub by clicking https://github.com/ros/rosdistro/fork.
- Clone the repo fork, so you can edit the contents locally. Something like:
cd ~/ros2_ws/src

git clone https://github.com/YOUR-USERNAME/rosdistro

cd rosdistro
Add your repository to the repository listing:
- Open the appropriate directory for the distribution that you would like to add a listing to through the IDE.
- Inside this directory, edit the distribution.yaml file.
- Add your repository information with a doc section as shown below.Considerations:
- You should maintain the alphabetic order of the repositories
- The repository URL should point to the upstream repository, not the release repository.
Example distro file: humble/distribution.yaml
wall_follower_ros2:
  source:
    type: git
    url: https://github.com/rfzeg/wall_follower_ros2.git
    version: master
  status: maintained
Now, go back to the rosdistro root directory and run the following command:
rosdistro_reformat file://"$(pwd)"/index.yaml
This will make the files comply with rosdistro’s special formatting rules.
Check the differences made by the script you just ran:
git diff distribution.yaml
which should show something like this:
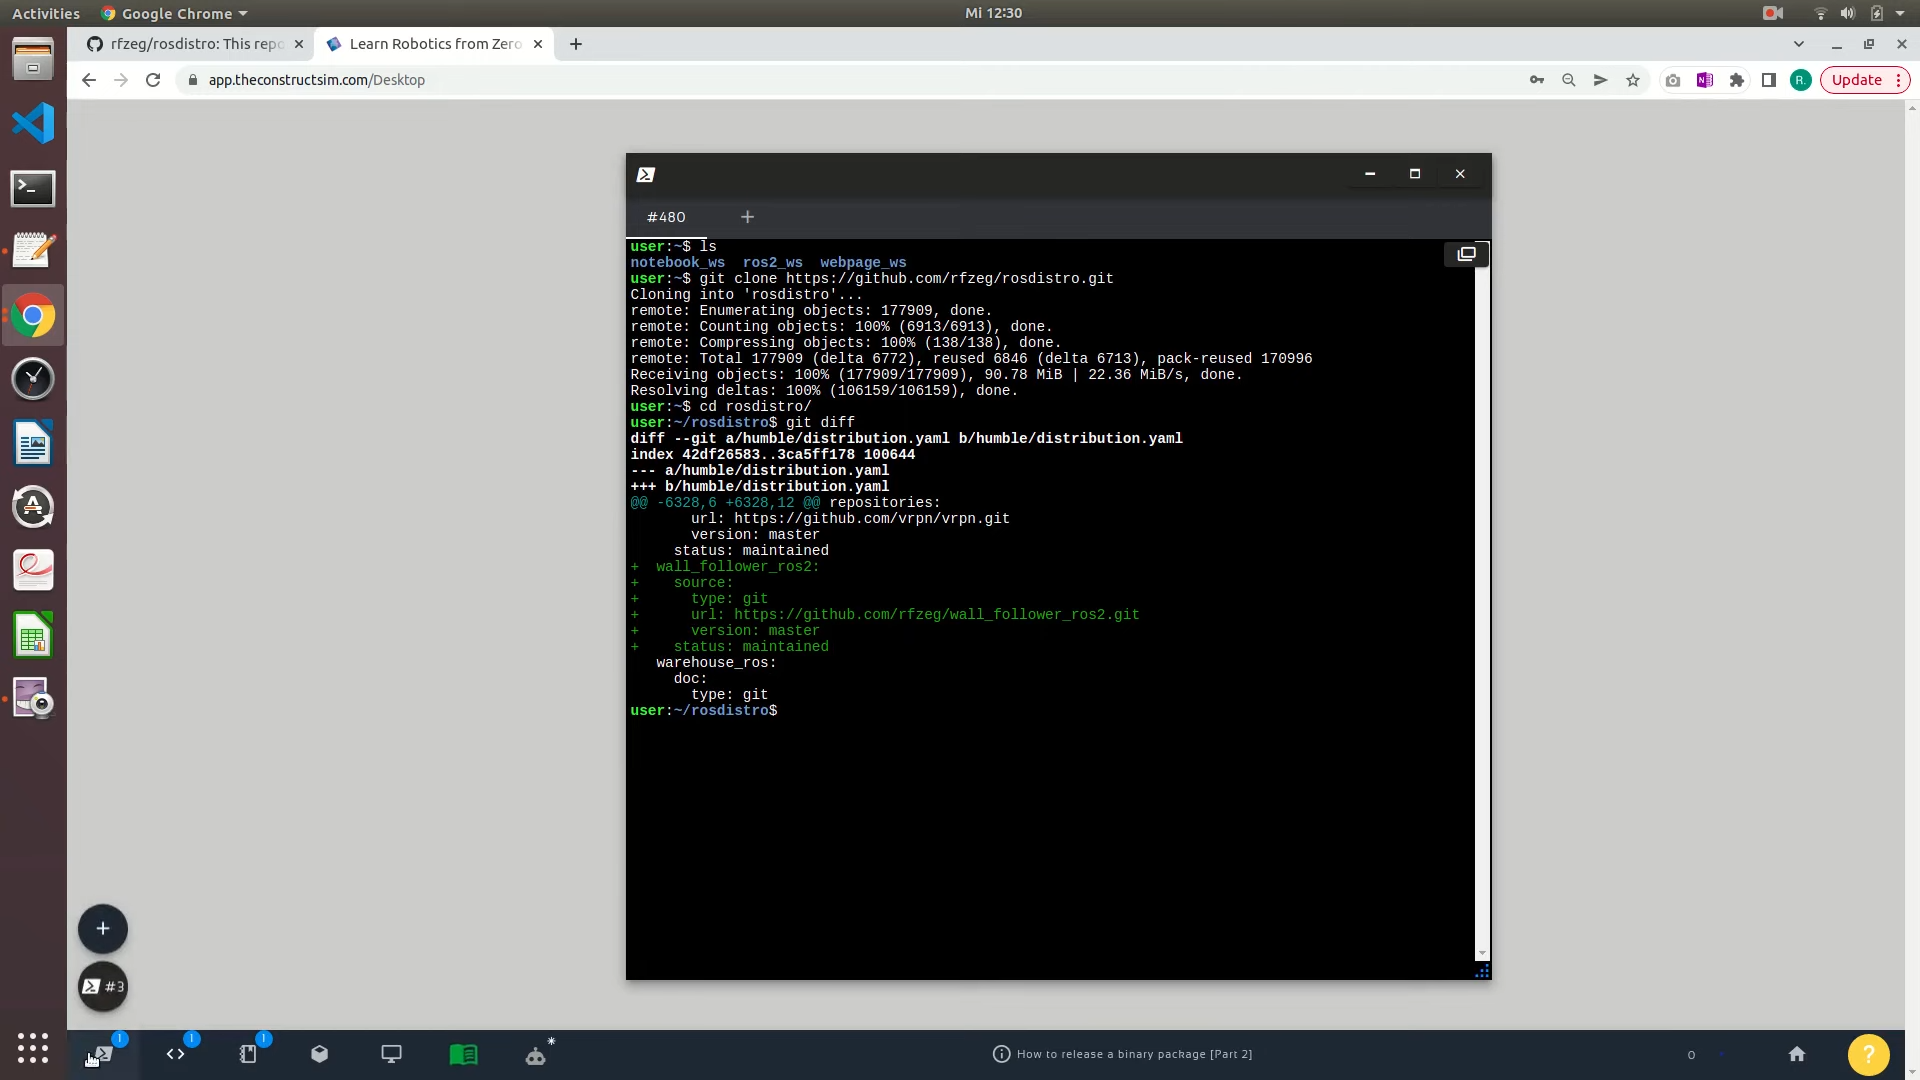
git diff
If everything looks good, you are ready to commit your changes:
git commit -m "Add wall_follower_ros2 repo"
Push your changes to your remote GitHub repository:
git push origin master
Create and Submit a pull request on GitHub to the rosdistro project to add your source entry to the indexer.
To create a new request, go to your repository and click the Contribute -> Open pull request button:
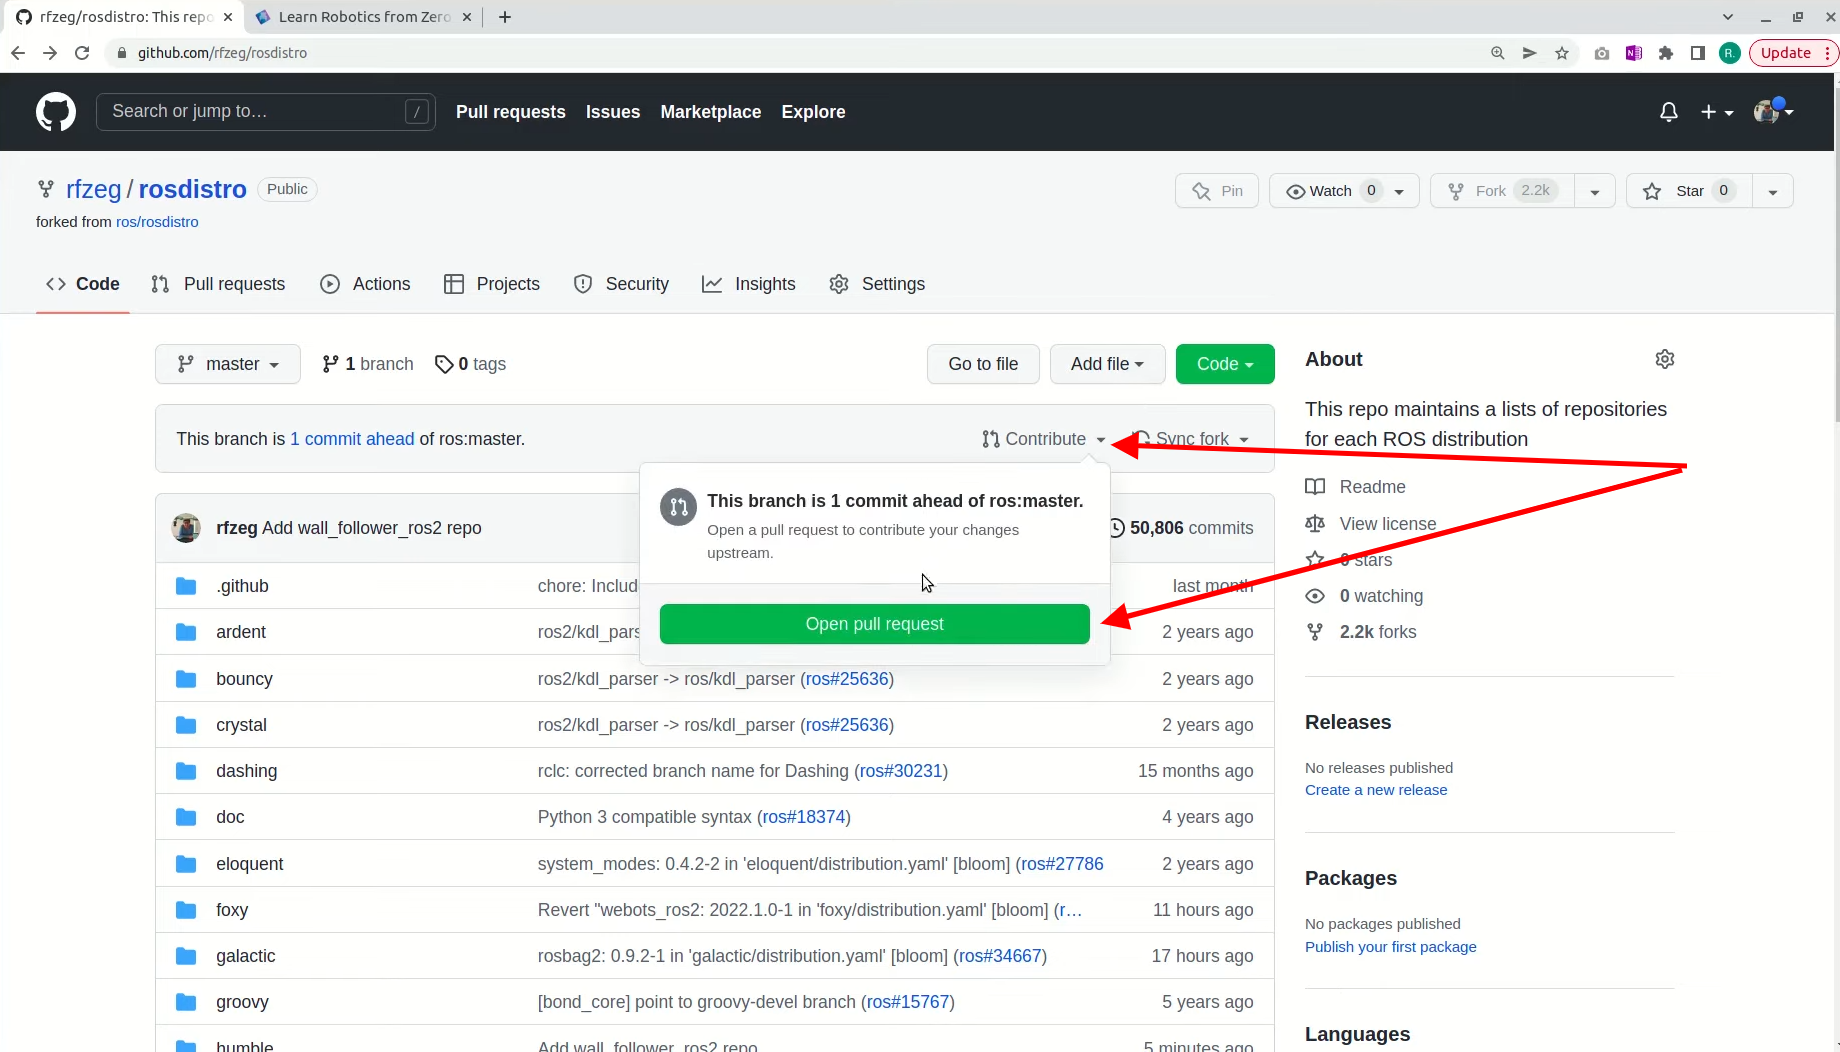
Open a Pull Request for rosdistro
After that, git a title to the Pull Request. Title example:
Add wall_follower_ros2 repo to humble
Then the body of the Pull Request goes like this:
Adding new repository: https://github.com/rfzeg/wall_follower_ros2.git to humble
as requested in https://github.com/ros2-gbp/ros2-gbp-github-org/issues/99
for the purpose of releasing the package wall_follower_ros2

# Checks
[x] All packages have a declared license in the package.xml
[x] This repository a LICENSE file
[x] This package is expected to build on the submitted rosdistro
Remember that after submitting your pull request, some changes may be requested, and since the reviews are done asynchronously, it can sometimes take a few days until the review is completed.
Now, if they ask you to modify anything, you just go ahead and do the modifications.
You may now want to go ahead and check how to build a Debian file locally:
Congratulations. We have finished the second part about the release of a ROS2 Binary package. We hope this post was really helpful to you. We soon may have an extra part related to this subject.
Please bear in mind that the third part of this series can be found in the link below:
Youtube video
So this is the post for today. Remember that we have the live version of this post on YouTube. If you liked the content, please consider subscribing to our youtube channel. We are publishing new content ~every day.
Keep pushing your ROS Learning.
Related Courses & Training
If you want to learn more about ROS and ROS2, we recommend the following courses:
- ROS2 Basics in 5 Days (Python): https://app.theconstructsim.com/#/Course/73
- ROS2 Basics in 5 Days (C++): https://app.theconstructsim.com/#/Course/61


0 Comments