

What we are going to learn
- How to include and locate files
- The node element
- Using substitutions in launch files
- Remapping and parameters
- Launching nodes inside a namespace
List of resources used in this post
- Use the rosject: https://app.theconstructsim.com/#/l/48df0c95/
- ROS Development Studio (ROSDS) —▸ http://rosds.online
- ROS2 Courses –▸
- ROS2 Basics in 5 Days (Python): https://app.theconstructsim.com/#/Course/73
- ROS2 Basics in 5 Days (C++): https://app.theconstructsim.com/#/Course/61
Is this post for me?
If you either…
- Have a ROS1 project that you want to migrate to ROS2
- Already ported your nodes in ROS2
- Want to migrate your launch file using the XML launch format in ROS
then, this post is definitely for you.
Opening the rosject
In order to learn how to migrate XML launch files format from ROS1 to ROS2, we need to have ROS installed in our system, and it is also useful to have some simulations. We already prepared a rosject with a simulation for that: https://app.theconstructsim.com/#/l/48df0c95/.
You can download the rosject on your own computer if you want to work locally, but just by copying the rosject (clicking the link), you will have a setup already prepared for you.
After the rosject has been successfully copied to your own area, you should see a Run button. Just click that button to launch the rosject (below you have a rosject example).

Learn ROS2 – Run rosject
After pressing the Run button, you should have the rosject loaded. Let’s now head to the next section to really get some real practice.
An example of a ROS1 Launch file
Let’s start by checking an example of an XML launch file in ROS1 format, which is NOT included in the rosject we provided above, but will be used as reference for the rosject we are going to create:
<?xml version="1.0" encoding="UTF-8"?>
<!-- Launch file ROS1 -->

<launch>

  <!-- Include and locate files -->
  <include file="$(find my_package)/launch/simulation.launch"/>

  <!-- Start Node -->
  <node pkg="tf2_ros" type="static_transform_publisher" name="map_odom" args="0 0 0 0 0 0 map odom" />

  <!-- Substitution -->
  <arg name="rviz_config" value="/home/user/catkin_ws/src/my_package/rviz/rviz_config.rviz"/>
  <node name="rviz" pkg="rviz" type="rviz" args="-d $(arg rviz_config)"/>

  <!-- Remapping and parameters -->
  <param name="linear_x_velocity" value="0.3"/>
  <param name="angular_z_velocity" value="0.3"/>
  <remap from="/dolly/laser_scan" to="/laser_scan"/>
  <remap from="/cmd_vel" to="/dolly/cmd_vel"/>

  <node name="obstacle_avoidance" pkg="my_package" type="obstacle_avoidance" output="screen"/>

  <!-- Namespace -->
  <node name="rviz_marker" pkg="my_package" type="rviz_marker_pub" ns="marker_1" output="screen"/>

</launch>
If you do not know much about launch files in ROS1 format, in the launch file above we start by including a simulation:
  <!-- Include and locate files -->
  <include file="$(find my_package)/launch/simulation.launch"/>
After the simulation is included, we run a node called static_transform_publisher:
 <!-- Start Node -->
<node pkg="tf2_ros" type="static_transform_publisher" name="map_odom" args="0 0 0 0 0 0 map odom" />
We then start RViz (rviz), and pass a configuration file to it:
<!-- Substitution -->
<arg name="rviz_config" value="/home/user/catkin_ws/src/my_package/rviz/rviz_config.rviz"/>
<node name="rviz" pkg="rviz" type="rviz" args="-d $(arg rviz_config)"/>
After starting RViz, we pass two parameters to the Parameter Server:
  <!-- Remapping and parameters -->
<param name="linear_x_velocity" value="0.3"/>
<param name="angular_z_velocity" value="0.3"/>
and we also remap two topics:
<remap from="/dolly/laser_scan" to="/laser_scan"/>
<remap from="/cmd_vel" to="/dolly/cmd_vel"/>
After that, we run the Obstacle Avoidance node:
<node name="obstacle_avoidance" pkg="my_package" type="obstacle_avoidance" output="screen"/>
and finally, we launch a node called rviz_marker in a specific namespace, so that you can see how to launch a node under a specific namespace.
<!-- Namespace -->
<node name="rviz_marker" pkg="my_package" type="rviz_marker_pub" ns="marker_1" output="screen"/>
launch_project.launch.xml
Creating a ROS2 launch file from the ROS1 file above
Ok, based on the ROS1 launch file exemplified above, we are going to create our ROS2 XML launch file.
In the rosject that we already provided, the file is actually already ready for you, but in this tutorial, let’s go step by step.
The path to the file in the rosject is:
~/ros2_ws/src/my_package/launch/launch_project.launch.xml
You can easily check that file using the Code Editor:
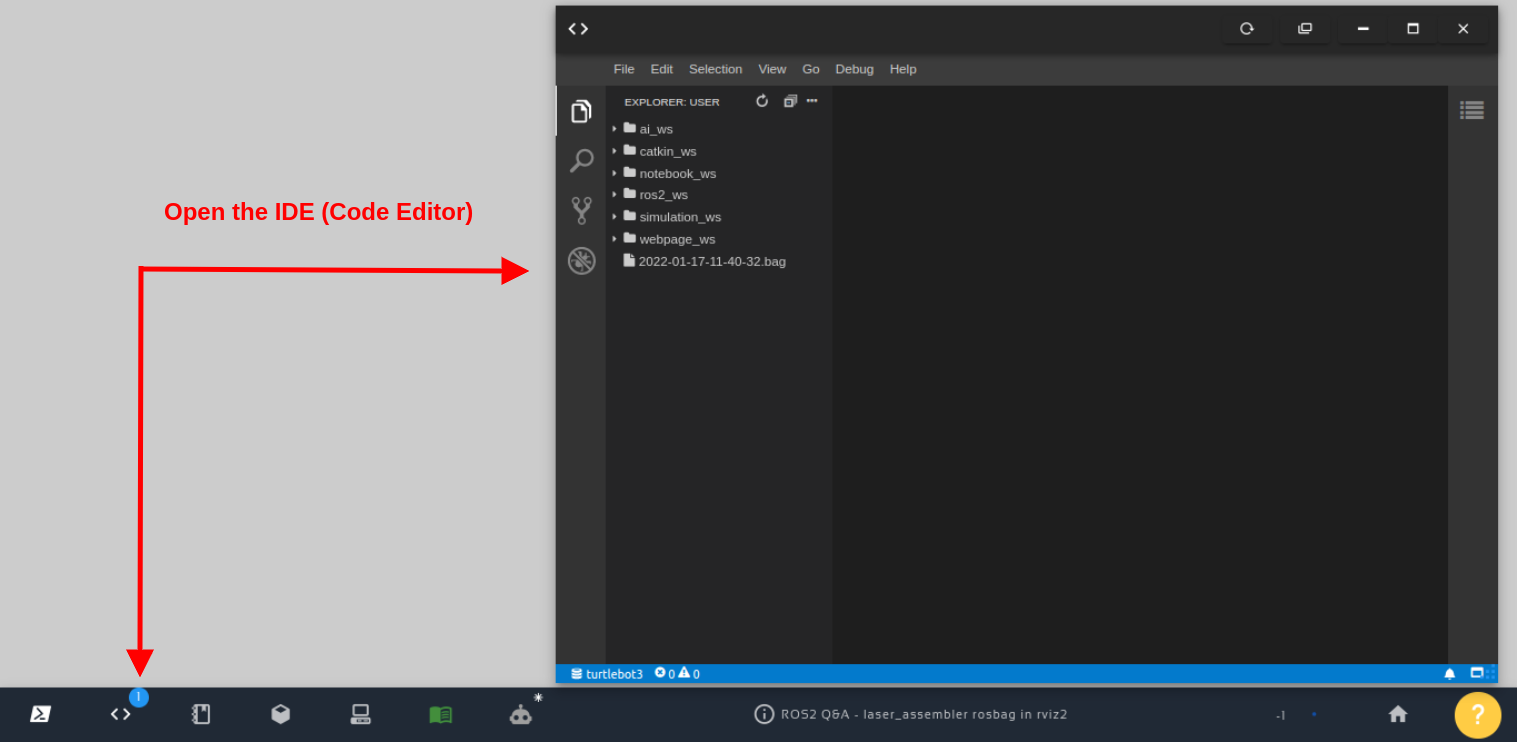
Open the IDE – Code Editor
Now, assuming you want to understand that step-by-step procedure, let’s suppose you do not have that launch_project.launch.xml file (or you create a new file for learning purposes). The new launch file can start with the following content from the original ROS1 launch file. Nothing changed in the definition of XML and <launch> tags:
<?xml version="1.0" encoding="UTF-8"?>
<!-- Launch file ROS1 -->

<launch>


</launch>
Including other launch files
Ok, so far so good. Nothing really changed. Things will start changing now. We are now going to start changing the code part used to include a simulation. The original code in ROS1 format is:
<include file="$(find my_package)/launch/simulation.launch"/>
To port it to ros2, we initially have to replace find with find-pkg-share. In addition to that, we have to add the .py extension to the launch file we are including, because this is the name of our file in ROS2. In the end, the code would become:
<include file="$(find-pkg-share my_package)/launch/simulation.launch.py"/>
Changing the <node> element
 <!-- Start Node -->
<node pkg="tf2_ros" type="static_transform_publisher" name="map_odom" args="0 0 0 0 0 0 map odom" />
 <!-- Start Node -->
<node pkg="tf2_ros" exec="static_transform_publisher" name="map_odom" args="0 0 0 0 0 0 map odom" />
Passing configuration files to a node
In ROS1 we used the code below to run RViz (rviz) and pass a configuration file to it:
<!-- Substitution -->
<arg name="rviz_config" value="/home/user/catkin_ws/src/my_package/rviz/rviz_config.rviz"/>
<node name="rviz" pkg="rviz" type="rviz" args="-d $(arg rviz_config)"/>
To make it ROS2-compatible, instead of arg we use let when defining the arg named rviz_config, and when passing that value to the rviz node, instead of arg we use var. Of course, we also have to replace type with exec in the <node> definition when indicating the name of the executable file. We have to be aware also that in ROS2, rviz is named rviz2. In the end, after the changes, the code would be:
<!-- Substitution -->
<let name="rviz_config" value="/home/user/catkin_ws/src/my_package/rviz/rviz_config.rviz"/>
<node name="rviz2" pkg="rviz2" exec"rviz2" args="-d $(var rviz_config)"/>
Passing parameters to the “parameter server” in ROS2?. No, we pass it to the node.
After starting RViz, in order to pass parameters to the parameter server in ROS1 and to remap topics, we used the code below:
  <!-- Remapping and parameters -->
<param name="linear_x_velocity" value="0.3"/>
<param name="angular_z_velocity" value="0.3"/>
<remap from="/dolly/laser_scan" to="/laser_scan"/>
<remap from="/cmd_vel" to="/dolly/cmd_vel"/>
Turns out that in ROS2 we do not have a Parameter Server like in ROS1. In ROS2, the parameters are “restricted” to each node individually. The parameters above, in ROS1, were used by the Obstacle Avoidance node, which was defined as follows in ROS1:
<node name="obstacle_avoidance" pkg="my_package" type="obstacle_avoidance" output="screen"/>
Since the parameters are “private” to each node, the parameters in ROS2 are passed to the node inside the <node> definition. They have to be nested to the node tag. Therefore, for the Obstacle Avoidance example, the ROS2-compatible code would be as follows, after also replacing type with exec:
<node name="obstacle_avoidance" pkg="my_package" exec="obstacle_avoidance" output="screen">
    <param name="linear_x_velocity" value="0.3"/>
    <param name="angular_z_velocity" value="0.3"/>
    <remap from="/dolly/laser_scan" to="/laser_scan"/>
    <remap from="/cmd_vel" to="/dolly/cmd_vel"/>
</node>
Running node under a specific namespace
In our original launch file, if you remember, we launched a node called rviz_marker in a specific namespace. The code in ROS1 was:
<!-- Namespace -->
<node name="rviz_marker" pkg="my_package" type="rviz_marker_pub" ns="marker_1" output="screen"/>
I’m assuming that replacing type with exec is already fresh in your mind when running nodes. What you may not know is that for namespaces in ROS2 we use a group tag, and the namespace is defined inside a push-ros-namespace tag. The namespace example in ROS2 would be:
<group>
   <push-ros-namespace namespace="marker_1"/>
   <node name="rviz_marker" pkg="my_package" exec="rviz_marker_pub" output="screen"/>
</group>
All right. We have been checking piece by piece, but we all agree that it is time to see the complete launch file in ROS2. The path, if you do not remember is:
~/ros2_ws/src/my_package/launch/launch_project.launch.xml
and the final content should be:
<?xml version="1.0" encoding="UTF-8"?>
<!-- Launch file ROS2 -->

<launch>
  <include file="$(find-pkg-share my_package)/launch/simulation.launch.py"/>

  <node pkg="tf2_ros" exec="static_transform_publisher" name="map_odom" args="0 0 0 0 0 0 map odom" />

  <let name="rviz_config" value="/home/user/catkin_ws/src/my_package/rviz/rviz_config.rviz"/>
  <node name="rviz2" pkg="rviz2" exec="rviz2" args="-d $(var rviz_config)"/>

  <node name="obstacle_avoidance" pkg="my_package" exec="obstacle_avoidance" output="screen">
    <param name="linear_x_velocity" value="0.3"/>
    <param name="angular_z_velocity" value="0.3"/>
    <remap from="/dolly/laser_scan" to="/laser_scan"/>
    <remap from="/cmd_vel" to="/dolly/cmd_vel"/>
  </node>

  <group>
  <push-ros-namespace namespace="marker_1"/>
  <node name="rviz_marker" pkg="my_package" exec="rviz_marker_pub" output="screen"/>
  </group>

</launch>
Compiling our ROS2 package.
Let’s now compile our project in the ROS2 Workspace (~/ros2_ws folder) in order to be able to use that launch file to launch a simulation later:
cd  ~/ros2_ws/

colcon build --symlink-install --packages-select my_package
You should have the package compiled with no errors.
Launching the simulation
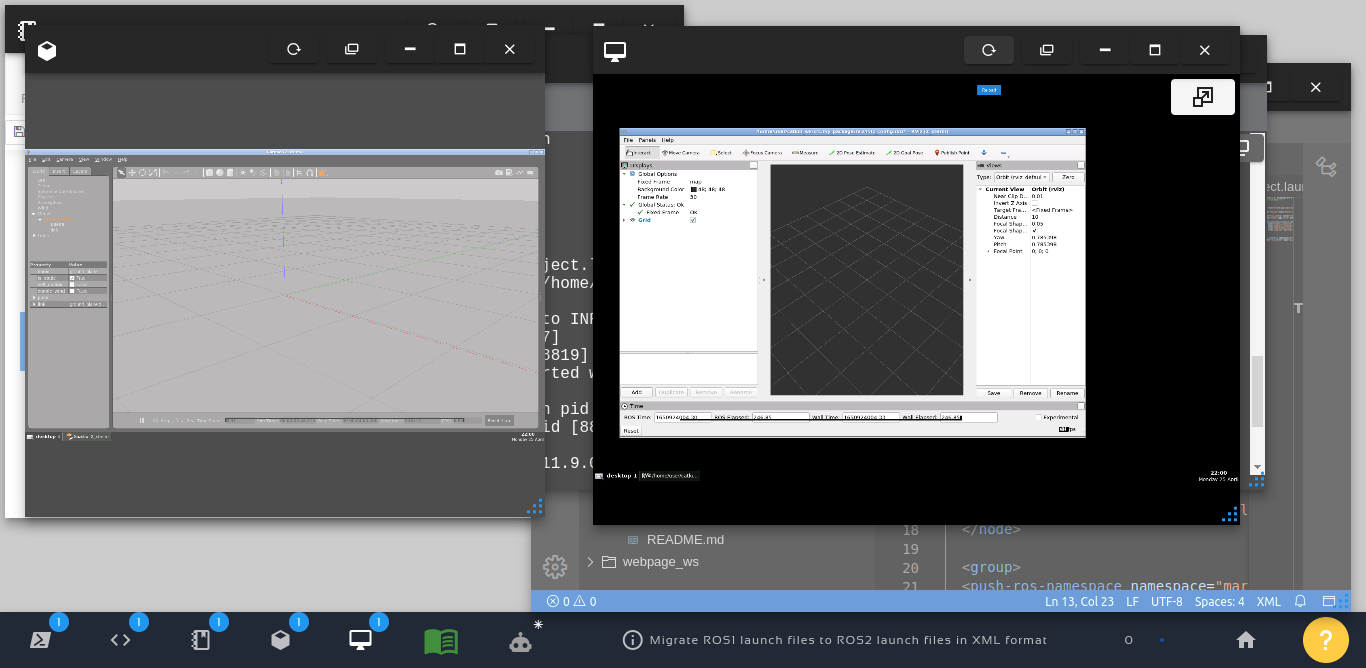
The theory is good, but seeing things moving is much better. Let’s launch a simulation using the launch file we created along this post:
source ~/ros2_ws/install/setup.bash

ros2 launch my_package  launch_project.launch.xml
Assuming everything went well, you should have get logs similar to the following:
[INFO] [launch]: All log files can be found below /home/user/.ros/log/2022-04-25-21-55-21-371627-2_xterm-8807
[INFO] [launch]: Default logging verbosity is set to INFO
[INFO] [gzserver-1]: process started with pid [8817]
[INFO] [gzclient   -2]: process started with pid [8819]
[INFO] [static_transform_publisher-3]: process started with pid [8821]
[INFO] [rviz2-4]: process started with pid [8825]
[INFO] [obstacle_avoidance-5]: process started with pid [8827]
[INFO] [rviz_marker_pub-6]: process started with pid [8829]
[gzclient   -2] ++ ls /usr/bin/gzclient-11.9.0
[gzclient   -2] + gzclient_path=/usr/bin/gzclient-11.9.0
[gzclient   -2] + DISPLAY=:2
[gzclient   -2] + /usr/bin/gzclient-11.9.0
[static_transform_publisher-3] [INFO] [1650923728.301492664] [map_odom]: Spinning until killed publishing transform from 'map' to 'odom'
[rviz2-4] QStandardPaths: XDG_RUNTIME_DIR not set, defaulting to '/tmp/runtime-user'
[rviz2-4] [INFO] [1650923754.405249391] [rviz2]: Stereo is NOT SUPPORTED
[rviz2-4] [INFO] [1650923754.405480560] [rviz2]: OpenGl version: 3.1 (GLSL 1.4)
[rviz2-4] [INFO] [1650923754.478336976] [rviz2]: Stereo is NOT SUPPORTED
And a simulation should pop up, and you should also be able to see RViz, something like in the image below:
Migrating ROS1 XML Launch Files to ROS2
Youtube video
So this is the post for today. Remember that we have the live version of this post on YouTube. If you liked the content, please consider subscribing to our youtube channel. We are publishing new content ~every day.
Keep pushing your ROS Learning.
Related Courses & Training
If you want to learn more about ROS and ROS2, we recommend the following courses:
- ROS2 Basics in 5 Days (Python): https://app.theconstructsim.com/#/Course/73
- ROS2 Basics in 5 Days (C++): https://app.theconstructsim.com/#/Course/61


0 Comments