
In this post, you will learn how to create ros2 XML launch files. You’ll discover how ros2 XML launch files are similar to and different from their ros1 counterparts.
Step 1: Get a Copy of the ROS package containing the code used in the post
Click here to copy the project. It would be copied to your cloud account at The Construct. That done, open the project using the Run button. This might take a few moments, please be patient.

PS: If you don’t have an account on the The Construct, you would need to create one. Once you create an account or log in, you will be able to follow the steps to read and write parameters in ros1 and ros2.
You might also want to try this on a local PC if you have ROS installed. In that case you need to read on and duplicate the source code of the package in your own local workspace. However, please note that we cannot support local PCs and you will have to fix any errors you run into on your own.
Step 2: Explore the source code using the IDE

Open the IDE by clicking on the icon as shown above. You should now see something similar to the image below:
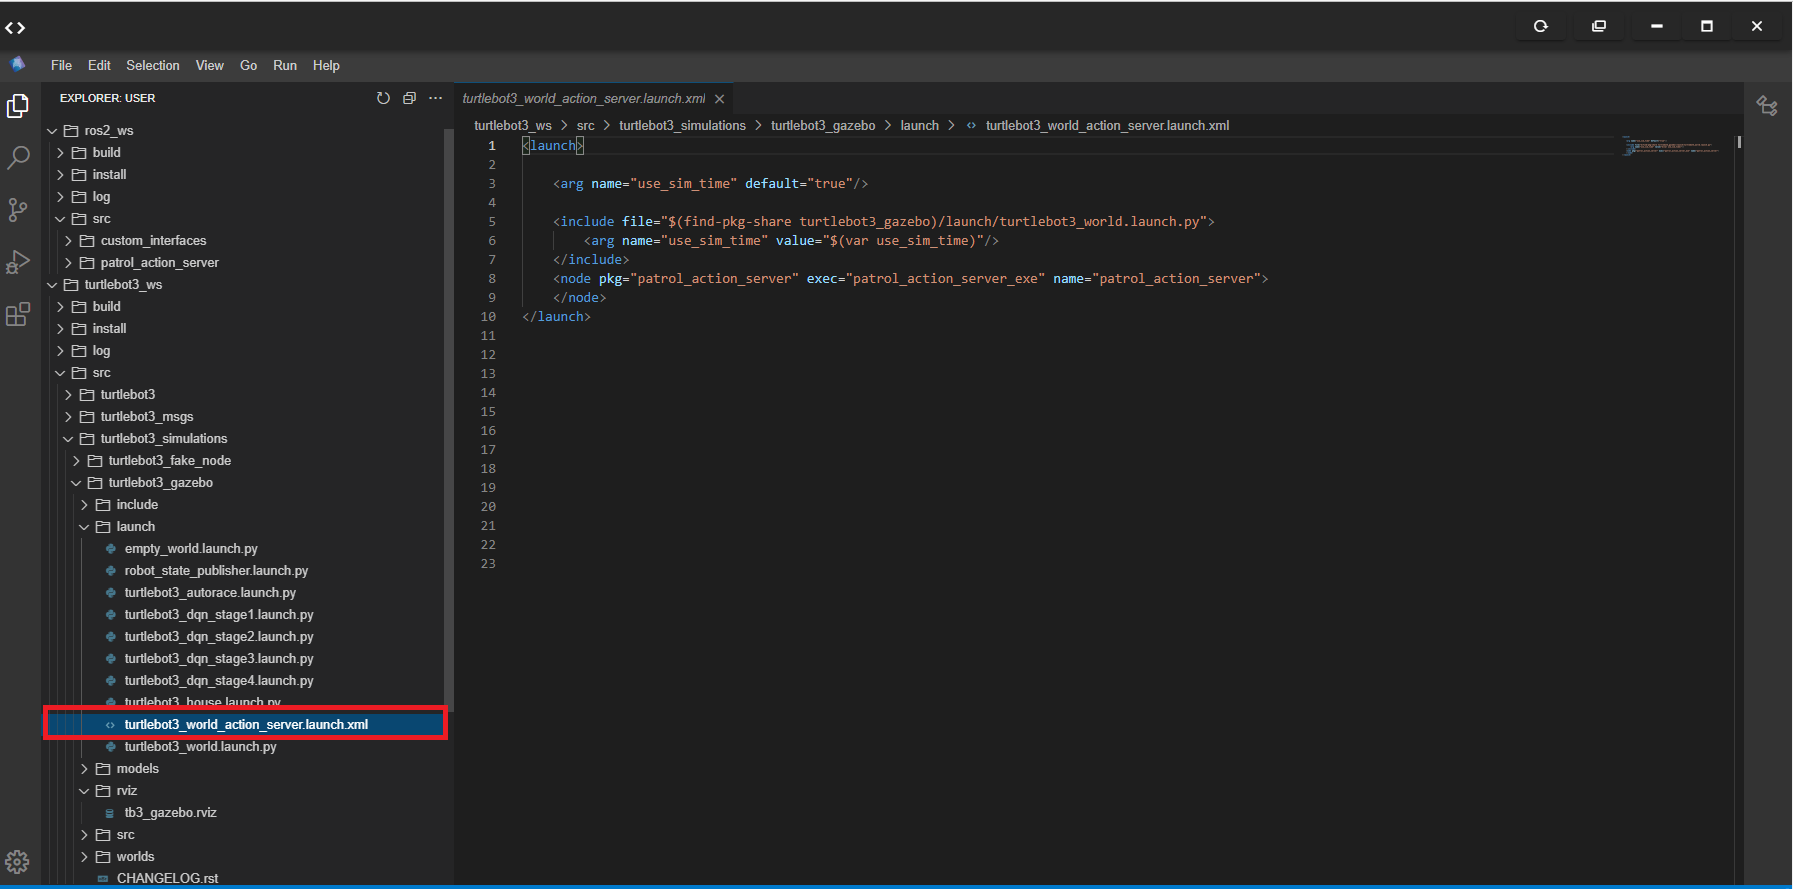
The main file we will work with in this post is the one highlighted in red in the image above:
~/turtlebot3_ws/src/turtlebot3_simulations/turtlebot3_gazebo/launch/turtlebot3_world_action_server.launch.xml
Double-click on the file in the IDE to open and study the contents. We will discuss this file in the following steps.
Step 3: Understand how to create ros2 XML launch files
Wait first! I thought ros2 launch files are only written in Python! Yes, Python is one of the options when writing ros2 launch files; we can also use XML files, especially if we are writing simple launch files that do not need to leverage Python’s powerful API.
Let’s have a look at the XML file:
<launch>
    <arg name="use_sim_time" default="true"/>
    <include file="$(find-pkg-share turtlebot3_gazebo)/launch/turtlebot3_world.launch.py">
        <arg name="use_sim_time" value="$(var use_sim_time)"/>
    </include>
    <node pkg="patrol_action_server" exec="patrol_action_server_exe" name="patrol_action_server">
    </node>
</launch>
What exactly is happening in the launch file?
- On line 2, we define an argument (variable)
use_sim_timewith a default value oftrue. - On line 3, we include another launch file,
turtlebot3_world.launch.pyfor launching the TurtleBot3 world. The launch file can be found in theturtlebot3_gazebopackage. - On line 4, we pass a required argument
use_sim_timeto the included launch file, assigning it the value of theuse_sim_timedefined on line 2. - On line 6, we define a node to be started by the launch file. This node can be found in the package
patrol_action_server, the node executable ispatrol_action_server_exeand the name of the node would appear aspatrol_action_server.
In short, this launch file launches the TurtleBot3 world and starts the Patrol action server. The same launch file can be written in Python, but this XML looks simpler and easier to understand. And it does all we want it to do, and we can even include Python-based launch files!
Step 4: Understand how ros2 XML launch files are similar to/different from ros1 XML launch files
If you are familiar with ros1 launch files, you should already notice some similarities:
- The same
<launch>tag. - Similar
<arg>tag. - Familiar
<include>tag. - Similar
<node>tag.
Now if we were writing the same launch file in ros1, it would be something like this (PS: we can’t include ros2 launch file in a ros1 launch file in reality):
<launch>
    <arg name="use_sim_time" default="true"/>
    <include file="$(find turtlebot3_gazebo)/launch/turtlebot3_world.launch.py">
        <arg name="use_sim_time" value="$(arg use_sim_time)"/>
    </include>
    <node pkg="patrol_action_server" type="patrol_action_server_exe" name="patrol_action_server">
    </node>
</launch>
Can you spot the differences? Compare what you find with the list of differences below:
- In
fileattribute of the the<include>tag on line 3, ros2 usesfind-pkg-sharewhile ros1 usesfind. - In the
valueattribute of the<arg>tag on line 4, ros2 usesvarto get the value of the argument while ros1 usesarg. - In the
<node>tag, ros2 uses theexecattribute to specify the executable file to run while ros1 uses thetypeattribute.
Interesting, isn’t it? Now let’s see if the ros2 XML launch file works.
Step 5: Launch the ros2 XML launch file!
It’s time to see the ros2 XML launch file in action! Open a web shell and run the following commands:
cd ~/turtlebot3_ws
source install/setup.bash
export TURTLEBOT3_MODEL=burger
ros2 launch turtlebot3_gazebo turtlebot3_world_action_server.launch.xml
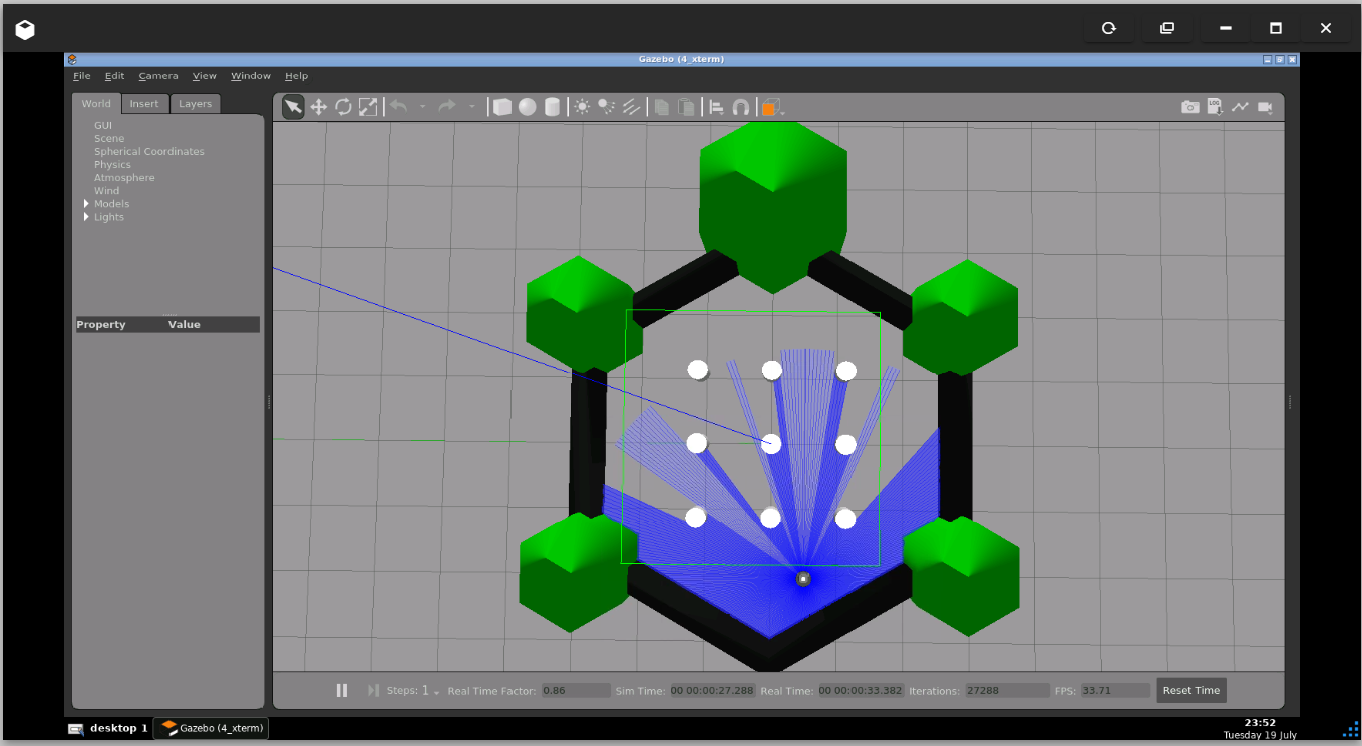
You should see the following simulation come up.
Next, run the following command in the web another web shell
user:~$ ros2 node list
You should see /patrol_action_server (the node specified in the ros2 XML launch file) listed as one of the nodes.
Finally, let’s call the action server and see what happens to the simulation. Run the following in the last web shell used:
ros2 action send_goal --feedback /patrol custom_interfaces/action/Patrol radius:\ 0.2\
And that’s it – you have your ros2 XML launch file working!
Step 6: Check your learning
- Do you understand how to create ros2 XML launch files?
- Do you remember the similarities and differences in ros1 and ros2 XML launch files?
If you didn’t get any of the points above, please go over the post again, more carefully this time.
(Extra) Step 7: Watch the video to understand how to create ros2 XML launch files
Here you go:
https://www.youtube.com/video/yyUwKcWQ4DU
Feedback
Did you like this post? Do you have any questions about how to read and write parameters in ros1 and ros2? Whatever the case, please leave a comment on the comments section below, so we can interact and learn from each other.
If you want to learn about other ROS topics, please let us know in the comments area and we will do a video or post about it.


0 Comments