

In this post, you’ll learn how to launch RViz using a configuration file. You will learn how to close and open RViz as many times you need without having to configure or customize it all over again.
Step 1: Fire up a system with ROS installation
“Hey, do you mean I have to install ROS first?” Absolutely not! Just log in to The Construct to get access to virtual machines pre-installed with ROS.
Once logged in, click here to copy the ROS project (rosject) we’ll use for this post. Once copied, click the Run button to open the rosject.

You might also want to try this on a local PC if you have ROS installed. However, please note that we don’t support local PCs and you will have to fix any errors you run into on your own. The rest of the instruction assumes that you are working on The Construct; please adapt them to your local PC and ROS installation.
PS: we are using ROS Kinetic. You should be able to replicate the same on any ROS 1 distro, with minor changes.
Step 2: Run RViz without loading a configuration file
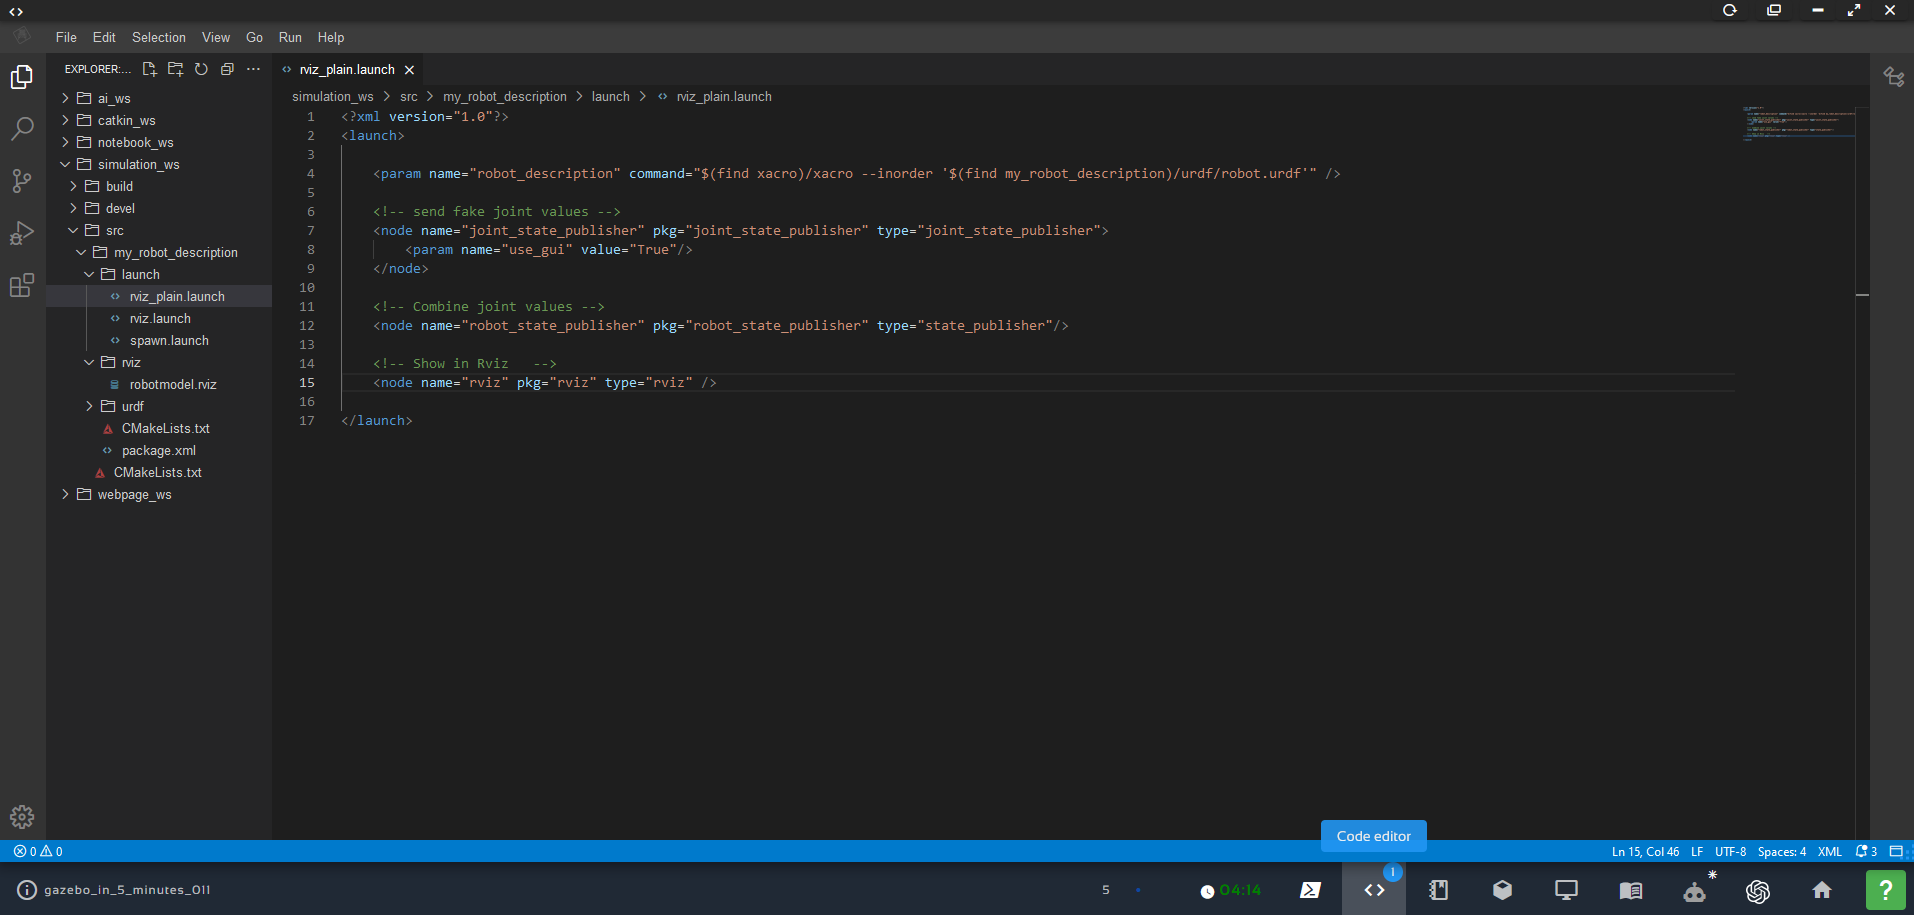
Open the Code Editor and create a new file rviz_plain.launch in the location shown in the image below:
Here is the content of the file:
<?xml version="1.0"?>
<launch>

    <param name="robot_description" command="$(find xacro)/xacro --inorder '$(find my_robot_description)/urdf/robot.urdf'" />

    <!-- send fake joint values -->
    <node name="joint_state_publisher" pkg="joint_state_publisher" type="joint_state_publisher">
        <param name="use_gui" value="True"/>
    </node>

    <!-- Combine joint values -->
    <node name="robot_state_publisher" pkg="robot_state_publisher" type="state_publisher"/>

    <!-- Show in Rviz   -->
    <node name="rviz" pkg="rviz" type="rviz" />

</launch>
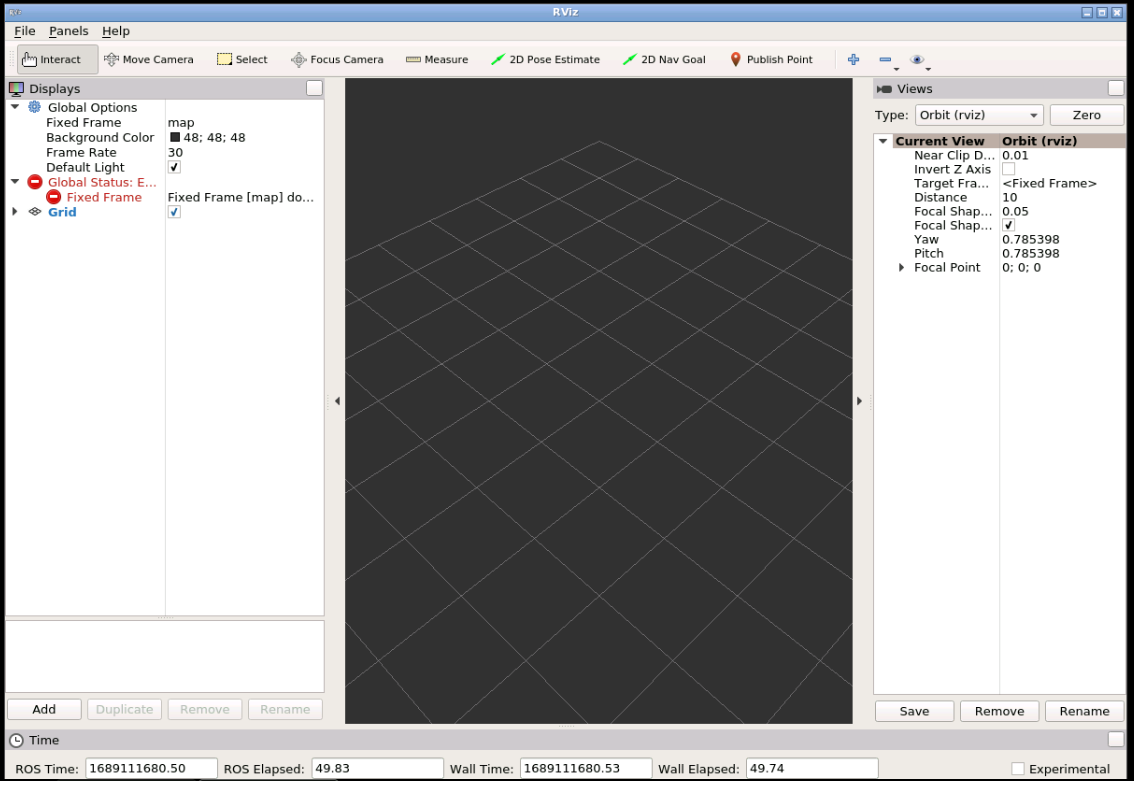
Next, launch the rviz_plain.launch file. Open a Web Shell and type the command that follows.

roslaunch my_robot_description rviz_plain.launch
Now you should see the rviz window, with no display added. We would need to add the display one by one and then configure them. But this is not necessary, since we have a configuration file saved already. Let’s load it next.
Step 3: Run RViz in a launch file and pass the configuration
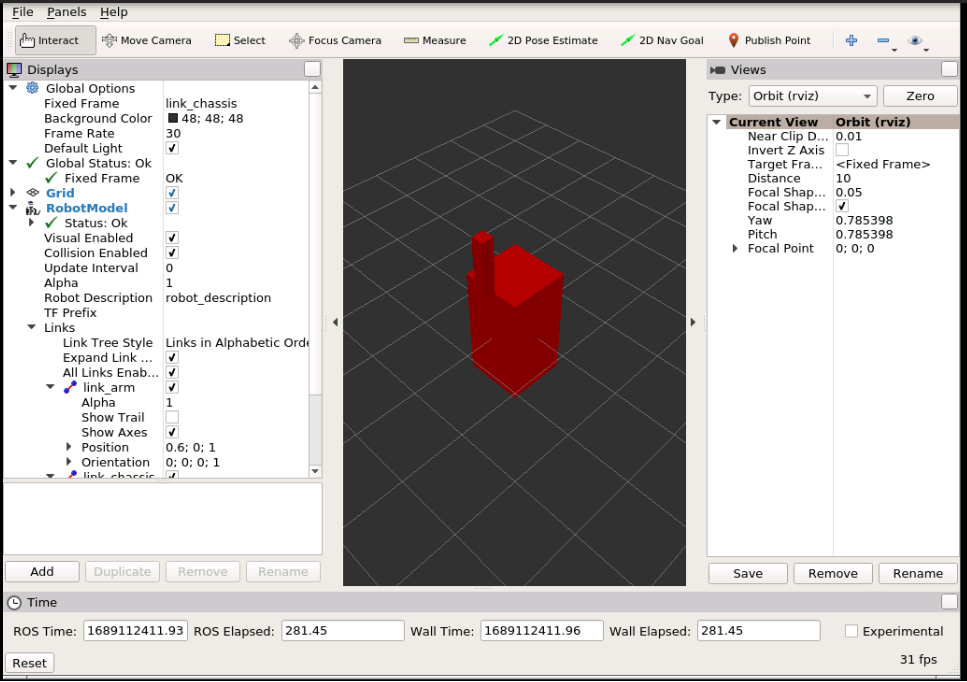
Stop the current program in the web shell using Ctrl + C and run the following command instead.
roslaunch my_robot_description rviz.launch
Now you should see a different rviz screen, generated from the configuration!
Can you spot some differences in the two launch files? Here is the rviz.launch file.
<?xml version="1.0"?>
<launch>

    <param name="robot_description" command="$(find xacro)/xacro --inorder '$(find my_robot_description)/urdf/robot.urdf'" />

    <!-- send fake joint values -->
    <node name="joint_state_publisher" pkg="joint_state_publisher" type="joint_state_publisher">
        <param name="use_gui" value="True"/>
    </node>

    <!-- Combine joint values -->
    <node name="robot_state_publisher" pkg="robot_state_publisher" type="state_publisher"/>

    <!-- Show in Rviz   -->
    <node name="rviz" pkg="rviz" type="rviz" args="-d $(find my_robot_description)/rviz/robotmodel.rviz" />

</launch>
Step 4: Check your learning + Extra Tip
Do you now understand how to launch rviz using a configuration file? If not, please go over the post again, more carefully this time.
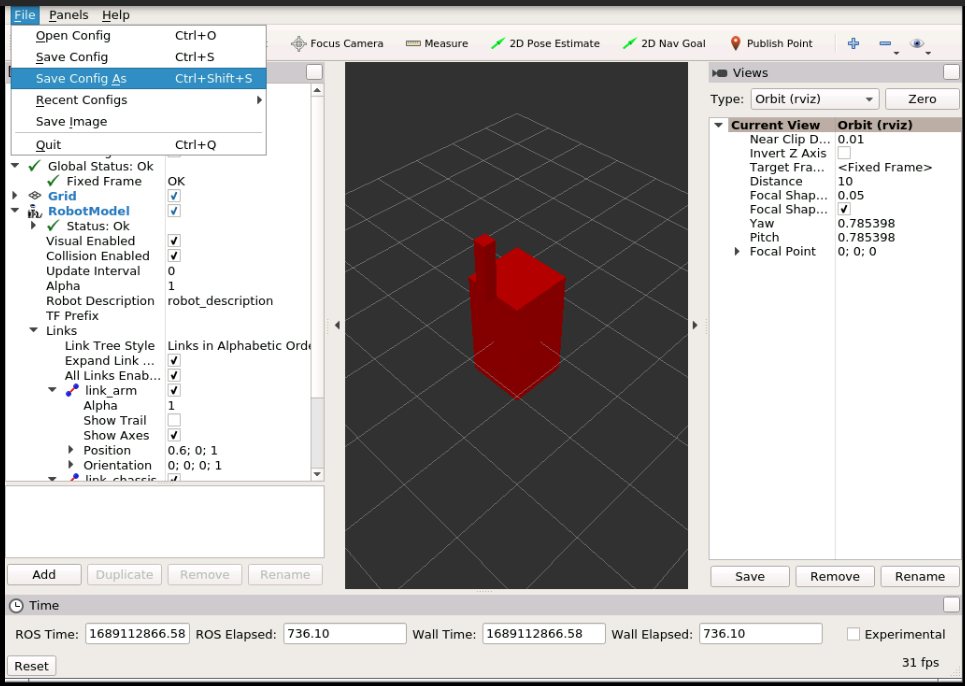
You can create a configuration file by using the File -> Save Config As... command on the rviz window. Use File -> Save Config to update the current config.
Step 5 (optional): watch the video
Feedback
Did you like this video? Whatever the case, please leave a comment in the comments section below, so we can interact and learn from each other.
If you want to learn about other ROS topics, please let us know on the comments area, and we will do a video about it.
Thank you!


0 Comments