

This is the 1st chapter of the series “Exploring ROS2 with a wheeled robot”
In this episode, we setup our first ROS2 simulation using Gazebo 11.
From cloning, compiling and creating a package + launch file to start the simulation!
You’ll learn:
- How to Launch a simulation using ROS2
- How to Compile ROS2 packages
- How to Create launch files with ROS2
1 – Start the environment
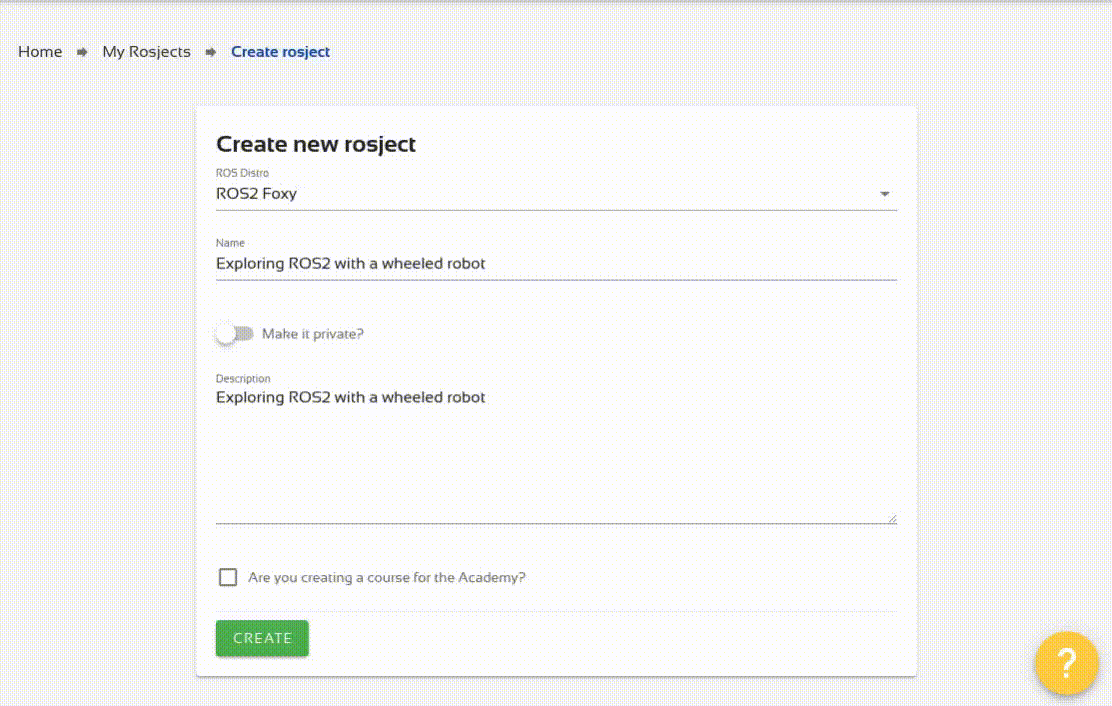
In this series we are using ROS2 foxy, go to this page, create a new rosject selecting ROS2 Foxy distro and and run it.
2 – Clone and compile the simulation
The first step is to clone the dolly robot package. Open a web shell and execute the following:
cd ~/ros2_ws/src/
git clone https://github.com/chapulina/dolly.git
Source the ROS 2 installation folder and compile the workspace:
source /opt/ros/foxy/setup.bash
cd ~/ros2_ws
colcon build --symlink-install --packages-ignore dolly_ignition
Notice we are ignoring the ignition related package, that’s because we will work only with gazebo simulator.
3 – Create a new package and launch file
In order to launch the simulation, we will create the launch file from the scratch. It goes like:
cd ~/ros2_ws/src
ros2 pkg create my_package --build-type ament_cmake --dependencies rclcpp
After that, you must have the new folder my_package in your workspace. Create a new folder to contain launch files and the new launch file as well:
mkdir -p ~/ros2_ws/src/my_package/launch
touch ~/ros2_ws/src/my_package/launch/dolly.launch.py
Copy and paste the following to the new launch file:
import os

from ament_index_python.packages import get_package_share_directory
from launch import LaunchDescription
from launch.actions import DeclareLaunchArgument
from launch.actions import IncludeLaunchDescription
from launch.launch_description_sources import PythonLaunchDescriptionSource

def generate_launch_description():

    pkg_gazebo_ros = get_package_share_directory('gazebo_ros')
    pkg_dolly_gazebo = get_package_share_directory('dolly_gazebo')

    gazebo = IncludeLaunchDescription(
        PythonLaunchDescriptionSource(
            os.path.join(pkg_gazebo_ros, 'launch', 'gazebo.launch.py')
        )
    )

    return LaunchDescription([
        DeclareLaunchArgument(
            'world',
            default_value=[os.path.join(pkg_dolly_gazebo, 'worlds', 'dolly_empty.world'), ''],
            description='SDF world file',
        ),
        gazebo
    ])
Notice that a launch file returns a LaunchDescription that contains nodes or other launch files.
In this case, we have just included another launch file gazebo.launch.py and changed one of its arguments, the one that stands for the world name: world.
The robot, in that case, is included in the world file, so there is no need to have an extra spawn node, for example.
And append to the end of the file ~/ros2_ws/src/my_package/CMakeLists.txt the following instruction to install the new launch file into the ROS 2 environment:
install(DIRECTORY
	launch
	DESTINATION share/${PROJECT_NAME}/
)

ament_package()
4 – Compile and launch the simulation
Use the command below to compile only the created package:
cd ~/ros2_ws/
colcon build --symlink-install --packages-select my_package
source ~/ros2_ws/install/setup.bash
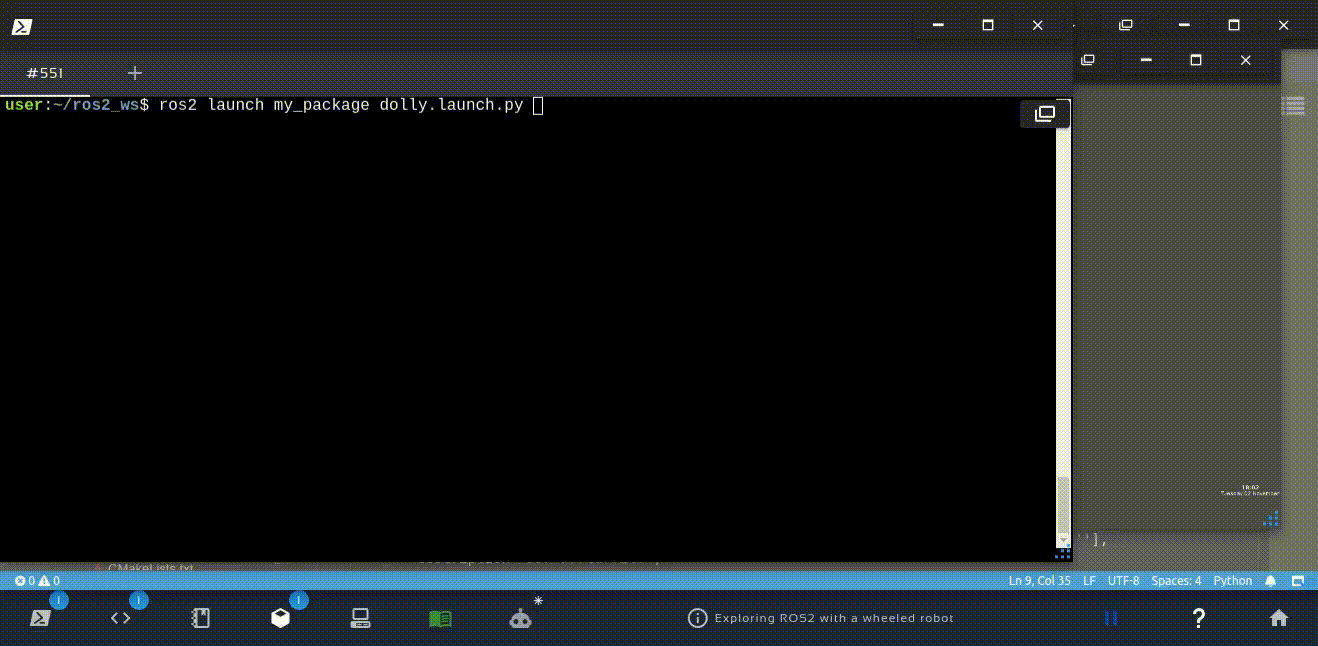
ros2 launch my_package dolly.launch.py
5 – Conclusion
This is how you can launch a simulation in ROS2. It is important to notice that:
- We are using a pre-made simulation: world + robot
- This is how a launch file is created: A python script
- In ROS2, you still have the same freedom of including other files or running executables inside a custom launch file


0 Comments